Introducing sbc.cheap – Fast Way to Find Affordable Single Board Computers
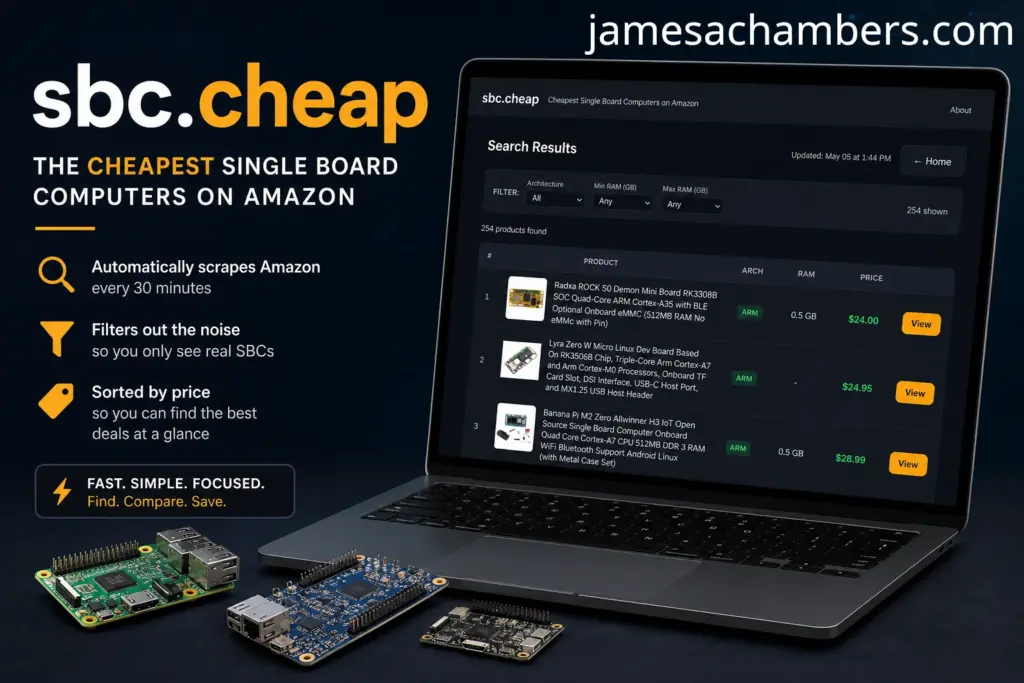
If you’ve ever tried shopping for a single board computer (SBC) on Amazon, you already know the problem: the search is powerful, but it’s not built for this niche.
You type in what you want, apply a few filters, and still end up scrolling through pages of accessories, unrelated electronics, duplicate listings, and overpriced bundles. Finding the actual cheapest SBCs quickly?
Surprisingly difficult. That’s exactly why I built sbc.cheap.
Introducing sbc.cheap – Fast Way to Find Affordable Single Board Computers Read More »