
I’ve been documenting my journey building out my smart home powered by Home Assistant here on the site. Home Assistant is an open-source system designed to let you easily manage and automate everything in your home.
That’s when I saw that Adafruit’s QT Py series of boards had a tiny IoT button available for it I immediately thought of Home Assistant. The button could be used to automate anything in your home you’d like. You could program it to turn off / turn on lights, open/close the garage door for you, turn on and off certain appliances or anything else you could imagine being able to do with a wireless-enabled button.
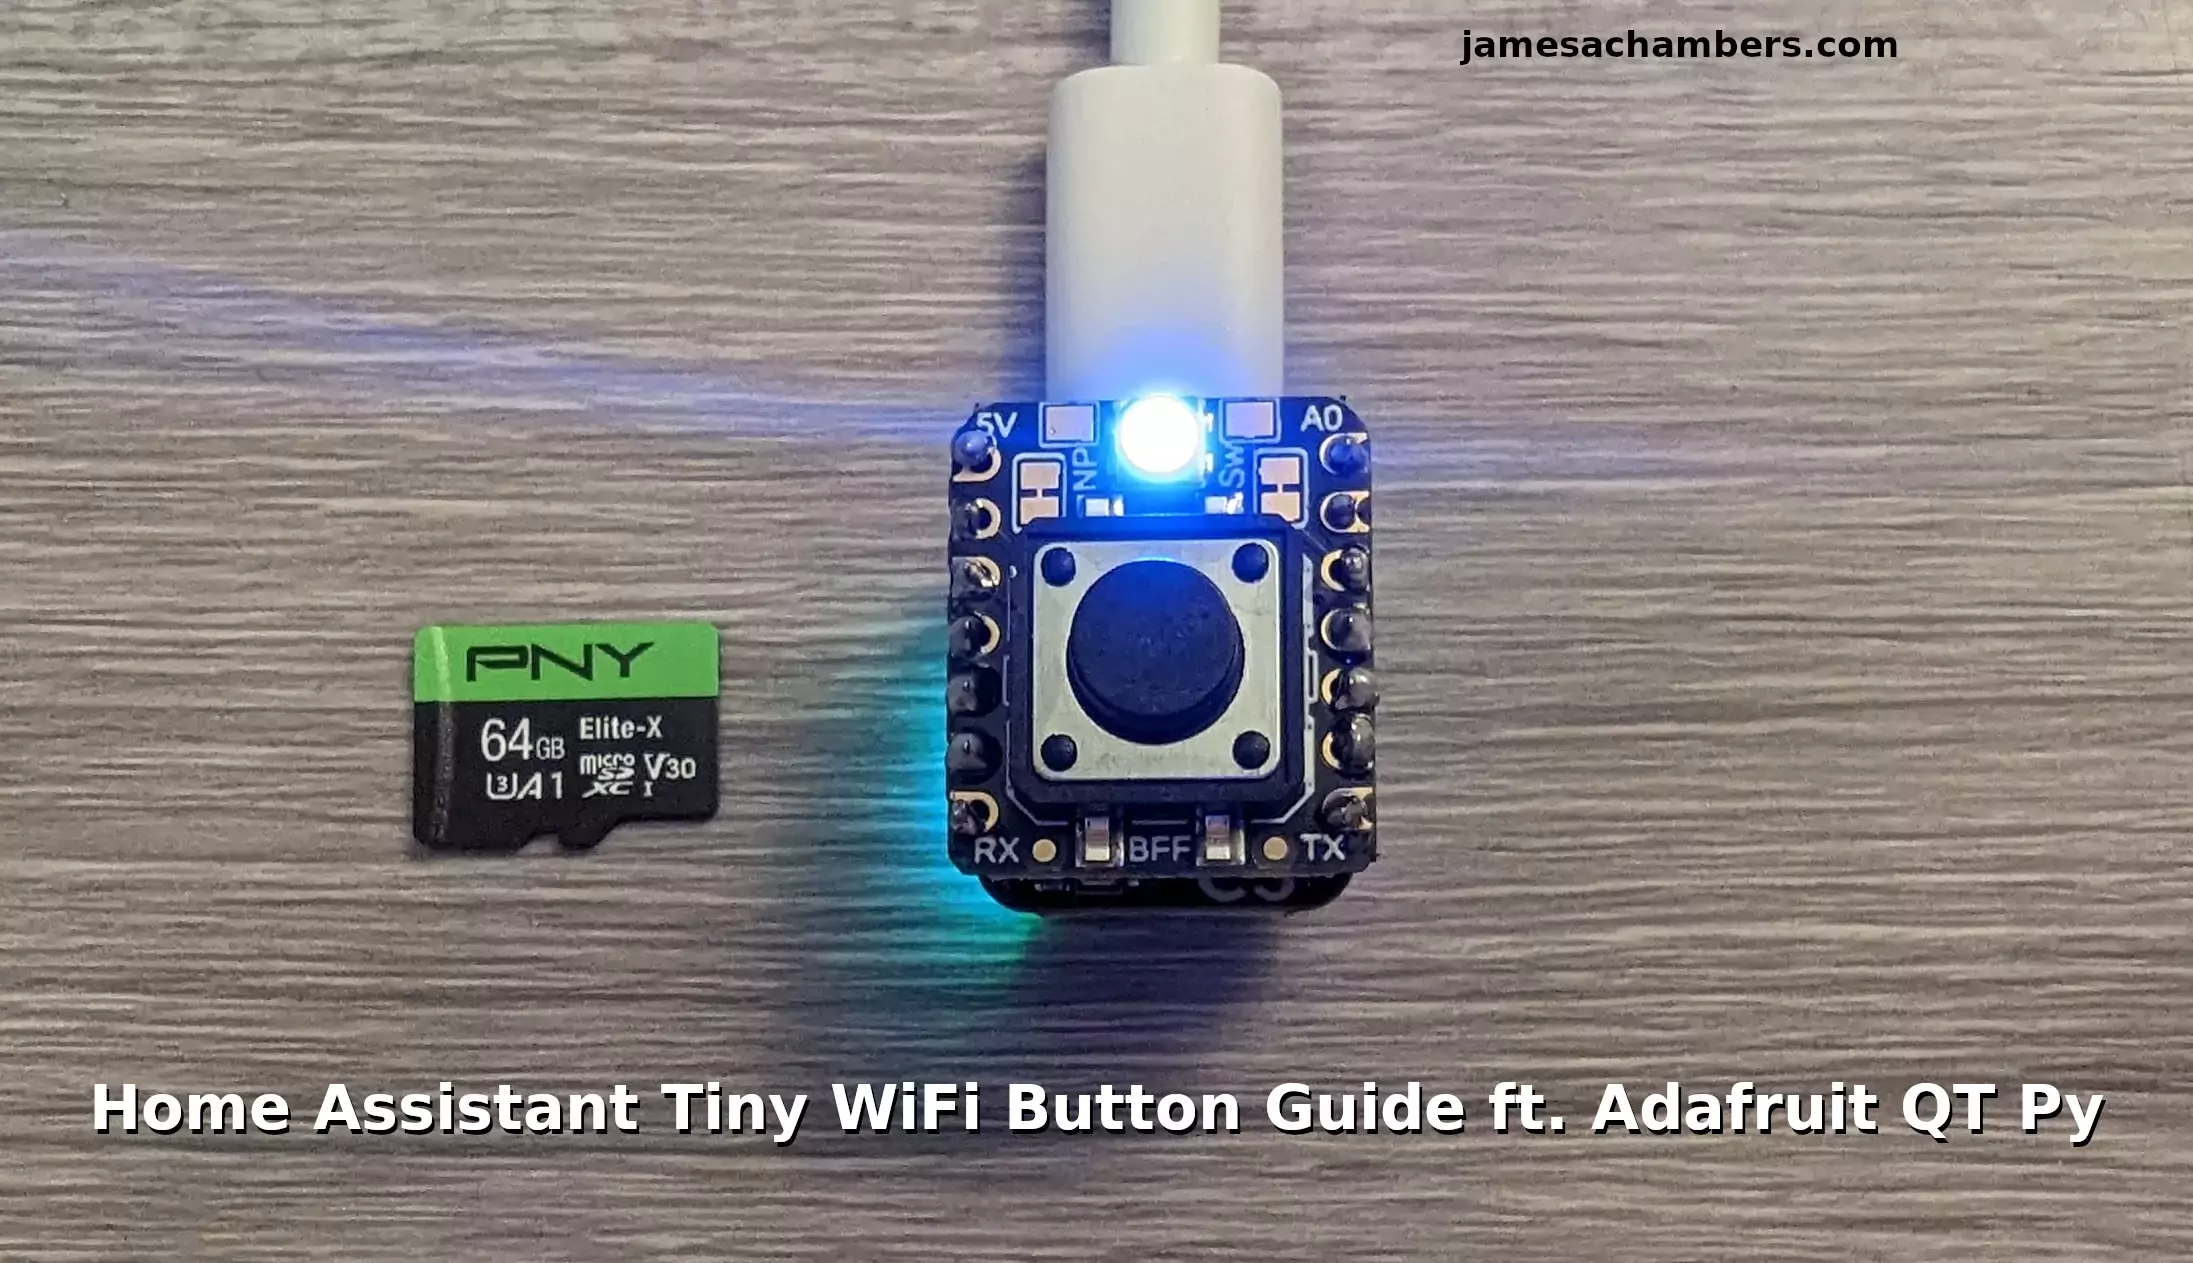
In this guide I’ll show you how to build and program a wireless button with Home Assistant. Let’s get started!
Hardware Used
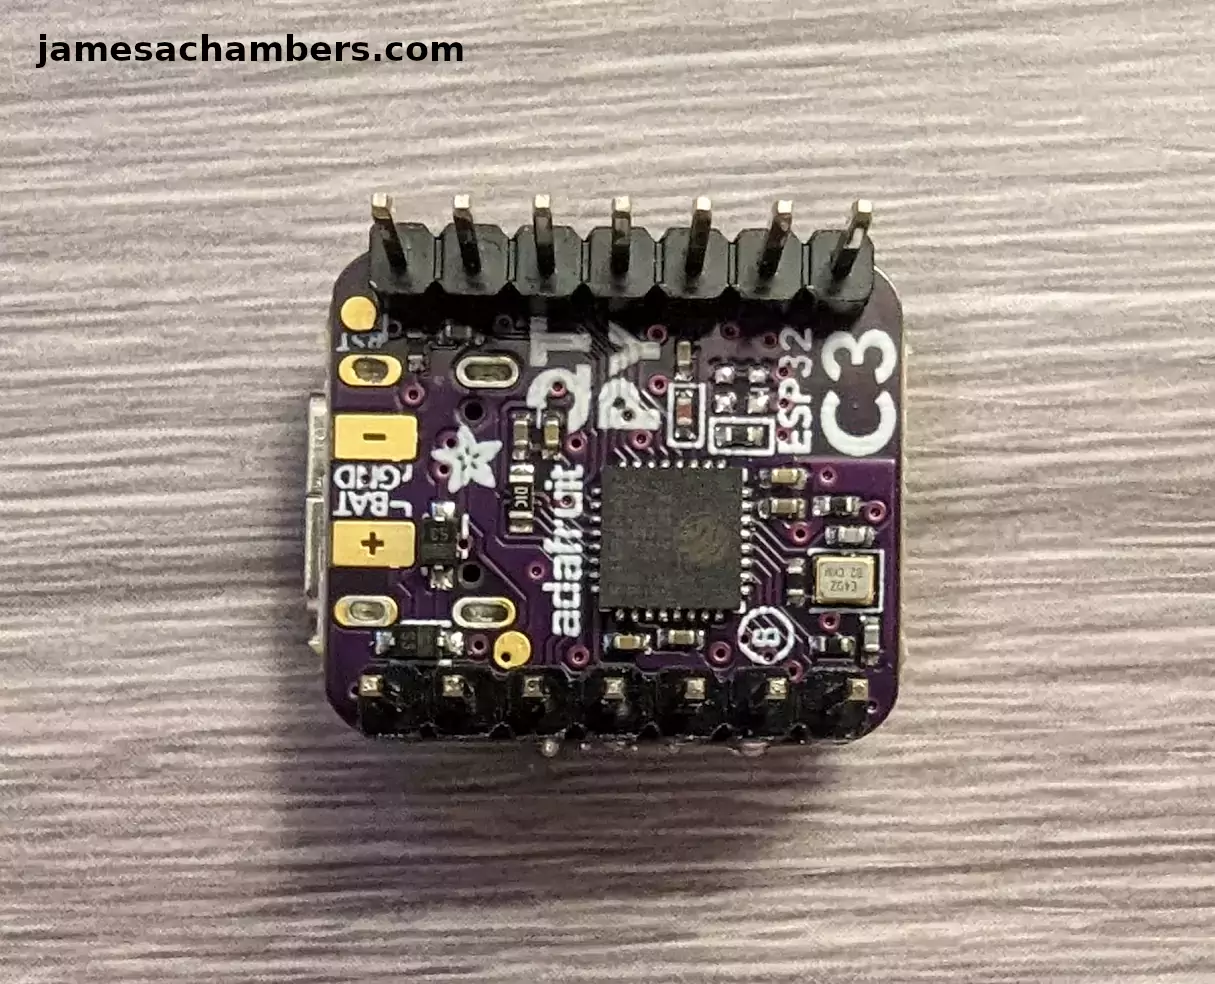
The Adafruit QT Py ESP32-C3 is an incredibly tiny board that has WiFi/Bluetooth capabilities and is powered through USB-C
Links: Adafruit.com, Amazon.com*

The Adafruit IoT button attaches to the QT Py to make an incredibly tiny IoT button package
Links: Adafruit.com, Amazon.com*
Overview
We have two main components making up this button. The first is the Adafruit QT Py:
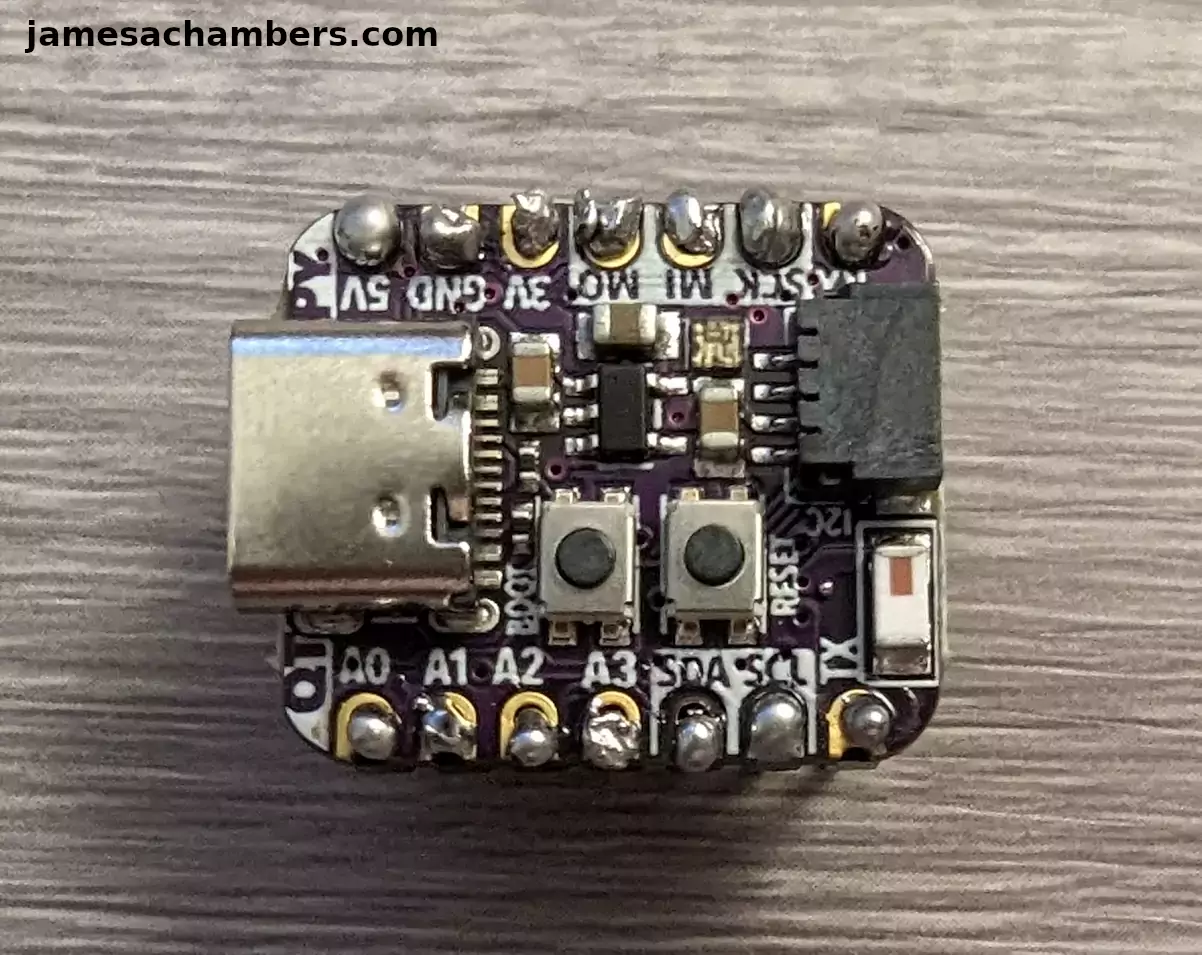
This is the brains of the operation including our processing and communications. We have two buttons on the top for resetting the device and putting it into boot loader mode. There’s also a Stemma connector (a 4 pin I2C) on the top of the board for additional expandability.
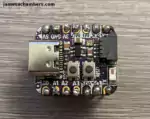
Here’s the bottom side of the board:
The second part is the button itself. Here’s a look:
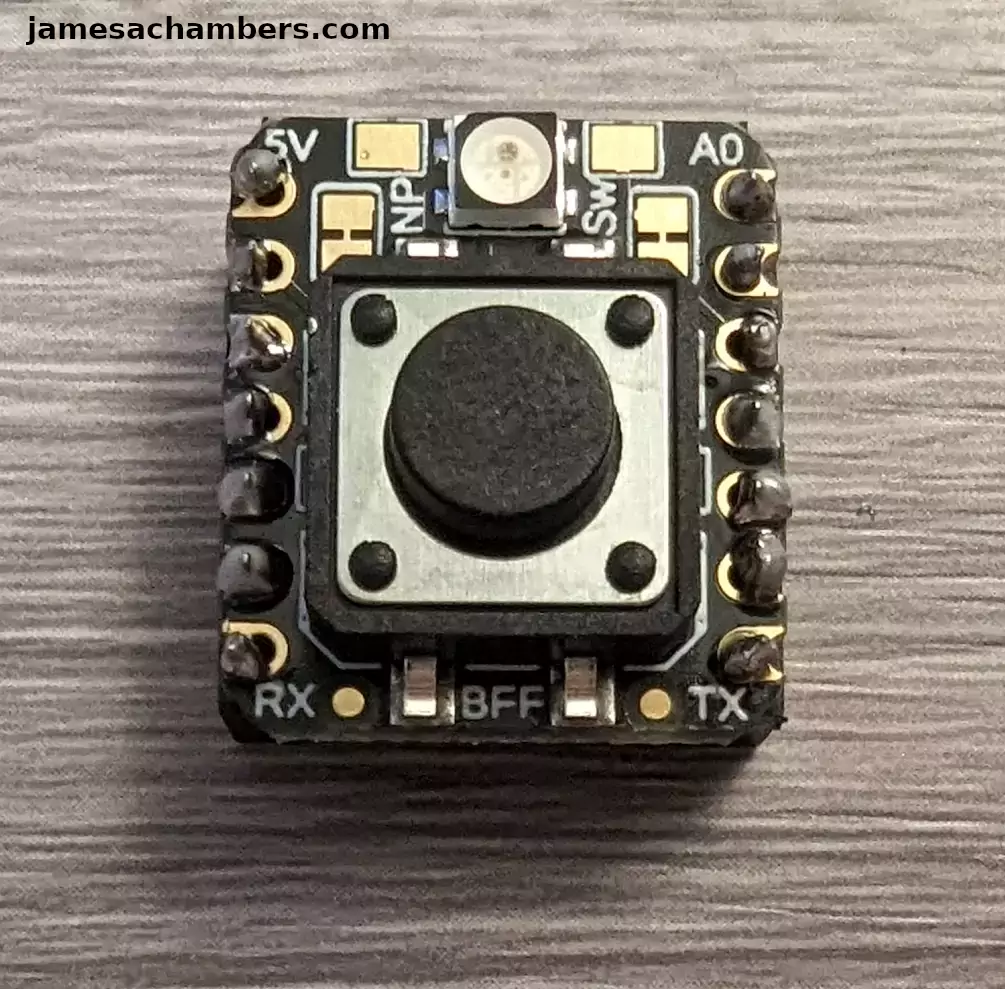
And the bottom view:
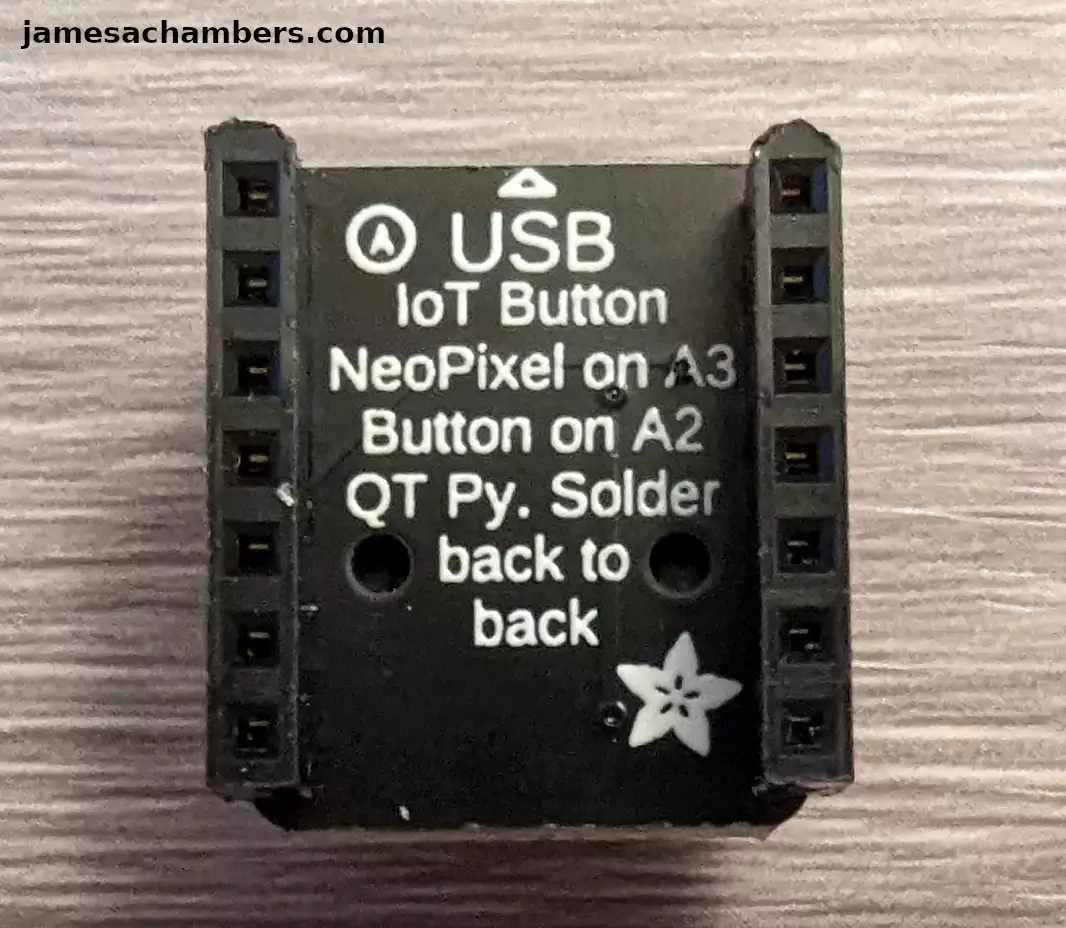
You can see I used socketed headers on the button. This allows you to plug and unplug things and is a much less permanent solution than soldering them together.
That’s pretty much all that makes up this entire solution. Now let’s get it set up within Home Assistant!
Adding ESPHome to Home Assistant
We are going to assume you have Home Assistant installed as installing Home Assistant is outside the scope of this guide. You can absolutely follow along though and see if it looks like something you’d like to explore. I have it installed as a supervised installation on an Orange Pi 5.
Sign into your Home Assistant instance and go to “Settings” and then “Add-ons”. Next click the “Add-on Store”.
ESPHome has it’s own section like this:
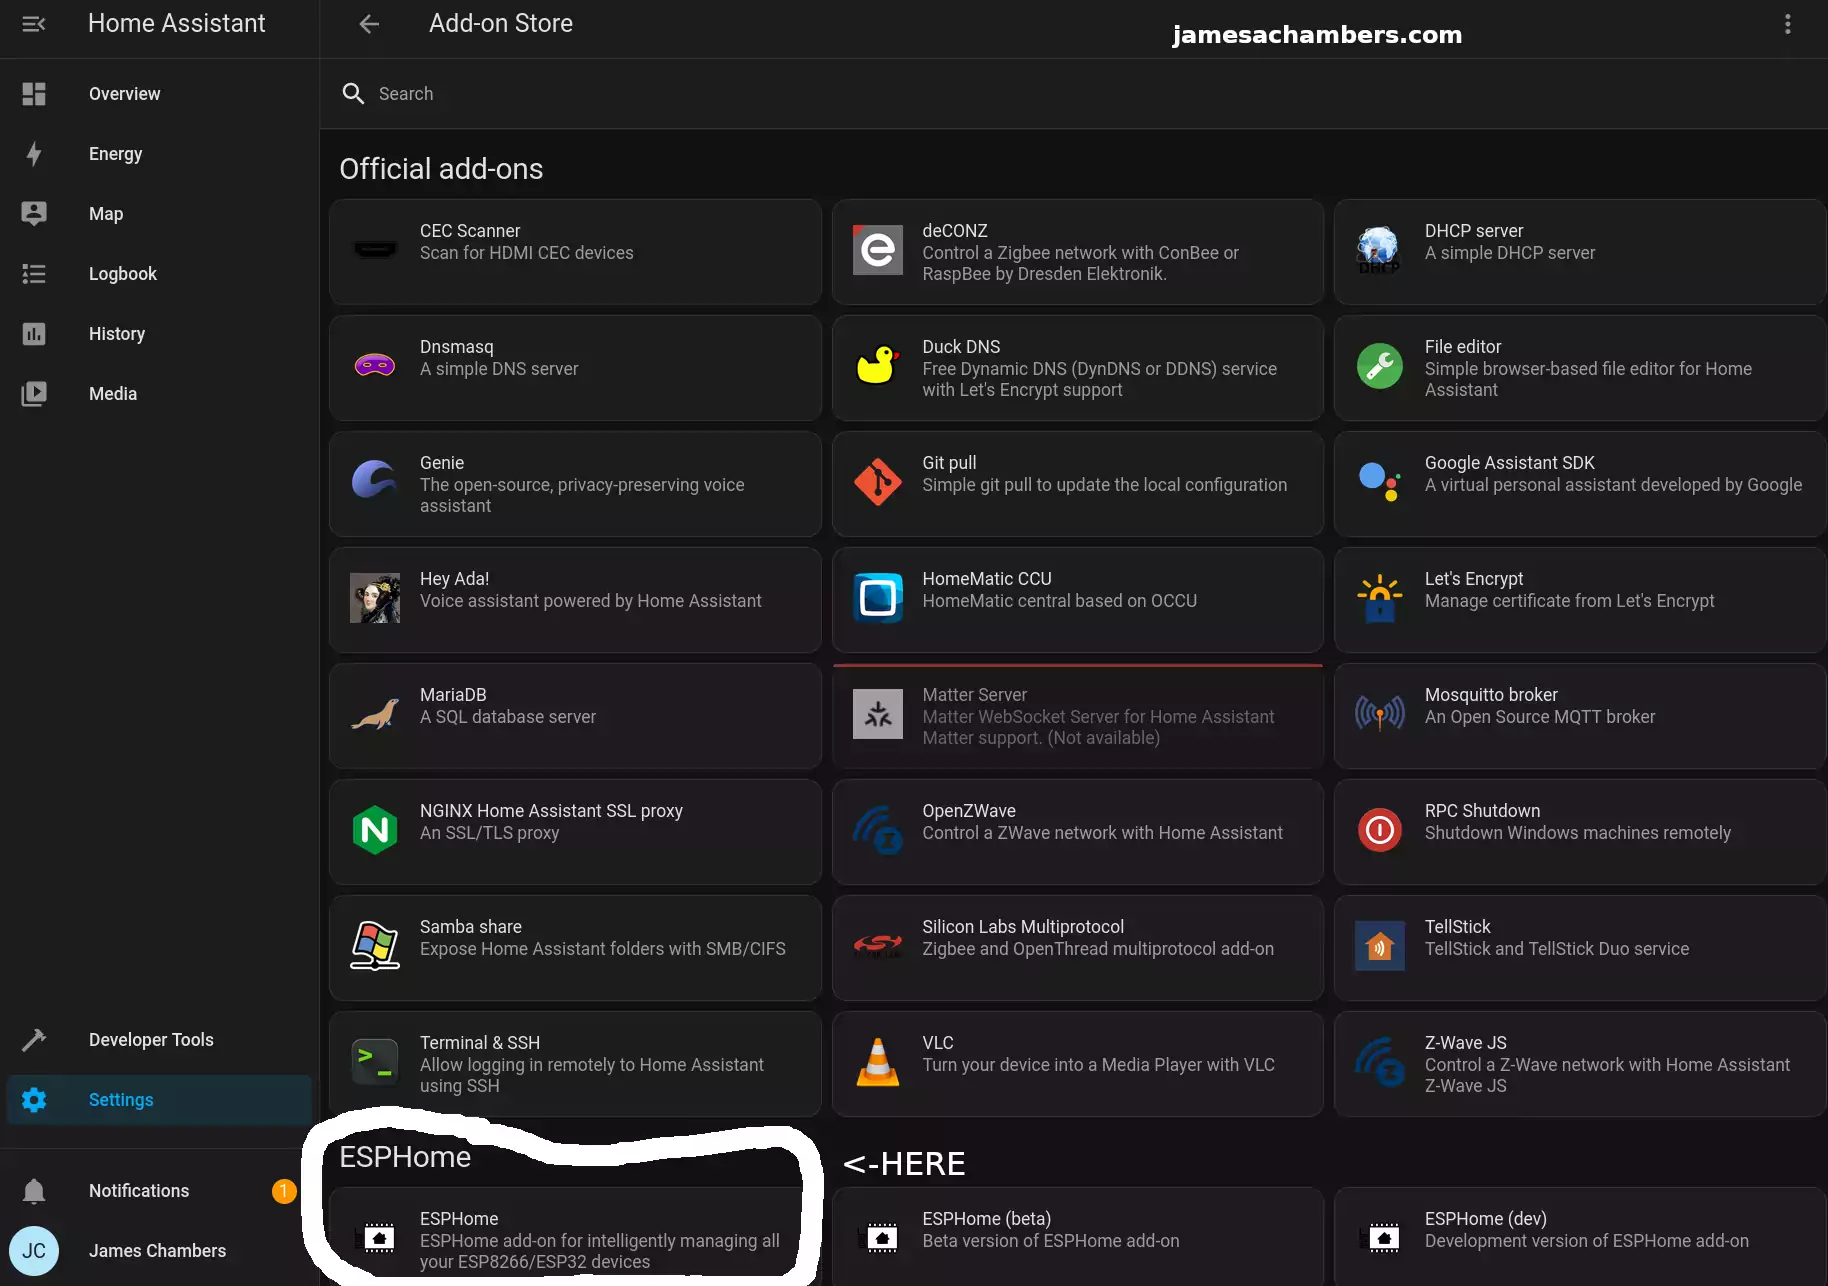
Select ESPHome and then click “Install”. Once the installation is finished you can click “Start” to start the service.
To make things easier choose to add the ESPHome option to your sidebar. That way you’ll see a menu choice specifically for ESPHome going forward.
Configuring ESPHome
First head to the ESPHome menu option:
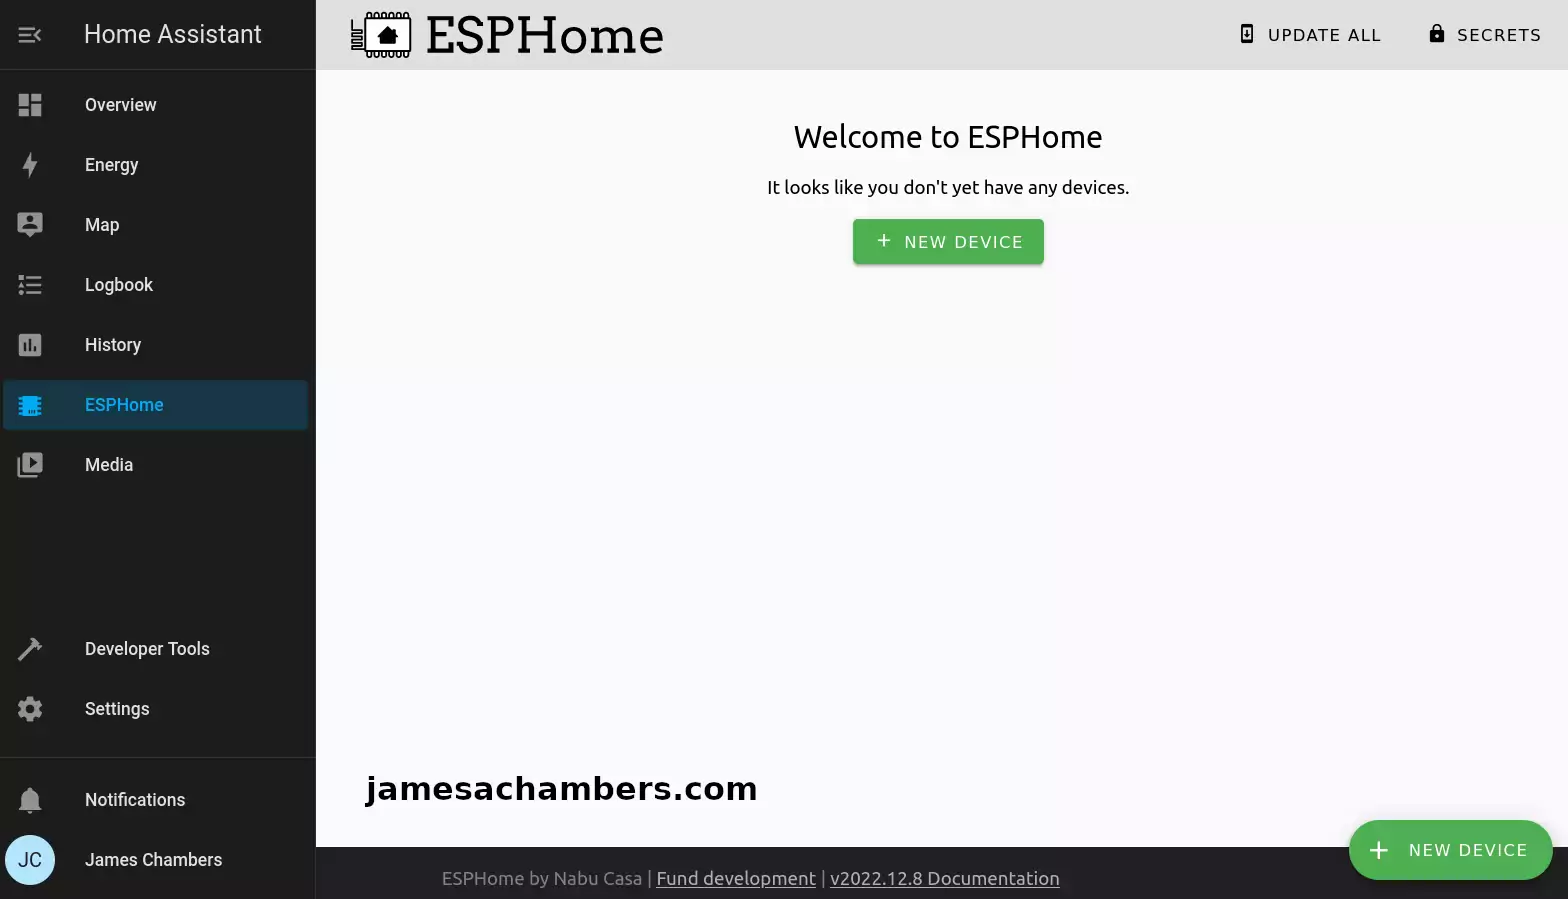
If you don’t see the ESPHome menu option then go back to the “Add-on Store” from the previous step. Select ESPHome and enable “Show in sidebar”.
For setup we need to connect your QT Py to your device running Home Assistant with USB. This is only required for setup. It will communicate wirelessly after you’ve completed setup (if you configure it that way).
You also have the option of connecting it to a different computer but *only* if your Home Assistant instance is configured to run in HTTPS.
Click “New Device” in the bottom right hand menu. Follow the menus to add the device into your ESPHome instance.
Editing YAML Configuration
Click “Edit” on the new sensor/device you created. We are going to change the esp32 section to this:
esp32:
  board: adafruit_qtpy_esp32c3
  variant: esp32c3
  framework:
    type: arduino
    version: 2.0.6
    platform_version: 5.2.0
Note that YAML is very sensitive to spacing. The editor will underline errors in red for you which definitely helps to spot them as long as you’re watching for them.
While we are in here you should save your encryption key to your clipboard or keep it handy for reference. We are going to need it in the step to add the device to Home Assistant later.
Install Configuration to Device
Finally you can begin programming the device. Click to “Install”. Select the device type and your USB device again and with any luck:
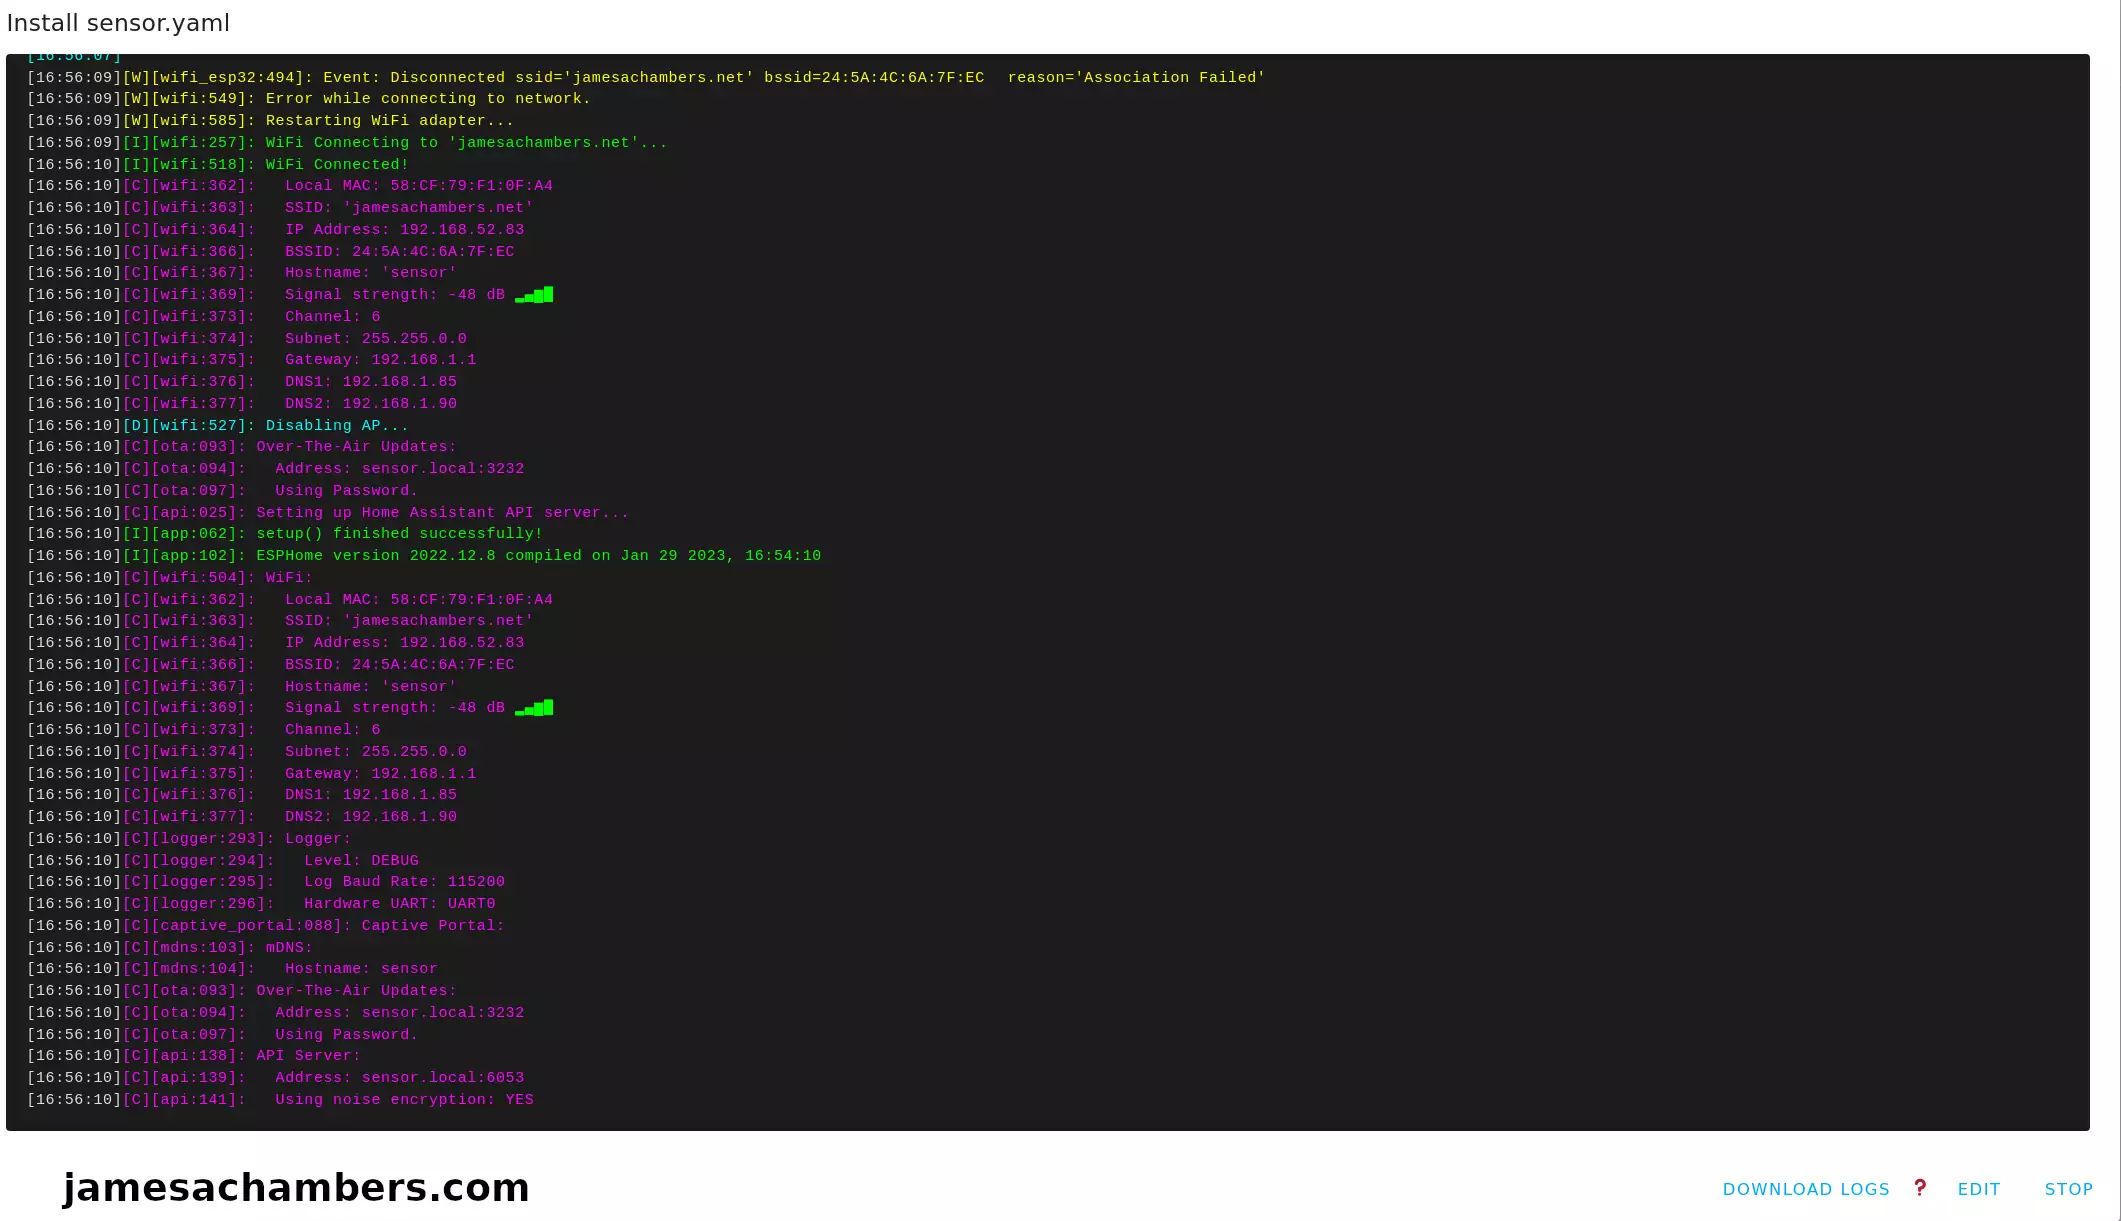
Above you can see it connected to my WiFi point and that everything ran successfully. That is without ever programming the ESP32. ESPHome did all of the programming for us!
Adding Device to Home Assistant
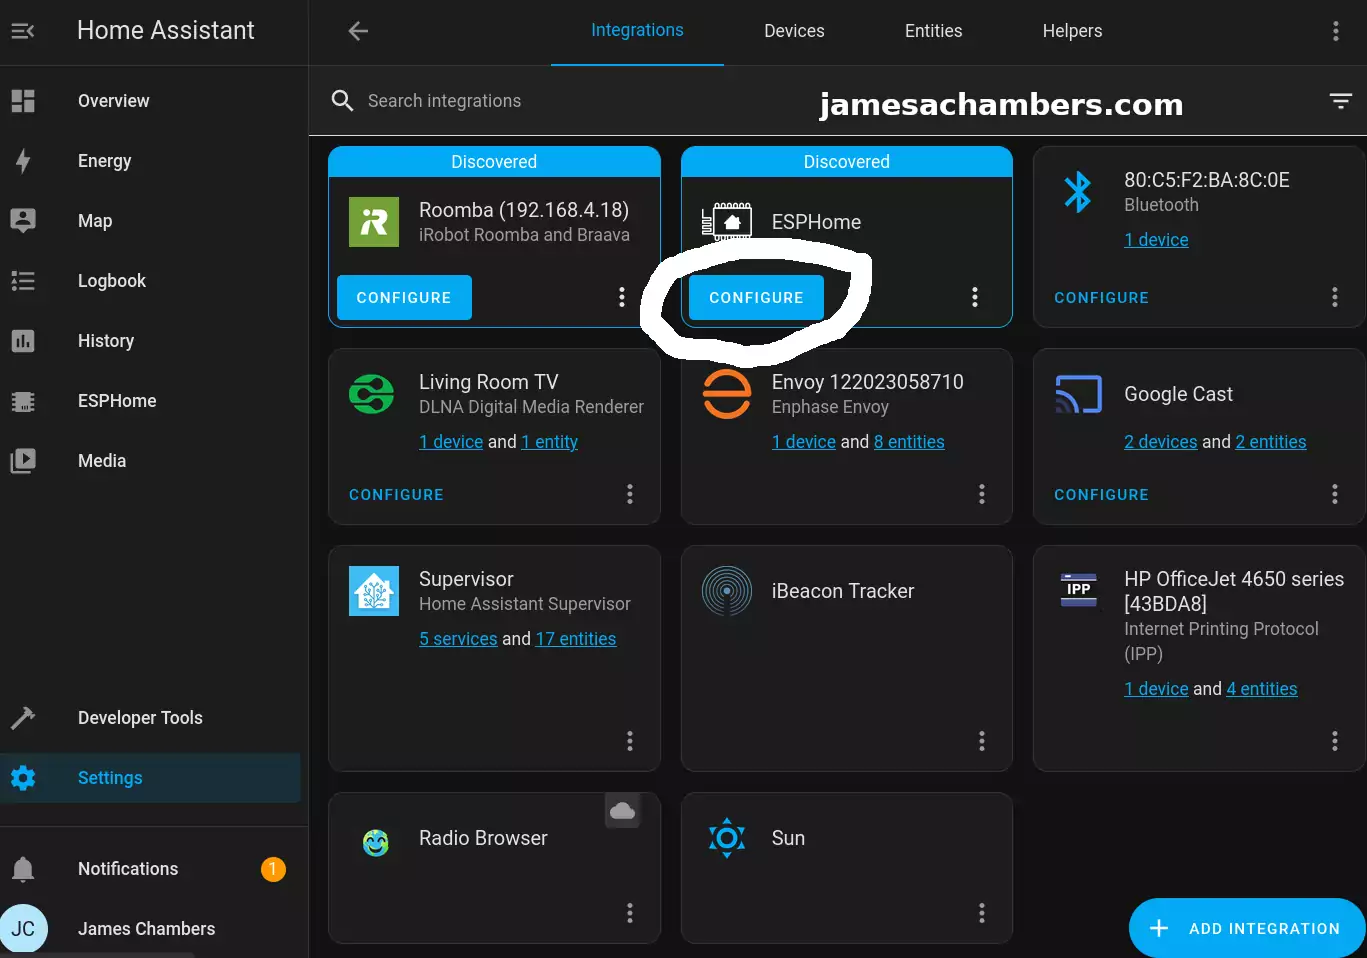
Now head back to your “Settings” menu for Home Assistant and click “Devices”. You should see your new sensor with the name you specified in the configuration.
Check to see if the sensor is online. With any luck it is like my example above. Now click “Configure”:
It should ask you if you want to add the node to Home Assistant. Select “Submit” and then it will ask you for your encryption key it gave us earlier. If you don’t have this just go back to the ESPHome menu and select “Edit”. You will see the key in plain text under “encryption” and then “key”.
If everything goes well the device should come online and be successfully paired with Home Assistant. From this point forward we will be able to update and push the configuration wirelessly to the device.
Adding Button to YAML Configuration
Now we need to add the button to Home Assistant so we can create automations around it to control our devices.
I wanted to get both NeoPixels working and available as entities within Home Assistant. Here’s the configuration I used:
esphome:
  name: adafruit-button
  friendly_name: adafruit-button
  platformio_options:
    board_build.flash_mode: dio

esp32:
  board: adafruit_qtpy_esp32c3
  variant: esp32c3
  framework:
    type: arduino
    version: 2.0.7
    platform_version: 5.2.0

light:
  - platform: neopixelbus
    type: GRB
    variant: WS2812
    pin: GPIO2
    method:
      type: esp32_rmt
      channel: 0
    num_leds: 1
    name: "QT Py NeoPixel"
    restore_mode: RESTORE_AND_ON

  - platform: neopixelbus
    type: GRBW
    variant: SK6812
    pin: GPIO0
    method:
      type: esp32_rmt
      channel: 1
    num_leds: 1
    name: "Button NeoPixel"
    restore_mode: RESTORE_AND_ON

binary_sensor:
  - platform: gpio
    pin:
      number: GPIO1
      mode: INPUT_PULLUP
    name: "Button"
    device_class: window

# Enable logging
logger:
  baud_rate: 0
  deassert_rts_dtr: true

# Enable Home Assistant API
api:
  encryption:
    key: "XXXX"

ota:
  password: "XXXX"

wifi:
  ssid: !secret wifi_ssid
  password: !secret wifi_password
  domain: .jamesachambers.net
  power_save_mode: none
Save and install the configuration to the device.
Configured Result
Now you should have the entity available within Home Assistant like this:
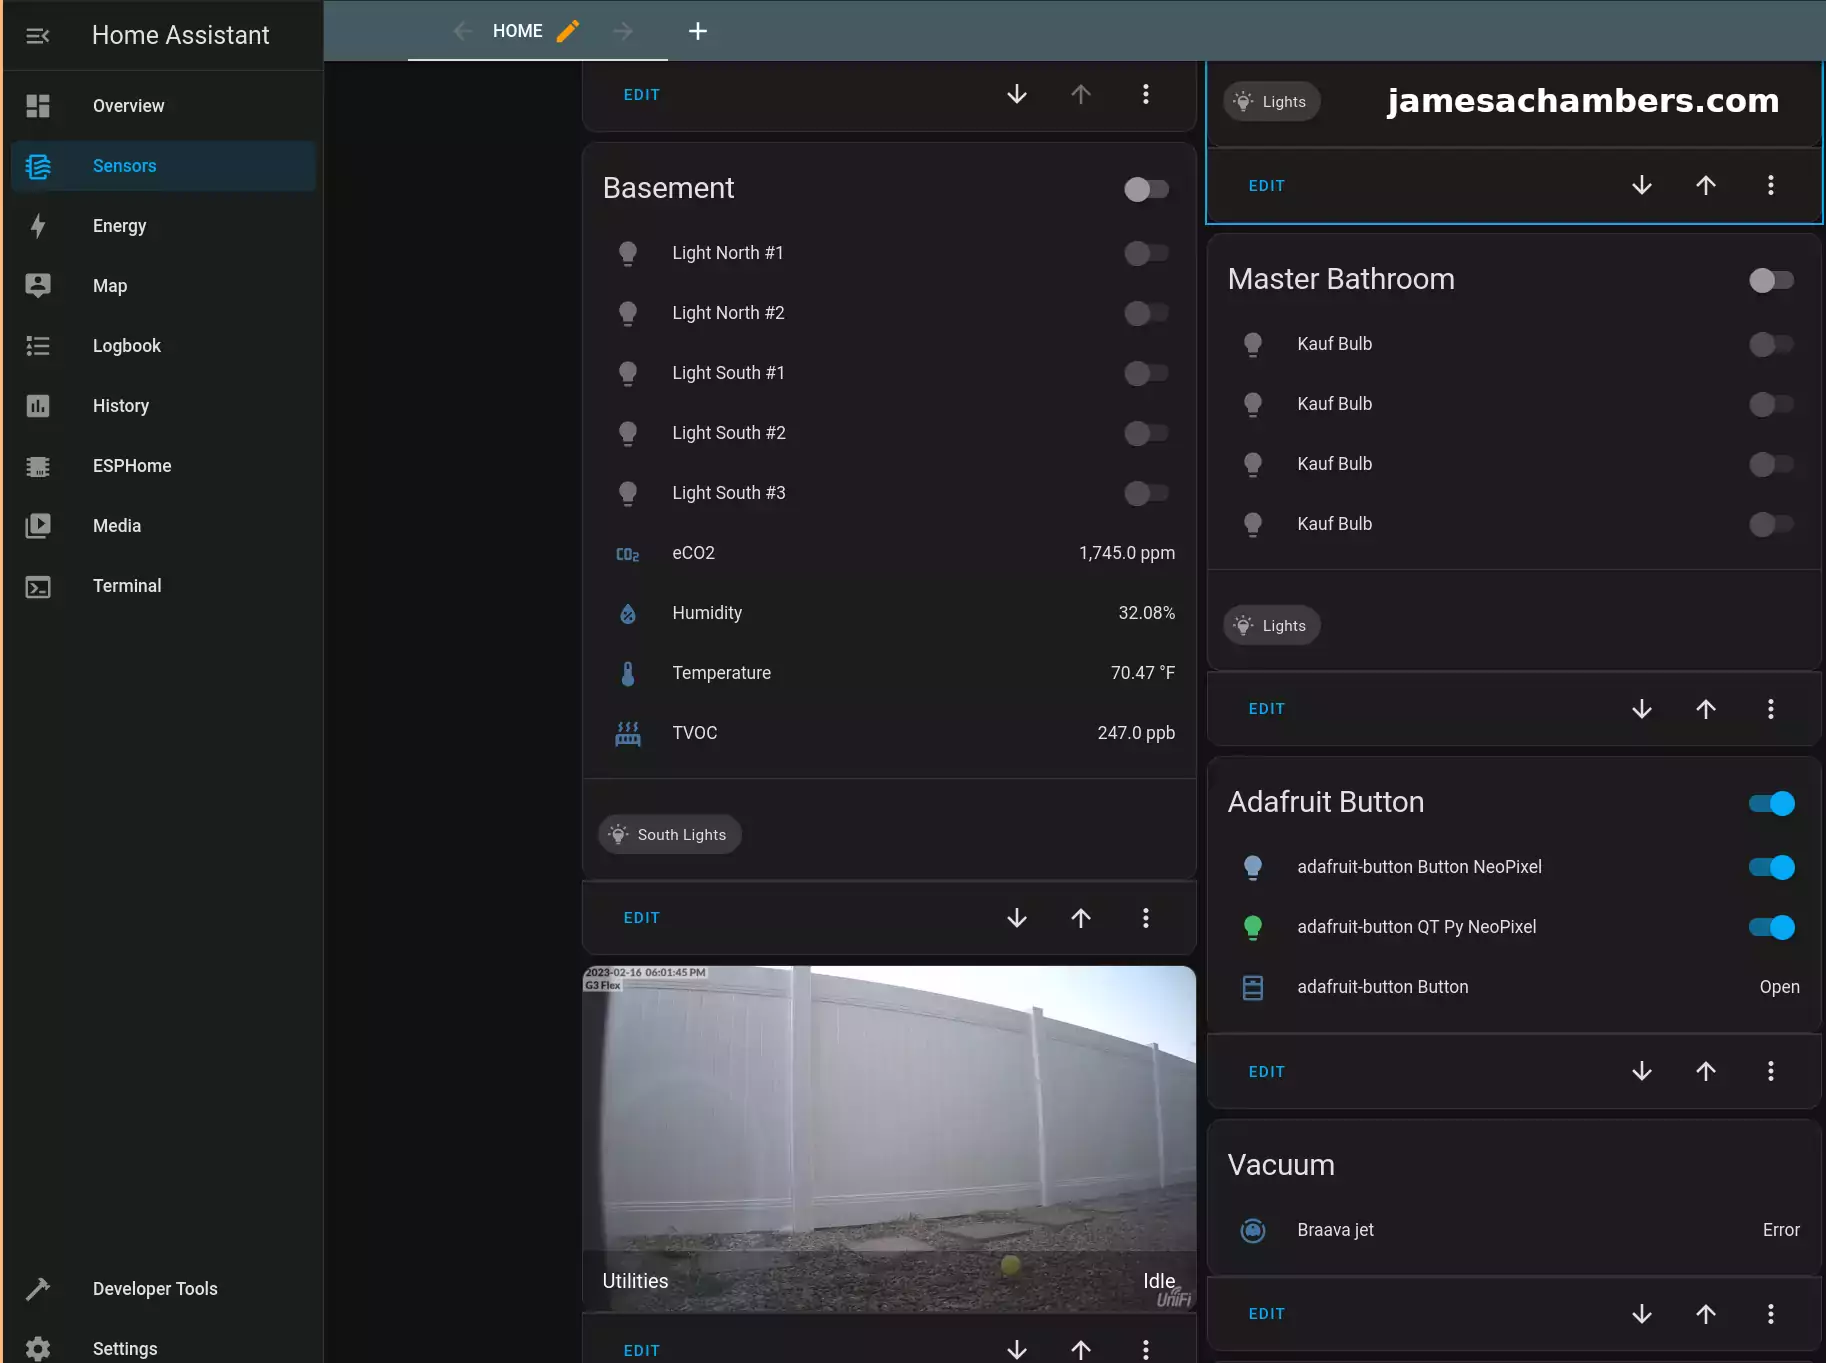
You can see the “Adafruit Button” section on the right hand side of the screen. You can also control both NeoPixels (RGB LEDs) on the button as well as the QT Py itself. Clicking on the light will let you set the brightness and the RGB.
The button is showing as “open”. Each time the button is pressed it generates an event in Home Assistant’s history like this:
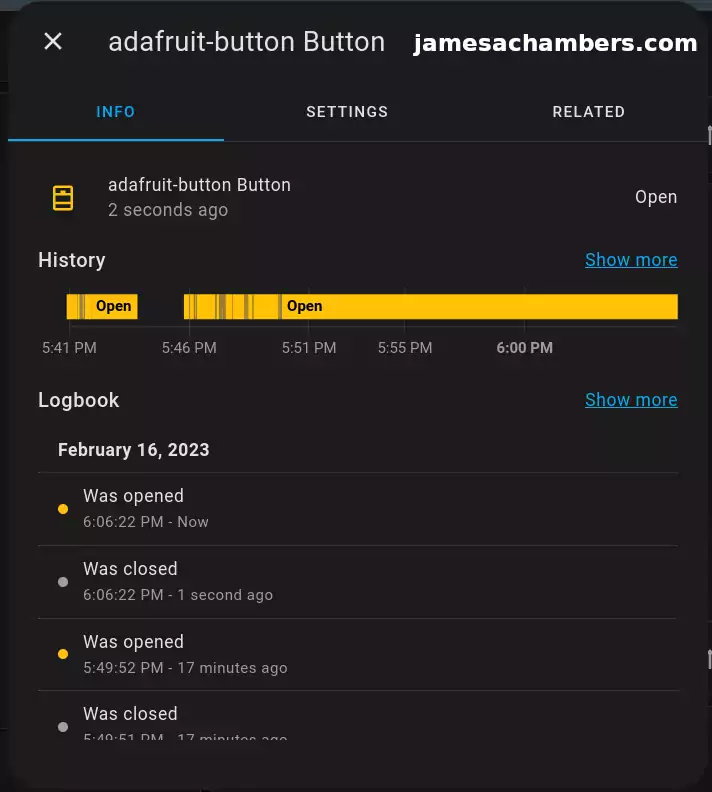
Now that we’ve completed configuration it’s time to make the button actually do something with automation!
Button Automation
First head to the Settings menu and then choose “Automations and Scenes”:
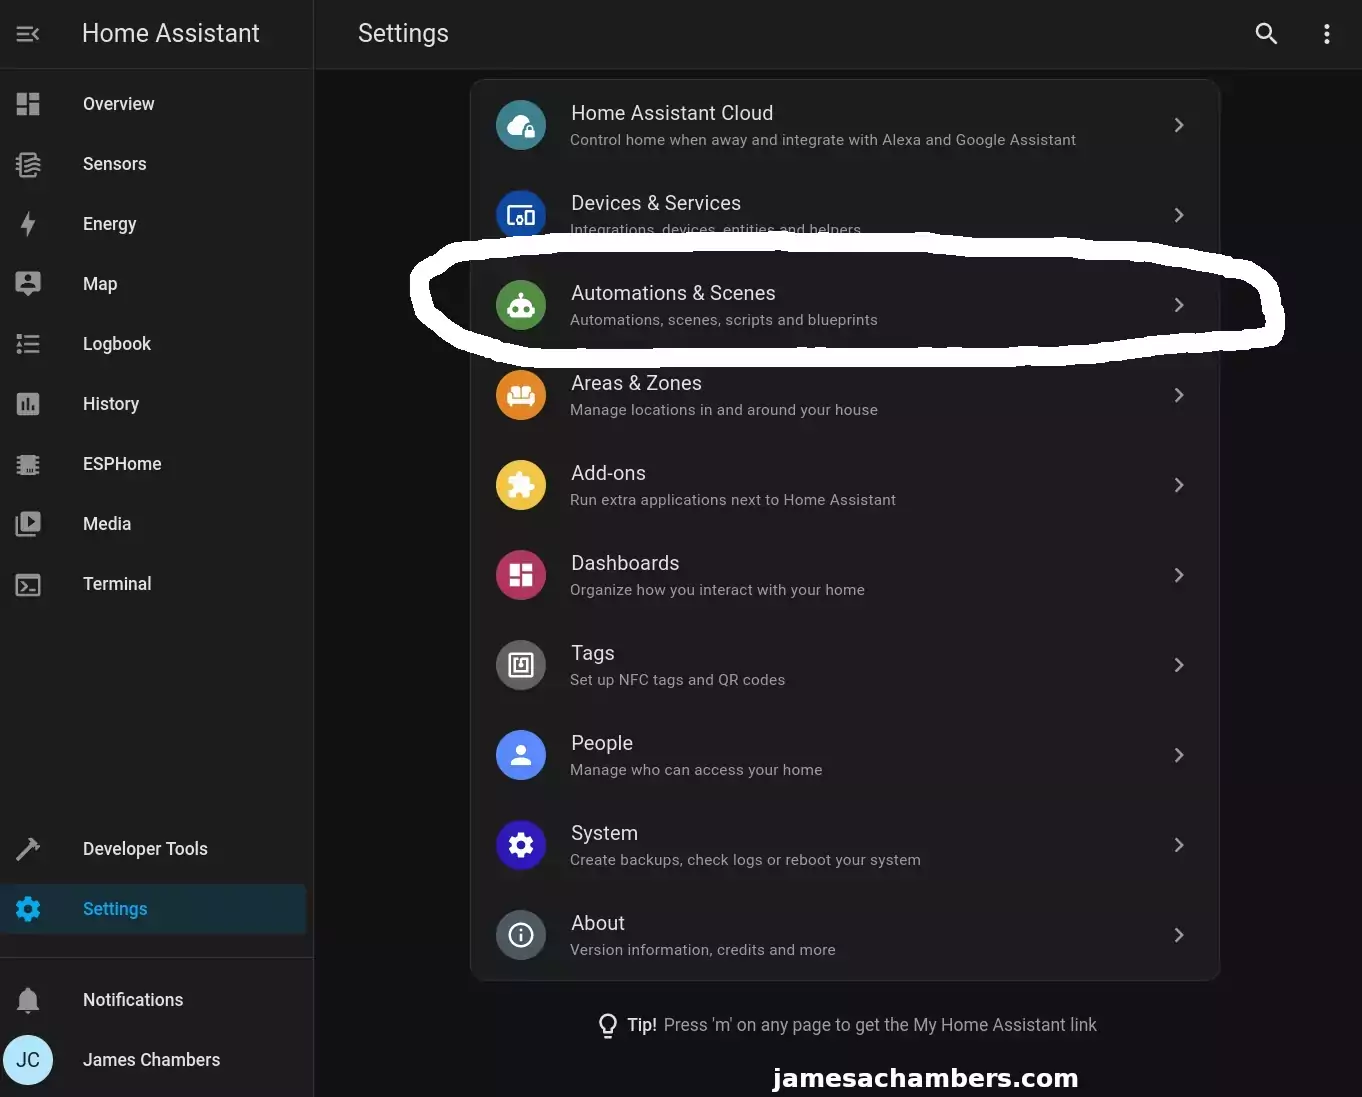
Now click “Create Automation” in the bottom right hand of your screen. On the menu that pops up choose “Start with an empty automation”.
You will be taken to a screen with triggers, conditions and actions. Setup your automation like this:
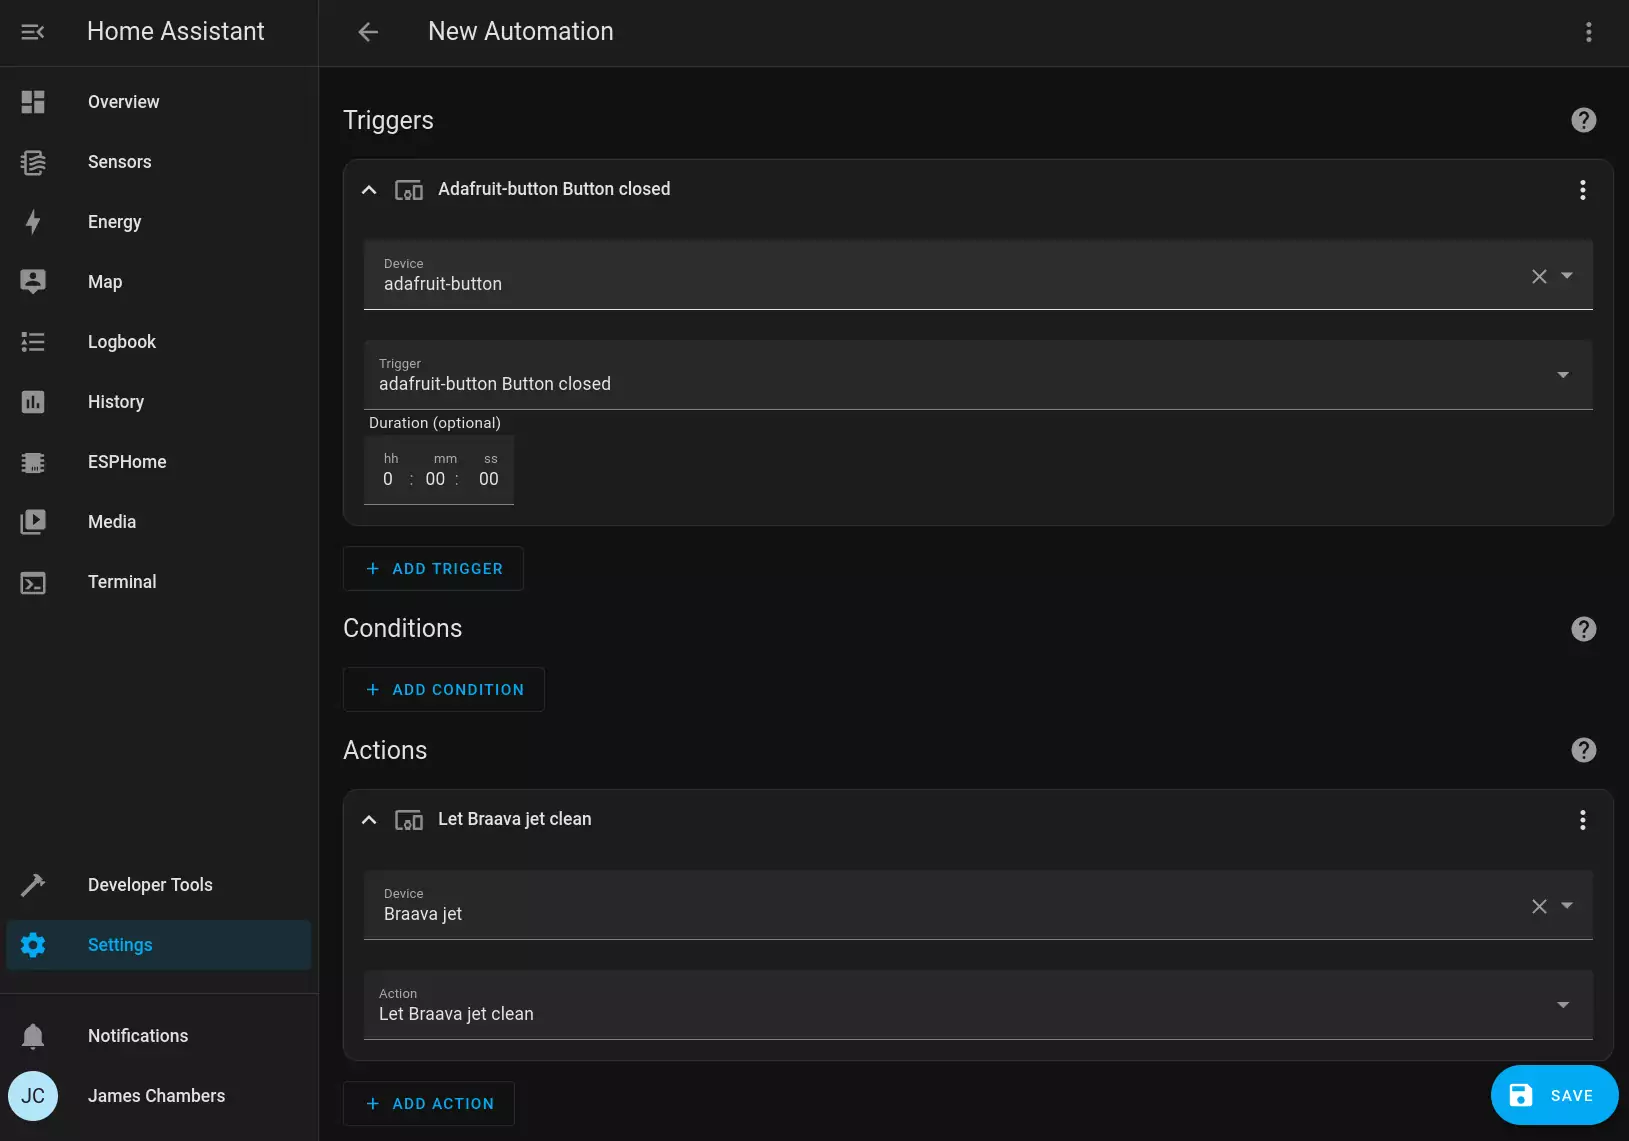
Simply press the + sign to add a trigger for your button being pressed (the closed status in my configuration). You can add addition conditions if you’d like in the middle section. I left mine blank.
Now in the final actions tab you’ll have a whole bunch of choices on what to do. There are countless options. You can basically do any action available to you within Home Assistant. It’s all configured via the GUI. I didn’t use YAML at all for this part of the configuration.
In the above example simply pressing my button will make my Braava Jet (it’s a Roomba that mops) go and mop the floors.
That’s pretty much it! Once you’ve set up the action go ahead and press your new WiFi IoT button to trigger it! You may also add additional actions such as changing the LEDs/NeoPixels to a certain color
Conclusion
The Adafruit IoT button is currently out of stock at time of writing but it wasn’t a few weeks ago. It’s not surprising considering how tiny the end device ends up being. The QT Py + IoT button make the smallest WiFi button package I’ve seen available. It’s quite cheap to build too as the QT Py itself is only about $10 and the IoT button is $3.50.
There’s a few different ways you could go about adding battery functionality. The easiest and safest way is probably just to use a very small USB-C power bank. You could also add a rechargeable circuit to the design. This is something I will explore and document later.
I haven’t added my garage door into Home Assistant but I definitely plan on making a garage door opener system with a wireless button. It will use the NeoPixels to indicate green when the garage door is closed and then the NeoPixel lights will update to turn red when it’s not closed. That way it’s serving a dual purpose of both letting me know whether it’s open or closed via a simple LED but it will allow me to instantly take care of it from my desk with a push button right next to my indicator light.
I’d definitely recommend it for anyone who is comfortable soldering the headers. It’s also possible to solder the boards back to back to make it an even smaller button. I used a socketed header on mine so that I can easily prototype and move things around. These are available on Adafruit’s site as well (check their listing and they link to it in there).
Other Resources
I’ve also implemented a 7-in-one air sensor into Home Assistant in this article
You can see my guide on the Kauf smart lights I’m using with Home Assistant here
Don’t miss my other sensors guide using the ESP32-C3 here


Excellent guide and awesome job by team Adafruit so hopefully they anage to get the restocked soon as such a cool bit of kit!
Hey Razor Burn,
For sure! I know I mentioned this in my other reply but a *lot* of the new Adafruit products here in their new section are Stemma QT (4 pin I2C) versions of them which don’t require soldering.
It’s really valuable they got the NeoPixel / RGB LED on the board since it enhances this button to not be just a button. We can use the automations to have the LED turn different colors depending on the status such as if the garage door is open or closed. I’m hoping for a quick restock as well!