
I’ve covered making a wireless Adafruit IoT button that can run any action within Home Assistant when you press the button using automations. These are great because they also have a RGB LED built in that you can use to show the status of something being controlled by the button.
For example if you used it to control your garage door you could make the button red when your garage door is open and green when it’s shut. This way just by looking at the button you know what the state of the garage door is.
Today I am going to cover something really similar: a single WiFi action key using gear from Adafruit as well as a RISC-V ESP32-C3 module. These also have individual RGB LEDs for each key just like the IoT button giving them the same advantages. Let’s begin!
Hardware Used
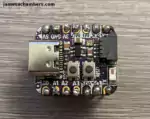
The Adafruit QT Py ESP32-C3 is an incredibly tiny board that has WiFi/Bluetooth capabilities and is powered through USB-C
Links: Adafruit.com, Amazon.com*
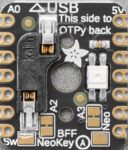
The Adafruit NeoKey BFF add-on is meant to be soldered directly to the QT Py (or you can use socketed headers) and gives you a single key as well as a RGB LED (NeoPixel)!
Links: Adafruit.com
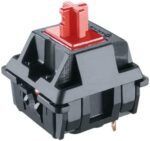
Cherry MX switches (and similar switches) are compatible with the Adafruit BFF one key
Links: Amazon.com*, AliExpress.com*
You’ll need some key caps if you don’t already have some spares. These can be anything you’d like.
Links: Amazon.com*, AliExpress.com*
Assembly
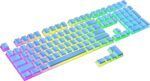
It’s really easy. You have a couple of options. I usually solder socketed headers on the NeoKey and regular headers on the QT Py like this:
You can see that the NeoKey simply plugs right into the QT Py with the headers soldered. You can also skip soldering socketed headers like I did on the NeoKey and solder it directly to the QT Py.
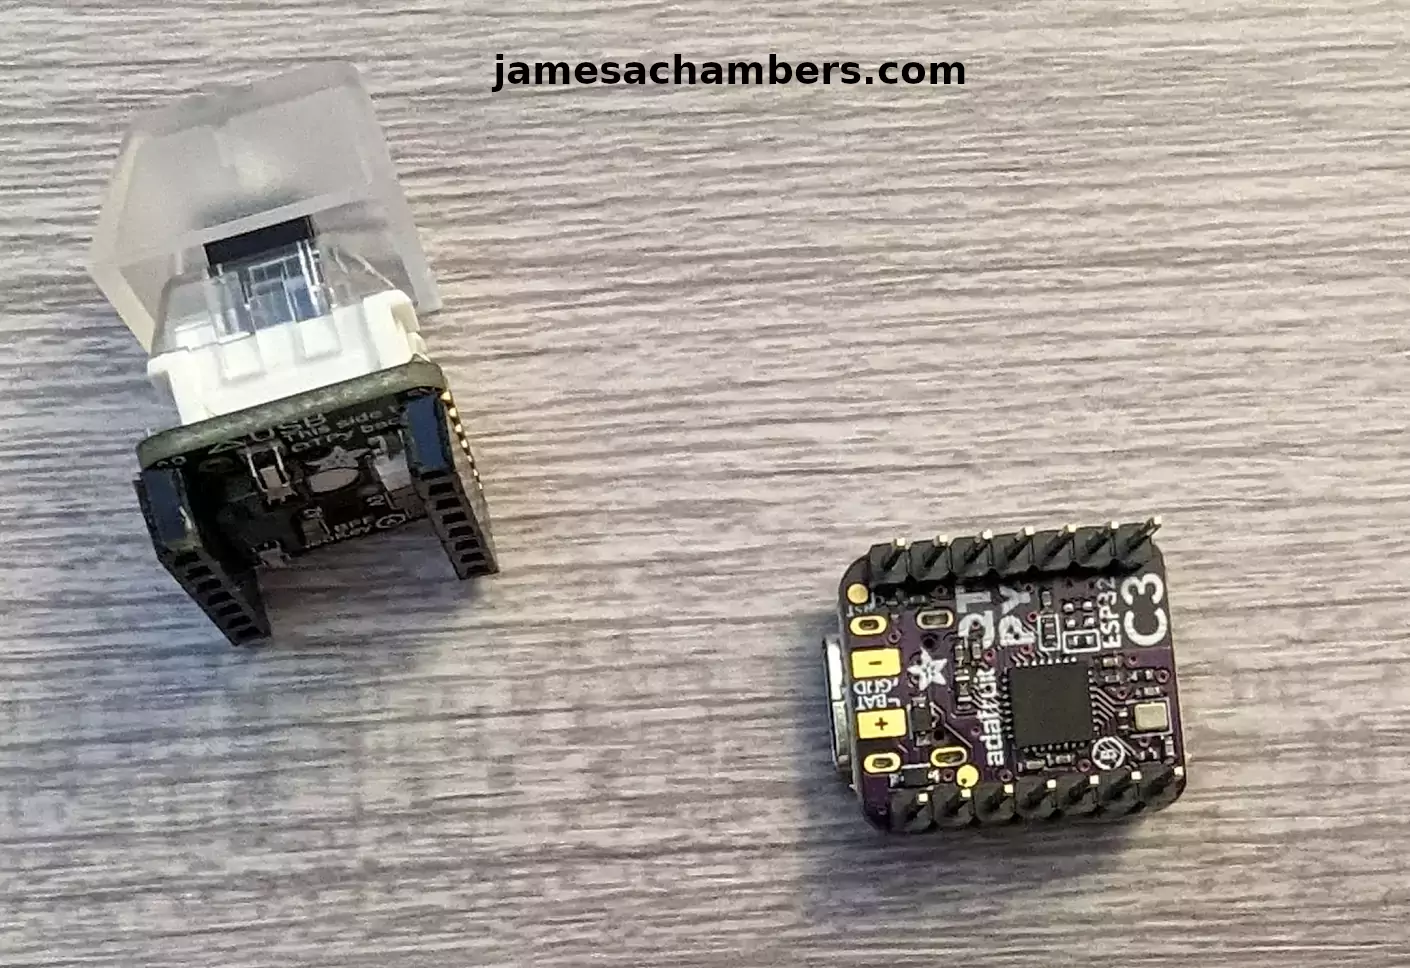
The keyboard switches plug right into the board here:
You can see the two black sockets where the key switch plugs in. You just plug it right in there and it’s pretty much good to go. It can be secured further but just like with my headers I prefer to keep my options open and don’t solder the key switches typically. They hold in there well enough from my experience.
Adding to Home Assistant
I’m going to skip showing adding the device to Home Assistant since I’ve covered this many times already. See my Adafruit IoT button guide for adding the device to Home Assistant and installing ESPHome if you haven’t already. It’s the exact same process.
Final Result
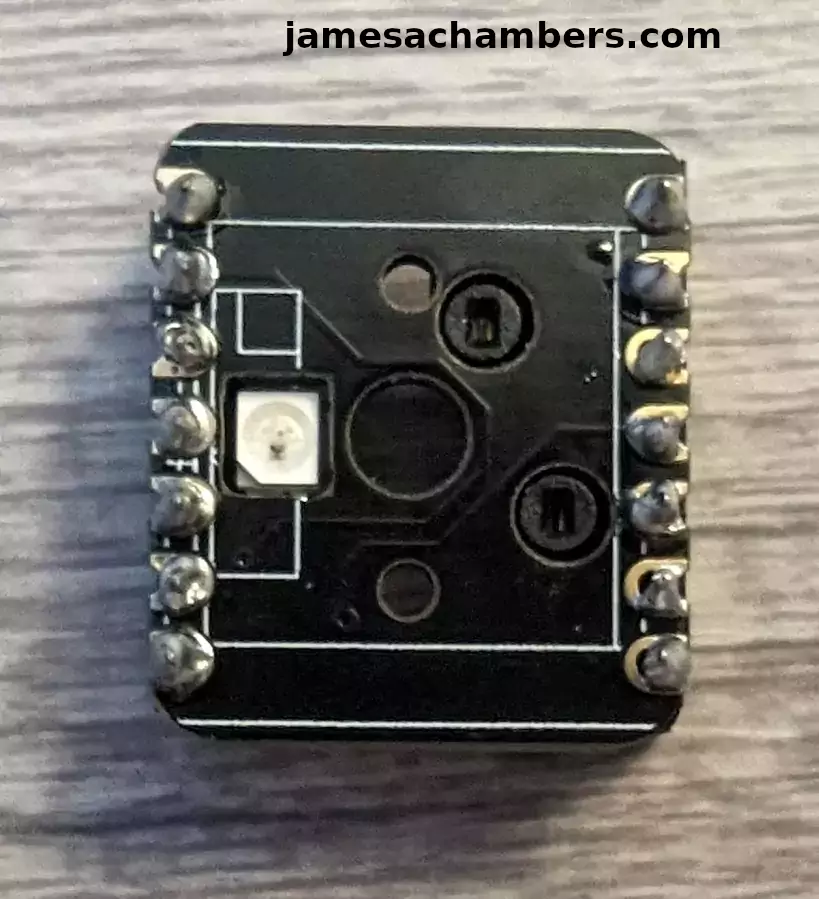
Here’s what the device looks like within Home Assistant:
You can see my button press history on the side in the logbook. It’s easy to add automations here to make pressing the key actually do something. We will cover that more later.
You can set the color of each NeoPixel here by clicking on the light icon:
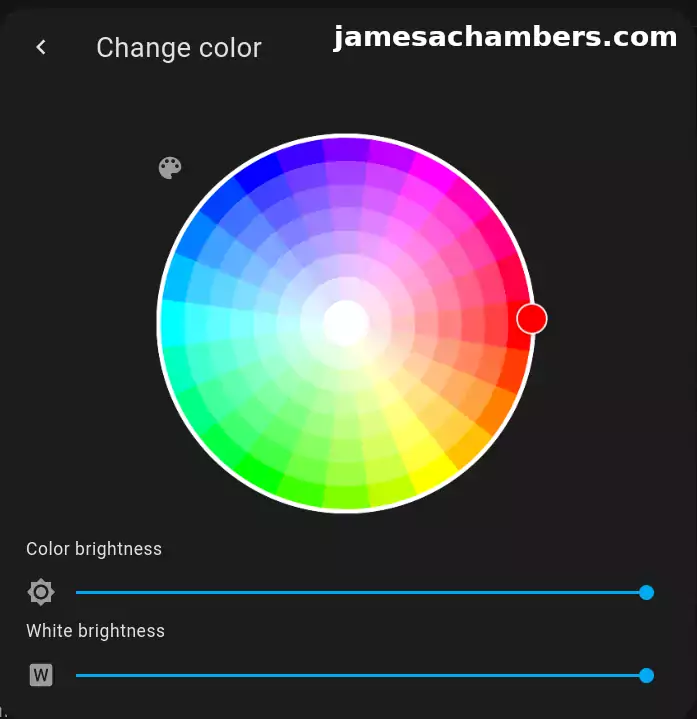
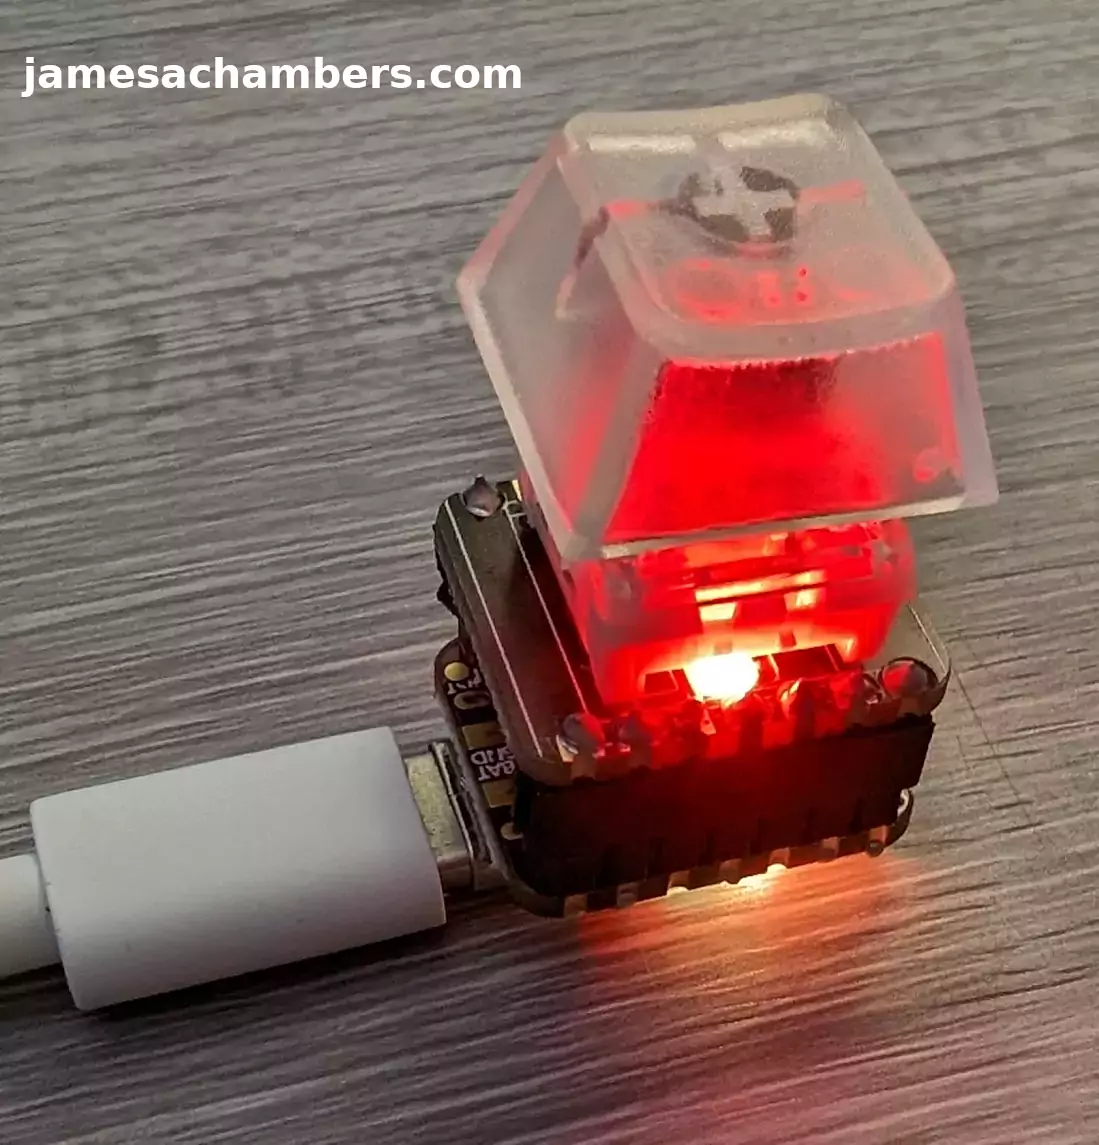
After setting my colors in Home Assistant the key and QT Py looked like this:
I’m using the exact colors set in the screenshots above from earlier. If you look closely you can tell that the lower LED (on the QT Py) the light is actually orange while I set the key itself to red.
YAML Configuration for ESPHome
esphome:
  name: adafruit-onekey
  friendly_name: adafruit-onekey
  platformio_options:
    board_build.flash_mode: dio

esp32:
  board: adafruit_qtpy_esp32c3
  variant: esp32c3
  framework:
    type: arduino
    version: 2.0.7
    platform_version: 5.2.0

light:
  - platform: neopixelbus
    type: GRB
    variant: WS2812
    pin: GPIO2
    method:
      type: esp32_rmt
      channel: 0
    num_leds: 1
    name: "QT Py NeoPixel"
    restore_mode: RESTORE_AND_ON

  - platform: neopixelbus
    type: GRBW
    variant: SK6812
    pin: GPIO0
    method:
      type: esp32_rmt
      channel: 1
    num_leds: 1
    name: "Key NeoPixel"
    restore_mode: RESTORE_AND_ON

binary_sensor:
  - platform: gpio
    pin:
      number: GPIO1
      mode: INPUT_PULLUP
    name: "Key"
    device_class: window

# Enable logging
logger:
  baud_rate: 0
  deassert_rts_dtr: true

# Enable Home Assistant API
api:
  encryption:
    key: "XXXX"

ota:
  password: "XXXX"

wifi:
  ssid: !secret wifi_ssid
  password: !secret wifi_password
  domain: .jamesachambers.net
  power_save_mode: none
Automation
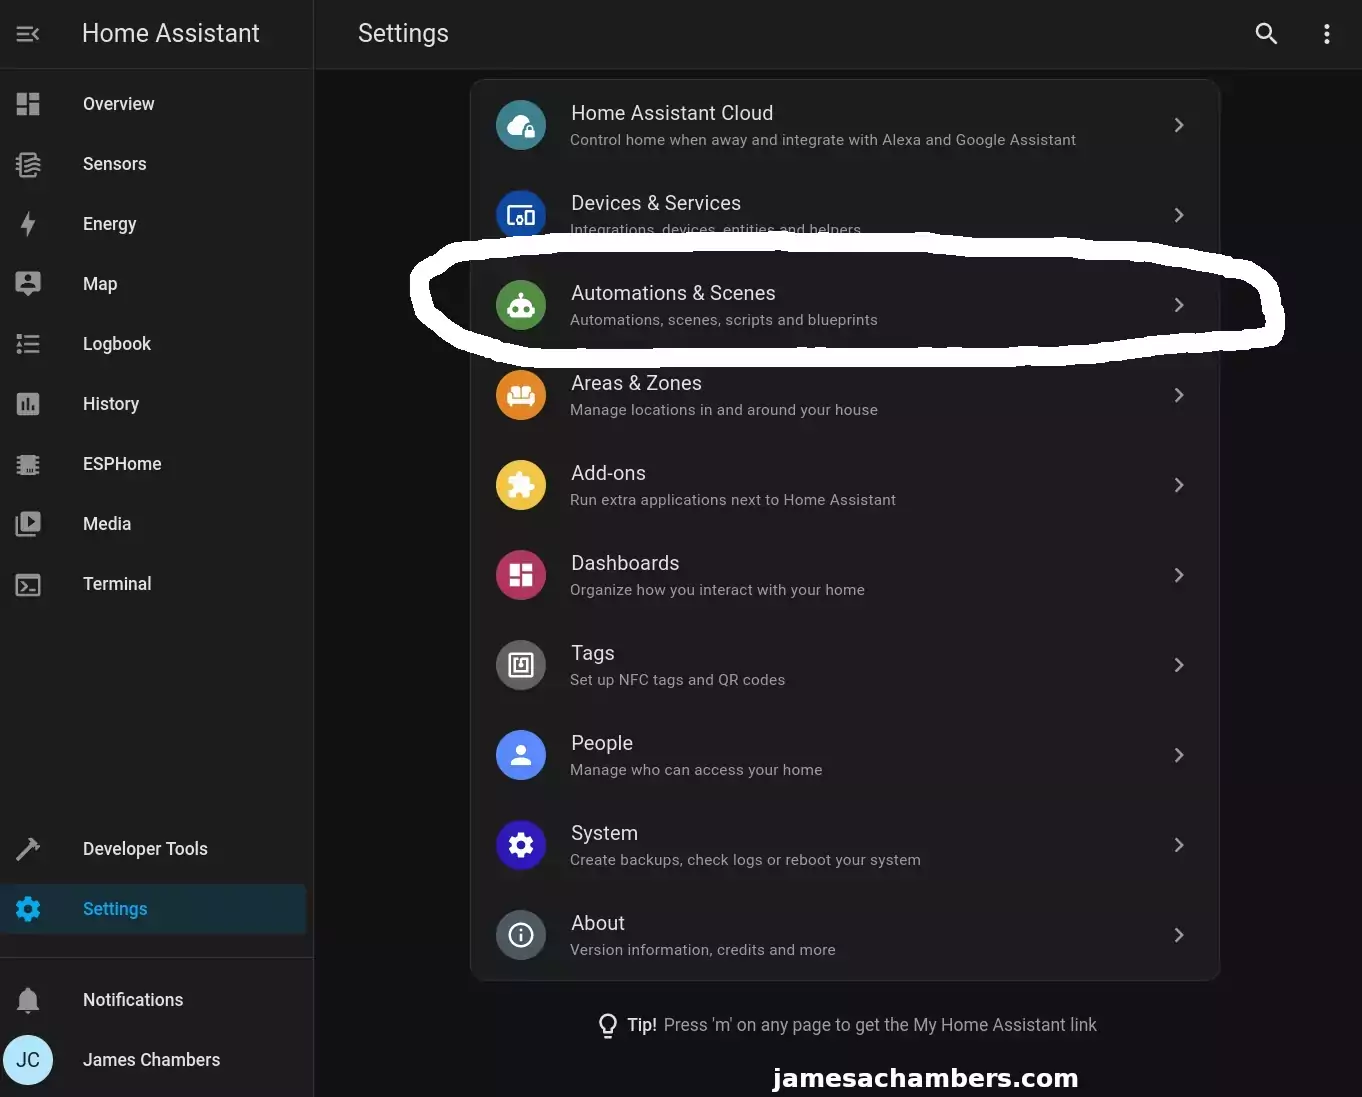
First head to the Settings menu and then choose “Automations and Scenes”:
Now click “Create Automation” in the bottom right hand of your screen. On the menu that pops up choose “Start with an empty automation”.
You will be taken to a screen with triggers, conditions and actions. Setup your automation like this:
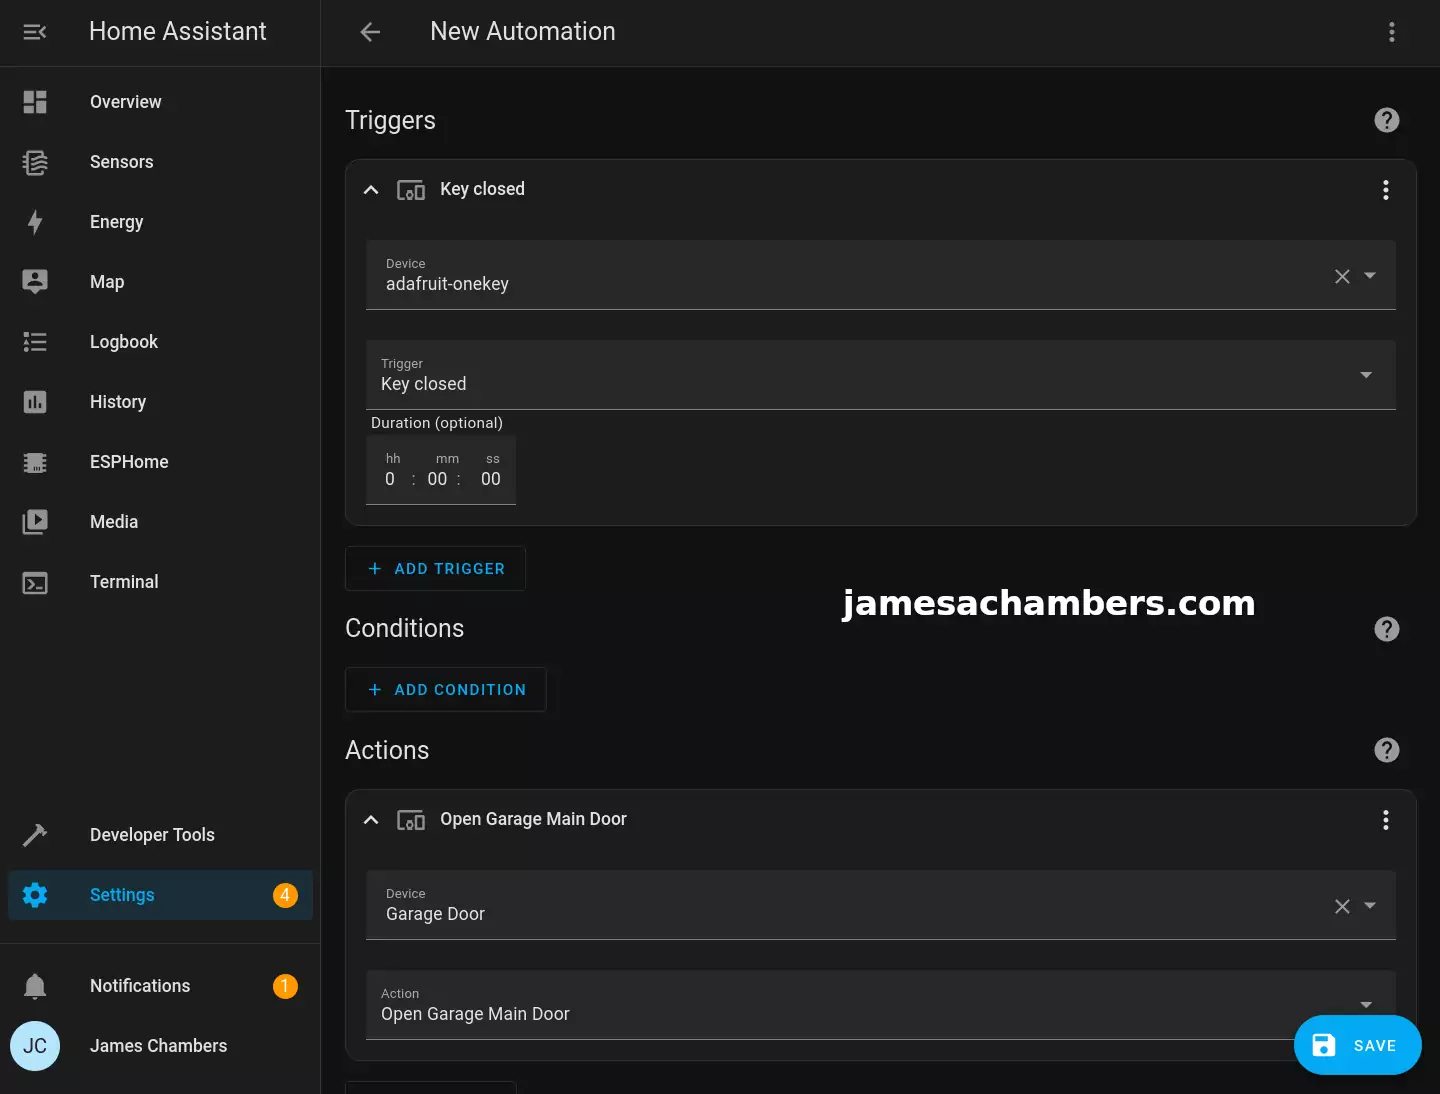
In the above example I’ve set it so that pressing the key (which will turn it to the “Closed” state while it’s pressed) will open my main garage door. You can also add conditions and do things like change the NeoPixel light colors.
This is how you can turn the key into a status indicator. You could make the key turn green when the garage is shut and red when it is open as an example.
You could pick anything available to you though in Home Assistant. Any device in Home Assistant will have a set of actions and you can call any of those actions with your key!
Other Resources
I’ve also covered making an Adafruit IoT button here that can perform actions within Home Assistant!
I’ve also implemented a 7-in-one air sensor into Home Assistant in this article (without soldering)
You can see my guide on the Kauf smart lights I’m using with Home Assistant here


