Search Results for: SSD guide

Raspberry Pi 400 Overclocking / NVMe SSD Setup Guide

Raspberry Pi 400 Setup w/ NVMe SSD

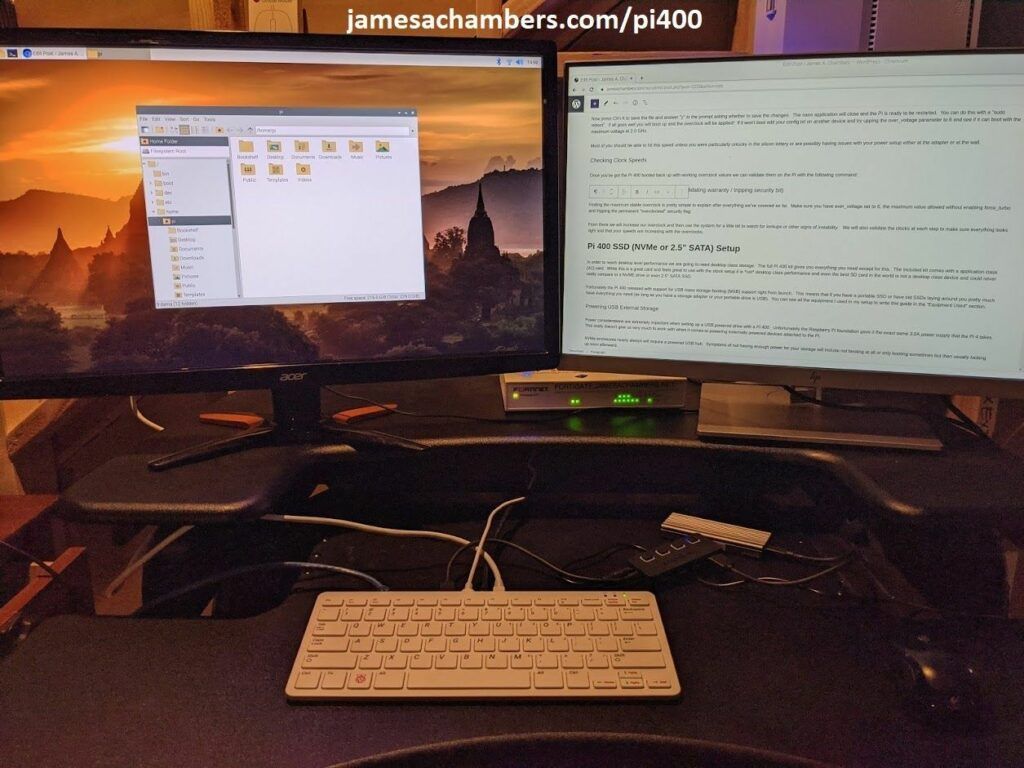
The Raspberry Pi 400 is the first offering from the Raspberry Pi lineup that is meant to approach desktop level performance. The official raspberrypi.org site lists the Pi 400 kit as the “Raspberry Pi 400 Personal Computer Kit“. It comes in the very interesting form factor of a keyboard with all the ports right in the back!

Although the performance on stock clock speeds and with a SD card was really great, especially for a Raspberry Pi, I would not call it desktop class performance. Fortunately we *can* make it desktop class performance with a few tweaks! This guide will show how to overclock the Pi 400 as well as set it up with a NVMe SSD to get the maximum possible performance we can out of it!

Raspberry Pi 400 Overclocking / NVMe SSD Setup Guide Read More »

Raspberry Pi 4 USB Boot Config Guide for SSD / Flash Drives

Raspberry Pi 4 with Samsung 950 Pro NVME SSD

The Raspberry Pi 4 is finally here and has a lot of exciting changes. One very major downside is that it doesn’t support true USB booting yet out of the box (like the 3 series did).
The Raspberry Pi foundation states that it is being worked on and will be added back with a future update. No timeline has been given yet for that to happen but they state it’s one of their top priorities.

Most of my projects heavily depend on having good performing storage so sitting and waiting was not an acceptable solution. In this guide I’ll show you a workaround to use USB devices as your rootfs device and use a Micro SD card as bootloader only which gives us full SSD performance after boot!

Raspberry Pi 4 USB Boot Config Guide for SSD / Flash Drives Read More »

Raspberry Pi Cheap SSD Upgrade Guide

SSD now cheaper than Micro SD cards

I’ve covered the benefits of taking your Raspberry Pi to a solid state drive (SSD) before extensively in this article but in a nutshell you get around a 280% increase in raw throughput and a 1000% increase in 4k random read/writes over a MicroSD card.

In this article I will teach you how to upgrade to a SSD on your Raspberry Pi for under $30.

Raspberry Pi Cheap SSD Upgrade Guide Read More »

XAIO ESP32-C3 Expansion Board Getting Started Guide

Seeed Studios XAIO Expansion Board Getting Started Guide

I recently covered using the XAIO-ESP32-C3 with the Grove Expansion shield to create a sensor panel to be used within Home Assistant via ESPHome. That shield is only around $7 and doesn’t have very many bells and whistles on it. That is a really fantastic and inexpensive solution to expand your available Grove ports and add more sensors or other Grove accessories to your build.

Today I want to cover Seeed Studio’s larger and more capable expansion shield. Instead of using ESPHome to program the device for us though we’re going to set up the Arduino IDE to work with the XAIO-ESP32-C3. That means we’ll be able to run our own code and test out the various capabilities of the larger expansion board.

Let’s get started!

XAIO ESP32-C3 Expansion Board Getting Started Guide Read More »

StarFive VisionFive 2 Firmware / Bootloader Update Guide

StarFive VisionFive 2

If you’ve just received a new StarFive VisionFive 2 you may be having trouble to get it to boot with the latest images. This is because your firmware needs to be updated before using the latest version.

In this guide we’ll cover how to update the firmware on the StarFive VisionFive 2. Let’s begin!

StarFive VisionFive 2 Firmware / Bootloader Update Guide Read More »

ODROID Go Super Getting Started Guide

ODROID Go Super Getting Started Guide

The ODROID Go Super is the latest model of the popular handheld retro gaming consoles made by ODROID. It was recommended by a regular reader that I should check these out and I’m really enjoying it so far.

Today I’ll show you how to get started with the ODROID Go Super including getting a network connection, loading more games onto the device and more. Let’s begin!

ODROID Go Super Getting Started Guide Read More »

ASUS Tinker Board Getting Started Guide

Tinker Board Getting Started Guide

My wife got me a Tinker Board several years ago as a gift and I always meant to cover it on the site but got busy and forgot about it. Due to the ongoing Raspberry Pi shortage and high prices I’ve been reexamining boards from other manufacturers and found that the Tinker Board is widely available for something like ~$76. There are several more powerful versions available as well such as the Tinker Board 2S model.

Today I will correct the injustice done to the Tinker Board and cover how to get a Tinker Board all set up with the latest image and updates. Let’s get started!

ASUS Tinker Board Getting Started Guide Read More »

Using Cheap 2.5″ SSDs with PS4/Xbox to Improve Performance

Last-Gen Console SSD Upgrade using StarTech

When my wife and I were trying to play Cyberpunk 2077 on our last-gen console it was extremely painful and not just because of the bugs. It was painful because every time I died it would take 2-3 minutes to reload the game.

Eventually I decided to grab one of my spare SSDs and use a USB to 2.5″ SATA adapter and hook it up to our last generation consoles and try installing all of the Cyberpunk files to the SSD. It made a gigantic difference getting my load times down to something closer to 20-30 seconds (much better than 3 minutes).

This is also an incredibly cheap thing to do. Even if you buy a new SSD and a 2.5″ SATA adapter you will spend under $30 or so if you get a minimal capacity SSD. If you already have an older spare SSD even better.

Today I’ll cover how to set this up. Let’s get started!

Using Cheap 2.5″ SSDs with PS4/Xbox to Improve Performance Read More »

Pwnagotchi WiFi Audit Tool Build / Guide

Pwnagotchi Raspberry Pi Zero W Build

A “pwnagotchi” is a device used for wireless security auditing / hacking that captures the handshakes of any WiFi access points in range of the device. These handshakes can later be cracked. How difficult these are to crack depends on how secure the wireless network is. If the network is set up with the latest encryption standards and an extremely secure password (or is using WPA encryption) it can be nearly/essentially impossible. If the password is a common dictionary word it may crack within seconds.

It’s common and smart security practice for both enterprises and home users to check what kind of networks are operating within range. It’s common to find devices that are “broadcasting” a wireless access point used to share internet but this is often not intended / authorized. It’s also very common to find devices using extremely insecure passwords that will crack in seconds that are authorized to be on the network but need a more secure password. These are basically backdoors into your home / company and they can go for a long time without being caught when this is never checked for.

The “pwnagotchi” tool automates this process. It will capture anything in range to be easily checked later for extremely insecure hashes (typically using hashcat or there are even online tools to find common hashes which we will cover). This saves a ton of time and can greatly improve your security. Today I’ll cover how to build a pwnagotchi setup as well as the steps to use it. Let’s begin!

Pwnagotchi WiFi Audit Tool Build / Guide Read More »

Modern Headless Raspberry Pi Configuration Guide (Pi Imager)

Raspberry Pi Imager - Headless Configuration Menu

For many years configuring a headless Raspberry Pi usually involved creating a bunch of text files on the SD card. Some of these were more commonly known (such as creating the “ssh” file to enable SSH) but there are many lesser known methods to configure many different options headlessly.

These days we have a much better option available. We can use the Raspberry Pi imager’s headless configuration options to create a preconfigured SD card for headless use without touching any obscure text files!

Today in this guide we’ll cover the more well known options as well as the options that you may have not heard of (but are quite useful) that are available in the Raspberry Pi Imager. Let’s get started!

Modern Headless Raspberry Pi Configuration Guide (Pi Imager) Read More »