
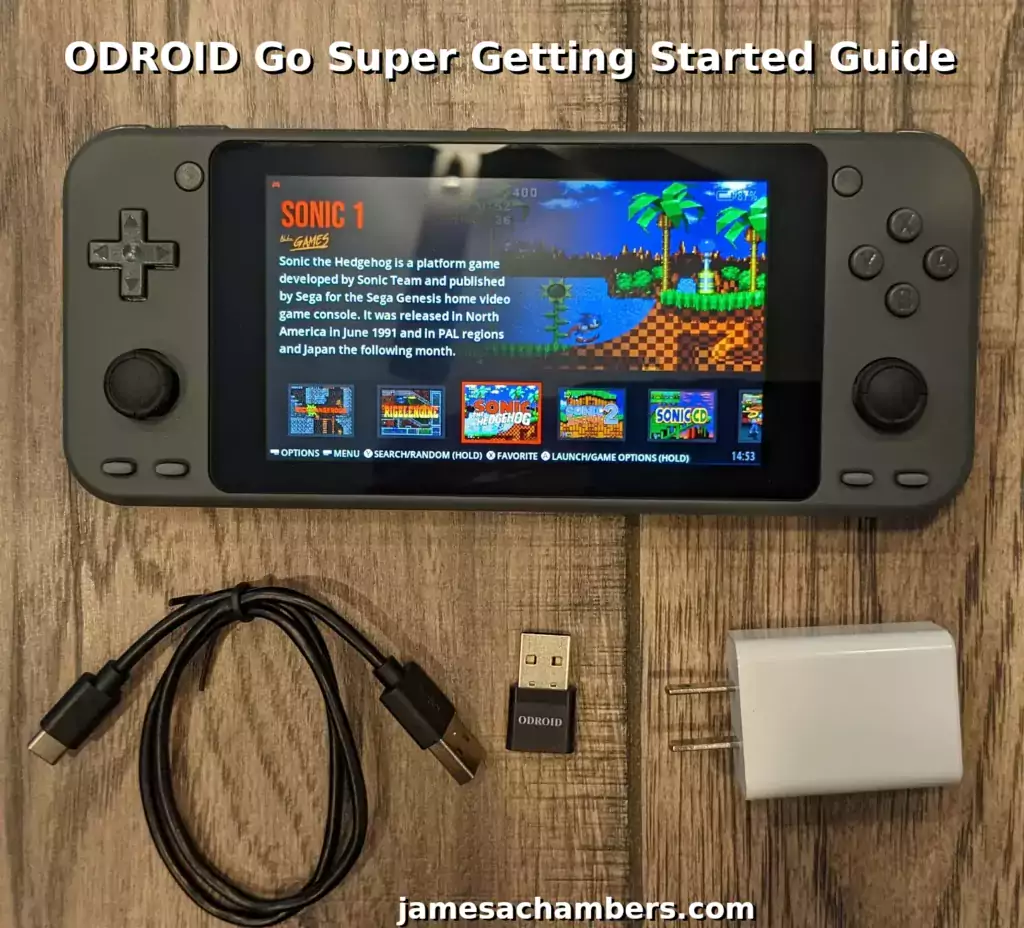
The ODROID Go Super is the latest model of the popular handheld retro gaming consoles made by ODROID. It was recommended by a regular reader that I should check these out and I’m really enjoying it so far.
Today I’ll show you how to get started with the ODROID Go Super including getting a network connection, loading more games onto the device and more. Let’s begin!
Hardware Used
The ODROID Go Super is a handheld gaming system with a 4000 mAh rechargeable battery, a strong scratch-resistant screen and an included SD card / charger. It actually ready to go out of the box without needing further accessories.
Links: AliExpress.com*, Amazon.com*
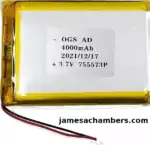
The 4000 mAh battery used in newer models of the ODROID Go Super. Should be included on newer models but is nice for an extra / replacement.
Links: Amazon.com*
First Step – Connect to Network
The first thing we need to do with the ODROID Go Super is get it connected to a network. This will let us download updates on the device as well as connect to it remotely using SSH.
The ODROID Go Super does not include a built-in WiFi module so you need to use a USB WiFi module. You can also alternatively use a USB to Ethernet adapter*.
If you’re using the wireless module then press the menu button located here:
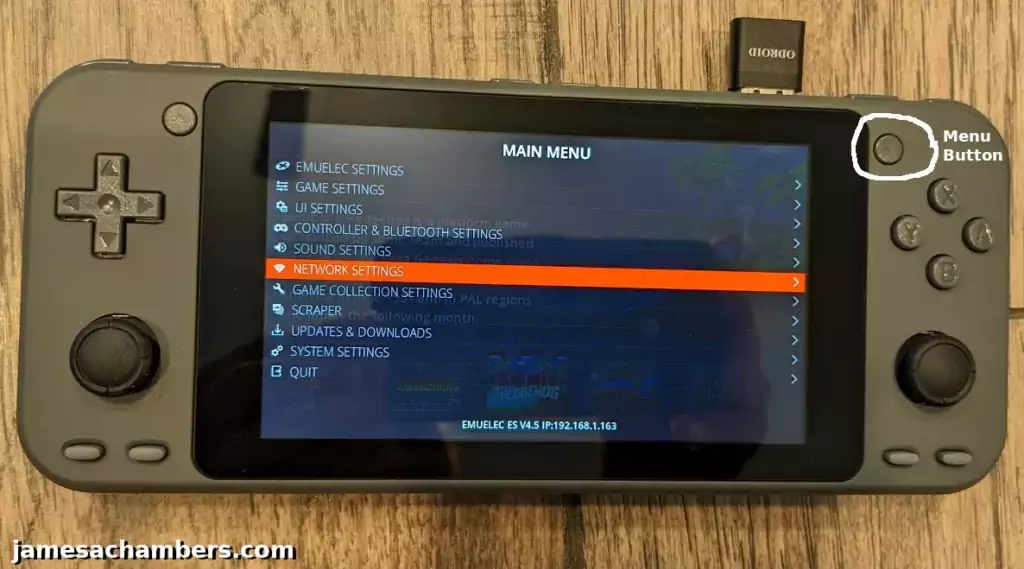
Go into the “Network Settings” menu. If you’ve connected your WiFi module in the top like I have you should see an option to enter your SSID and password:
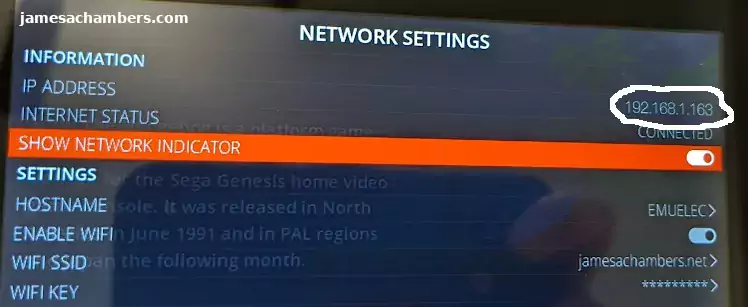
Once that is done you should be connected and see an IP address like my screenshot above.
Logging in with SSH
The only tricky part about this is knowing the credentials to use when logging into the device. The credentials to log into the device are:
Username: root
Password: emuelec
Provided you are using the right IP address (available by pressing the Menu button and choosing “Network Settings”) you should see this:
james@jamesgigabyte-linux:~$ ssh root@192.168.54.163
root@192.168.54.163's password:
##############################################
#                 EmuELEC                    #
#     Retro emulation for Amlogic Devices    #
#             Based on CoreELEC              #
##############################################
EmuELEC (Official - EmuELEC is FREE! NOT FOR SALE!): 4.5 (OdroidGoAdvance.aarch64)
EMUELEC:~ #
That’s all there is to connecting with SSH. You may also connect with a SFTP client to transfer files to/from the device!
Adding More Games
Getting ROMs
The first thing you need to do is get some additional ROM packs to load on your device. These are very easy to find on the internet. One popular site is romspack.
Transferring ROMs
You have a couple different options for transferring games to the ODROID Go Super. You can either take out the SD card and put it in your computer or you can upload them using a SFTP client.
Using SD Card
A very easy way to add games (as long as you have a USB to SD card adapter or a laptop/PC that has a micro SD card slot) is by simply removing the SD card and inserting it into your computer.
To remove the SD card simply press inward on it and after you press it in a little bit it will release and pop out.
When I inserted the SD card into my computer my ROMs folder was mounted as “EEROMS”. The folder structure should look like this:
james@jamesgigabyte-linux:/media/james/EEROMS$ ls
 3do             easyrpg           nds             segacd
 amiga           famicom           neocd           sfc
 amigacd32       fbneo             neogeo          sg-1000
 amstradcpc      fds               nes             sgfx
 amstradgx4000   freej2me          nesh            snes
 arcade          gameandwatch      ngp             snesh
 atari2600       gamegear          ngpc            snesmsu1
 atari5200       gamegearh         odyssey         solarus
 atari7800       gb                openbor         splash
 atari800        gba               pc              supervision
 atarilynx       gbah              pc98           'System Volume Information'
 atarist         gbc               pcengine        tg16
 atomiswave      gbch              pcenginecd      tg16cd
 bezels          gbh               pcfx            tic-80
 BGM             genesis           pico-8          uzebox
 bios            genh              pokemini        vectrex
 c128            gw                ports           vic20
 c16             intellivision     ports_scripts   videopac
 c64             mame              psp             virtualboy
 capcom          mastersystem      pspminis        wonderswan
 coleco          megadrive         psx             wonderswancolor
 cps1            megadrive-japan   saturn          x68000
 cps2            mplayer           savestates      zx81
 cps3            msx               sc-3000         zxspectrum
 daphne          msx2              screenshots
 downloads       n64               scummvm
 dreamcast       naomi             sega32x
We will cover exactly how to copy ROMs into the folder structure in a moment here.
Using SFTP
To connect with SFTP use the same credentials we used for SSH (root/emuelec). You should already know your IP address of the ODROID Go Super (covered earlier). If you are using SFTP you should leave the micro SD card in the device.
Most FTP clients such as FileZilla support SFTP connections and let you basically use a FTP client to transfer files to/from the device. This is very nice to use with the ODROID Go Super when you have the WiFi module inserted. Simply put your connection details into your FTP client like this:
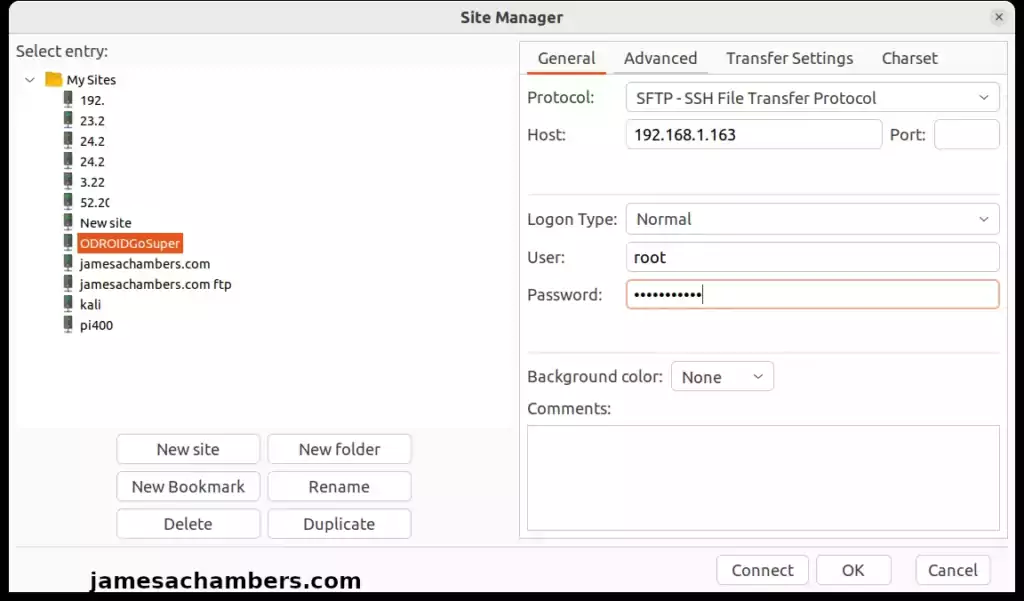
Now connect to the server and navigate to /storage/roms. You should see the same folder structure as the previous section (3d0, amiga, etc.).
Copying ROMs to Folders
The files you need to transfer in have some specific requirements. The full list of requirements is listed here in the official documentation.
A general rule of thumb is that you should only include the exact types of files that it expects. For example if you wanted to load NES ROMs according to the documentation I linked above you would only put files of the type “.7z .fds .nes .zip” in the “nes” ROM path. I highly recommend just using the plain uncompressed files (such as .NES).
Once you’re sure you have the right file types and know where they go copy the files into the correct place.
If you are using the SD card method you can insert the SD card in the device when you are done and reboot. If you are using SFTP once you are finished press the Menu button and choose “Game Settings” and then “Update Gamelists”. All of your games should appear!
Scraping Game Data
Scraping services are what give the games on your system the nice background art, meta information, release date and other details about the game.
To perform a scrape on all the games on the device press the Menu button and choose “Scraper”.
Before pressing “Scrape Now” I recommend changing the Scraping provider by going to the “Scrape From” option and picking a different one. The default one gave me some kind of login error. I switched to “TheGamesDB” and it started scraping all of my newly loaded titles.
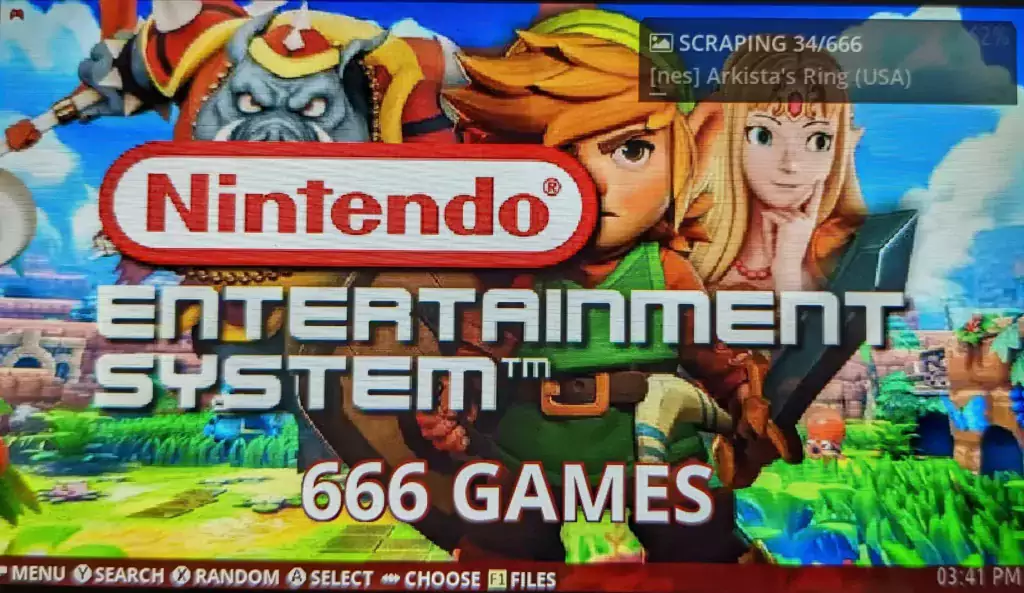
Once you’ve set the provider choose “Scrape Now” and it will begin to download the artwork and metadata for your individual games/titles. You will actually have a progress indicator in the top right of your screen like this:
Conclusion
That should be about it for all of the major operations on the device. Make sure you install any updates when prompted and keep the emulators up to date.
You can also force a check by pressing the Menu button and then choosing “Updates”. Ensure check for updates is turned on and press “Start Update”.
I have really been enjoying the device. I am glad that I waited several generations of previous devices before buying one. I’m completely comfortable recommending this system to others who want a handheld portable retro gaming system and for those who already own one I hope this guide helped!
Other Resources
I highly recommend my cheap SSD mod for last-gen gaming consoles to improve your gaming experiences!
The ODROID M1 is a blazing fast SBC that has a built in M.2 NVMe port that is great for power users and can achieve very high performance
The ODROID XU4Q is a great board especially when paired with a eMMC and it’s quite inexpensive


James,
I am so happy you got into odroids 🙂
I personally have an Odroid Go Advance Black Edition (smaller screen, one joystick; sold as DIY kit for self-assembly). Got it on promotion for around $40 here. Awesome price for an SBC which is a game console 😉
From hardware side of things, I replaced the joystick with the one for PS Vita (or was it PSP?) and the buttons with ones from GameBoy (all from AliExpress). Now it looks and feels much better. Enclosure in mine was super cheap plastic, exactly the same as in my official Odroid C2 enclosure. There are third party CNC’ed cases, but they cost around $80 + VAT + shipping.
I just decided it’s not worth it. I’m using the console only while traveling anyways.
I strongly recommend looking at Batocera and Recalbox distros. They’re much better than the stock one.
I decided to use the last 32bit build of Batocera because performance on PSP and PS1 is just much better than on newer 64bit builds.
Hey Max,
Thanks for sharing this! I actually got this one from your recommendation. I’d love to check out the Advance as well. It’s definitely cheaper over here too (although $40 is a fantastic deal!).
Replacing the buttons make sense. One thing I noticed is that you can hear a slight rattle from some of the buttons. This is probably because they are a harder plastic or don’t have any sound dampening materials/properties on the buttons and are a stiffer plastic. That sounds like a worthy upgrade to me to upgrade them to buttons with more expensive and quieter materials.
I will definitely have to try using an alternative OS for it! I will keep your suggestions in mind here as I look into exploring some of those. Take care!