
I’ve been integrating all of my smart home devices into Home Assistant to have everything managed by an open source system. I have a handful of Philips Hue lights but I had not upgraded the entire house to smart lighting yet. After some research I was delighted to find a set of smart bulbs that are able to be managed by ESPHome (the system that is controlling my smart sensors I’m placing around the house which I’ve covered here).
These are WiFi-based lights described as “made for Home Assistant” running a ESP32 chip. This worked well for my setup as my home has 6 Unifi access points all throughout the house/garage/etc. which is why I didn’t go with a Zigbee or Z-wave solution for the lighting (although I may for my window and door sensors, that’s still a work in progress).
In this guide I’ll show you what it looks like to set up and configure these to work with Home Assistant and ESPHome. Let’s get started!
Hardware Used
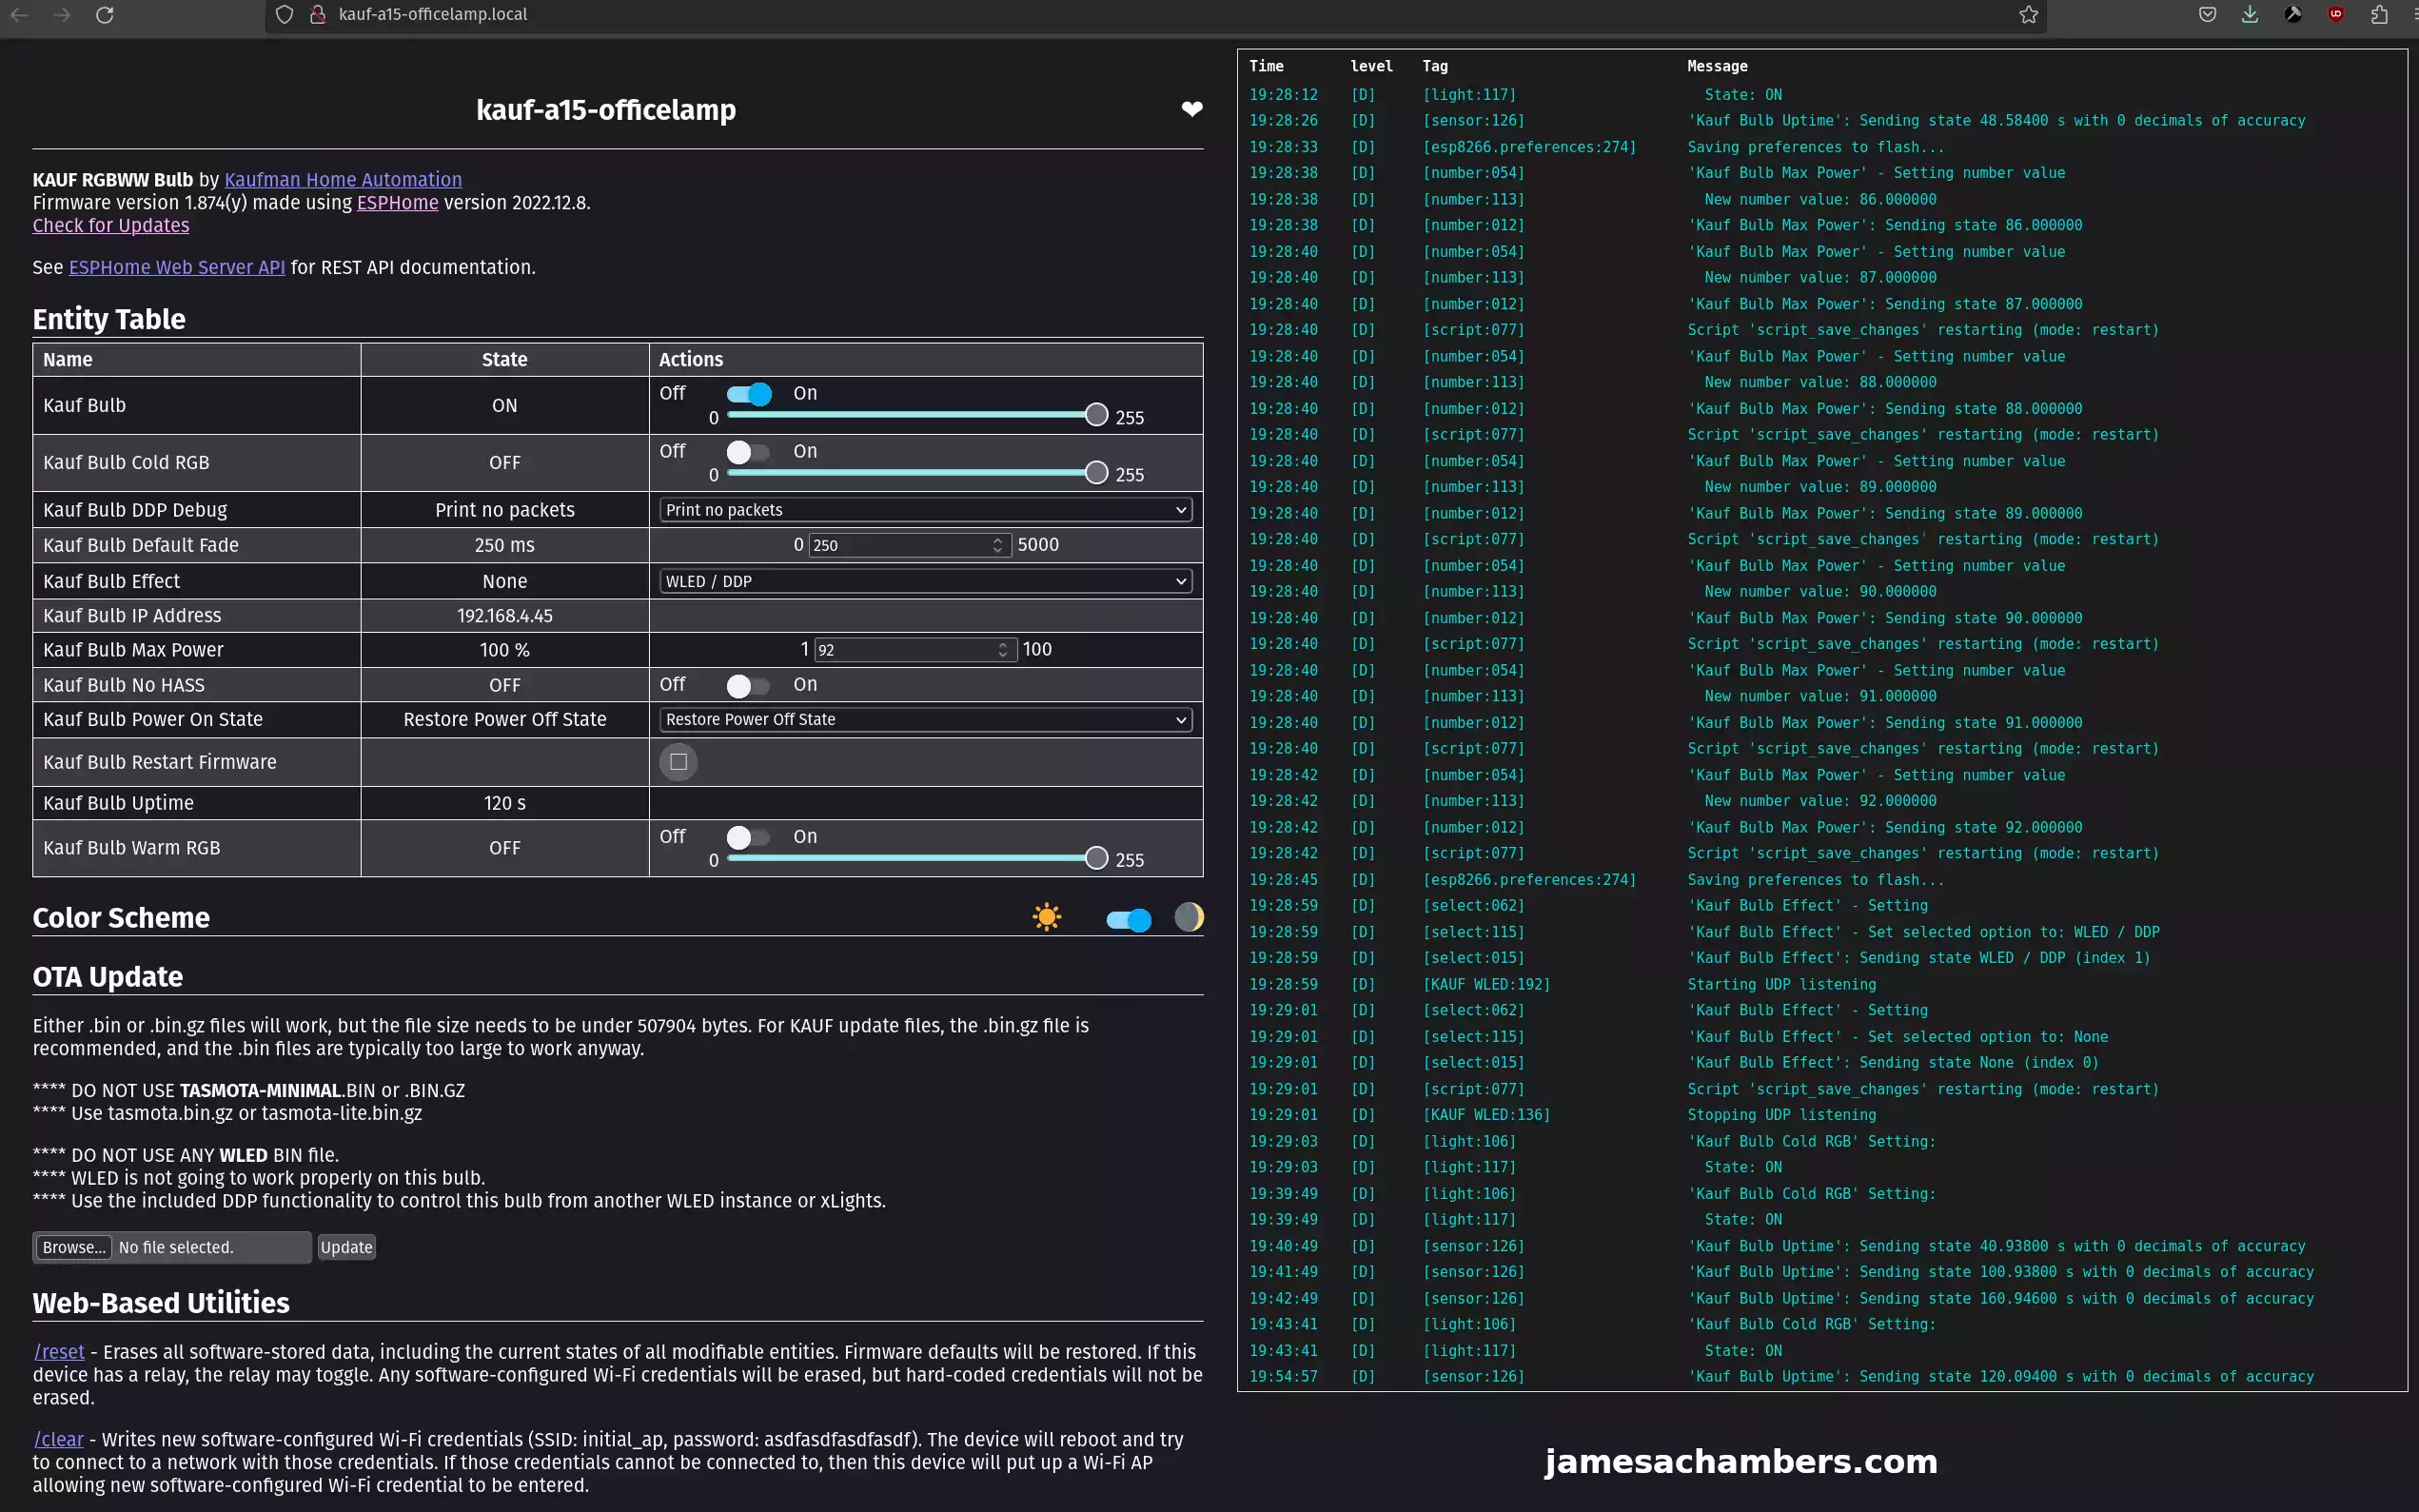
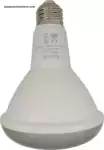
The KAUF A15 size RGBWW Smart Bulb with ESPHome is made specifically for Home Assistant. This is a very small size bulb relatively speaking. I needed these in a lot of my fixtures that had 2-3 lights mounted inside as A21 was too large.
Links: Amazon.com*
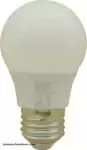
The Kauf A19 size light bulb has a slightly longer base meant for certain types of fixtures and recessed lighting.
Links: Amazon.com*
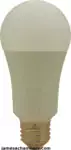
The Kauf A21 size light bulb is described as slightly larger than a standard US light bulb. This is the most common size. It will be too big to fit in some fixtures.
Links: Amazon.com*
The Kauf BR30 light bulb is typically meant for recessed lighting and fits the most common size used in the US.
Links: Amazon.com*
Initial Configuration
Let’s assume you already have the ESPHome add-on installed within Home Assistant. If not check out my article here which includes instructions on how to install ESPHome.
Once you plug the Kauf bulb into a light socket it will start broadcasting a WiFi network for initial configuration. This will show up as something like kauf-bulb-XXXXXX.
Simply connect to the WiFi network and navigate to the following IP in your browser. With any luck you will get a “Hotspot Login” screen that will let you select your WiFi network and SSID. If this isn’t showing up you can manually go to the following IP in your browser:
http://192.168.4.1/There is a time limit to connect to the device and configure it for security reasons. If you missed the time window try turning the light off and back on again to set the hotspot up again for initial configuration.
Once the bulb has joined to your network go to the ESPHome tab on the left hand side of your screen. You should see the device available to adopt like this:
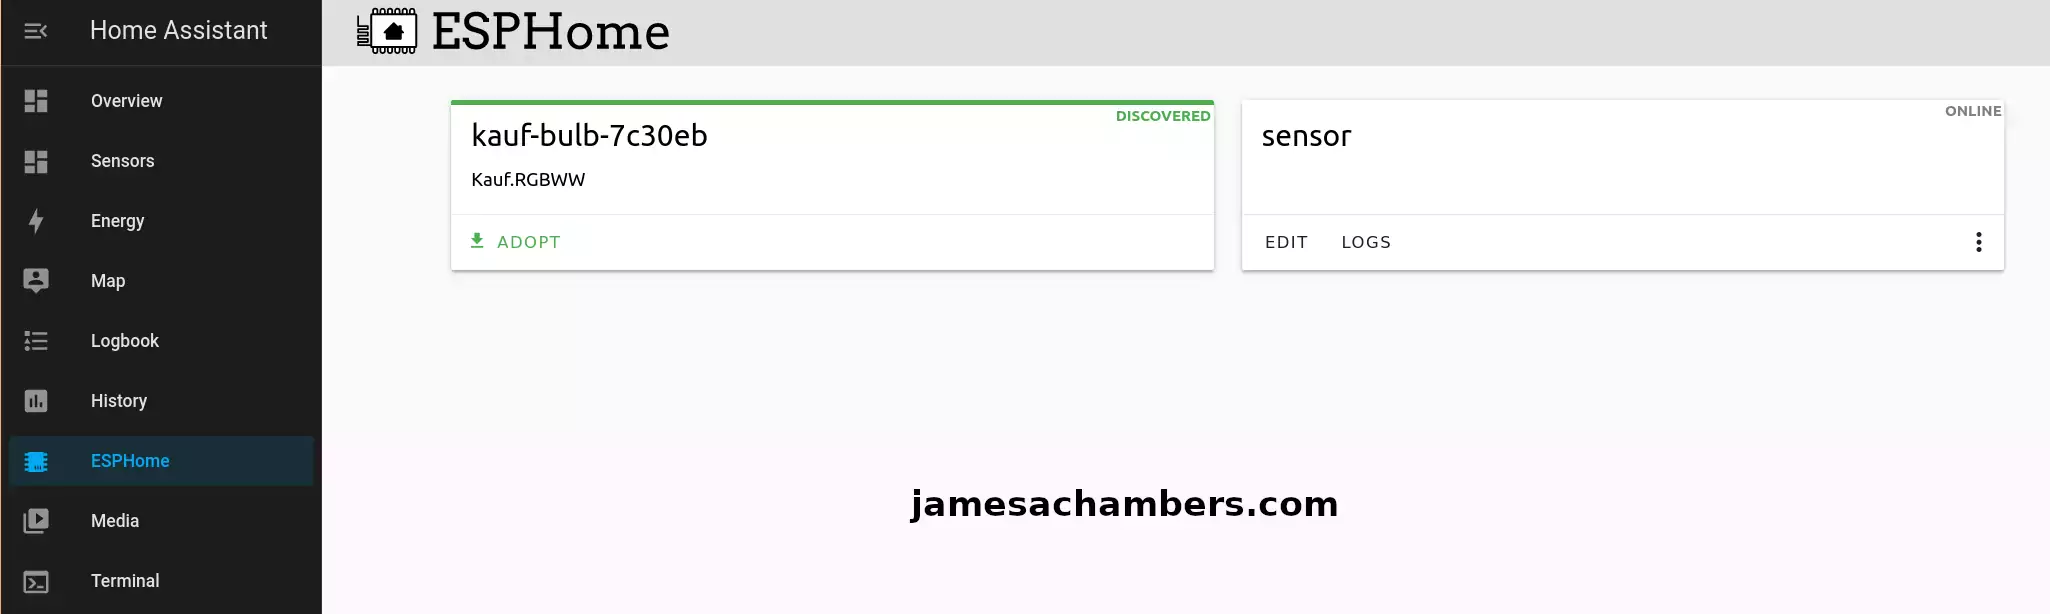
Go ahead and click the “adopt” button. It will ask you to give the device a name. I named mine kauf-a15-officelamp so I know which type of bulb it is and where it is.
Next click “Install” and ESPHome will automatically configure the bulb for you!
A successful configuration will end looking like this:
======================== [SUCCESS] Took 342.93 seconds ========================
INFO Successfully compiled program.
INFO Resolving IP address of kauf-bulb-7c30eb.local
INFO  -> 192.168.4.45
INFO Uploading /data/kauf-a15-officelamp/.pioenvs/kauf-a15-officelamp/firmware.bin (518464 bytes)
INFO Compressed to 356242 bytes
Uploading: [============================================================] 100% Done...


INFO Waiting for result...
INFO OTA successful
INFO Successfully uploaded program.
SUCCESS
Home Assistant Configuration
Next go to your Home Assistant “Settings” menu and then choose “Devices”. You should see your new device like this:
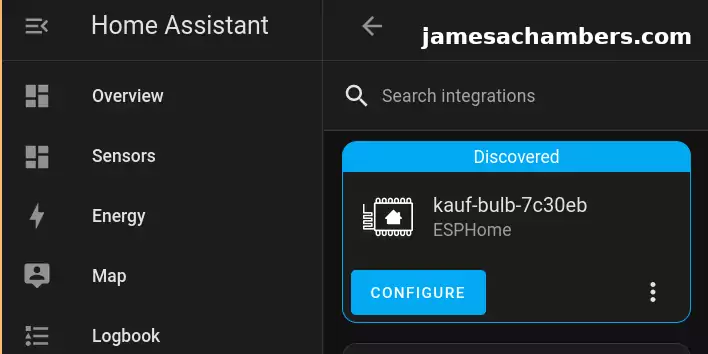
If it asks you for the IP address of your ESPHome instance enter the IP address of the light bulb and then press “Submit”.
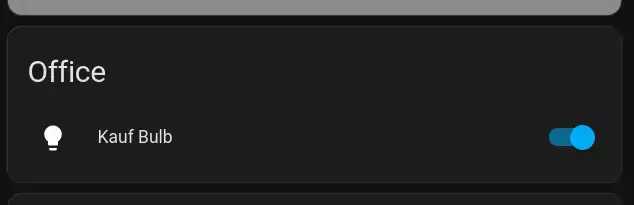
After this your device should be configured within Home Assistant. If you go to your main dashboard you should see your new light with an option to turn it on and off:
It’s not a bad idea at this point to give your bulb a static lease inside your router so that it always gets the same IP on your network. I assigned every light a reserved IP address on my network which helps keep my network organized. This is generally considered good practice for networking.
Controlling Color Temperature and RGB
Now for the fun part. We can start controlling the light!
The easiest way to control these on the light is to simply click the “Kauf Bulb” part of the name (rather than the switch which will only turn the light on and off). It will bring up a screen like this:
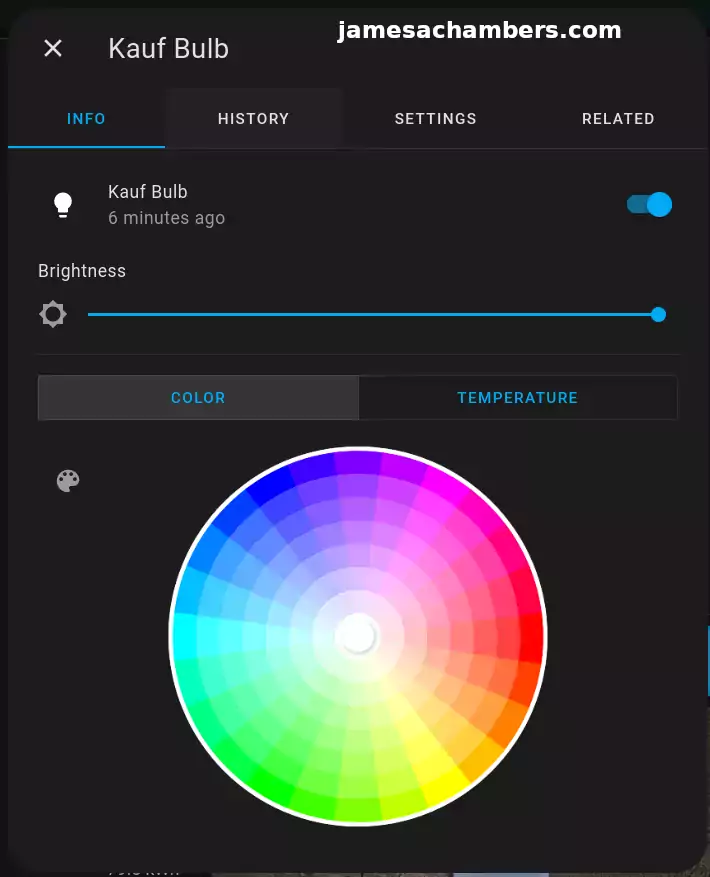
Now you can simply click anywhere in the wheel to select the color. The light will update as soon as you release the mouse cursor. You can also see the brightness adjusting switch.
For non-RGB use though they actually have a great temperature color selector. This lets you make your lights not so cold and dreary looking and will give off a warmer light. That looks like this:
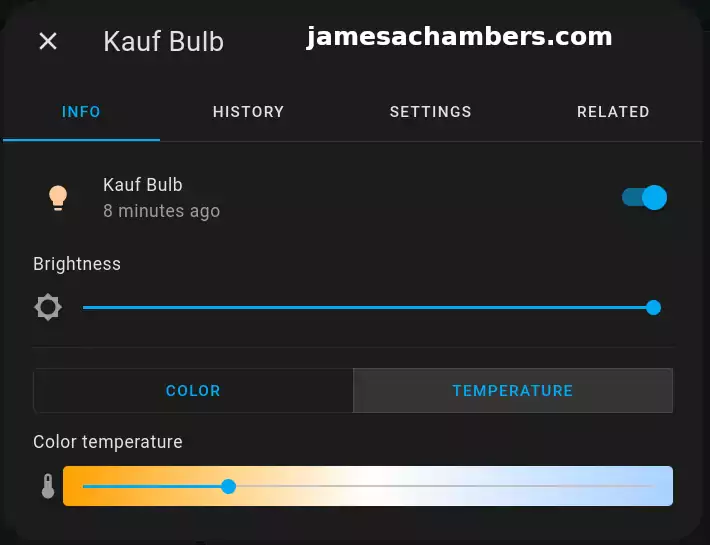
This is actually the most useful feature for me because I typically won’t want to set all of the lights in my home to lime green. I do however care about the color temperature of the lights. This can make a huge quality of life difference. If you work / live around very cold lighting it’s kind of depressing. You can literally make your home’s light feel warmer and happier with these settings and this can have a noticeable quality of life impact for sure.
Additional Networking Considerations
It will generally work better within Home Assistant as well if you give each light a reserved IP address/lease within your router. That’s just because if the IP addresses are changing a lot it may take some time to see these update / rediscovered in Home Assistant which can be annoying. Static IP leases means that once you’ve configured the light the IP will never change so you won’t see any of these update issues within HA. It will always be trying to contact the device on the same IP with a setup like this and will improve the experience/responsiveness.
I actually have a whole network segment specifically for my smart home devices (192.168.4.X is my IP range I put all the smart home devices in). I’ll give each light an IP as I add them to the network such as 192.168.4.5, then the next one will get 192.168.4.6.
The advantage of having a dedicated network segment is that I set up special firewall rules for my smart home devices that don’t allow them to do things they shouldn’t be such as try to create outbound connections to other devices in my home they have no business talking to. This gives an additional layer of protection where even if one of your smart home devices was hacked it’s actually isolated from my main PCs and servers via simple firewall rules that don’t allow outbound connections from devices I put in that network segment.
In other words anything in 192.168.4.X isn’t allowed to make outbound connections to my more sensitive devices because they have no business doing so for normal operation. It means that from my main computer (in 192.168.1.X) I can open an outbound connection in my browser for example to 192.168.4.5 to talk to a light bulb. If the light bulb or other smart home device tried the exact same thing such as open a browser connection to 192.168.1.1 this would be denied by my router/firewall as the smart home device group doesn’t have the same privileges as my main 192.168.1.X segment that I put things like my PC in.
You never really know which IoT device will get hacked next so I configure my network in a way that I assume that any of them can be hacked at any time. That’s how I always treat them and I suggest you do the same. They’re all isolated on their own network segment and they aren’t allowed to create their own outbound connections to other devices on my network.
If you operate that way you really don’t have to be as afraid of this kind of stuff because you’ve designed your network in a way that limits what an attacker could do even if they had an unpatched vulnerability to work with and full root access to one of your devices. Even if they breach the IoT device 100% and have full root access there’s nothing important they can talk to or do inside your network if that device can’t talk to your PC or other devices (which is called lateral movement in cyber security, using one device you’ve hacked to move deeper inside a network). You stop them at the light.
There’s nothing for them to spread to in a design like this and then you can update the firmware of whichever device got hacked (since you will want to get the hacker out of the light or other IoT device for sure) and take care of it without any lasting damage. That should almost never happen in the first place if you keep your firmware up to date on all of your IoT devices but even that is no guarantee. The best guarantee you can have is to design your network in a way that even if a breach occurs there’s nowhere to go / nothing to spread to.
Conclusion
These lights are exactly what I wanted for my home. They integrate perfectly with ESPHome which is going to be controlling all of my home’s sensors. They use simple WiFi which made the most sense for my situation as I already have so many wireless access points wired throughout the house (including the garage and outside).
The only downside of these lights is that they are slightly more expensive than what you could get if you wanted to get a generic cloud-based solution that saves all of your data to an app. That’s exactly what I didn’t want with these. I wanted no cloud and I only want this data stored inside my home on a machine that I control. It was worth it for me to pay a couple to a few dollars more per light and know that they will work with my open source solution I’m setting up 5-10 years from now.
It didn’t make sense for me to get a Zigbee hub set up for my lights like many setups use simply because my WiFi network is already in place and more than enough to handle the lights being on WiFi. I may end up using Zigbee for all of my window sensors if power is too much of an issue since I’d like to have those sensors battery powered if possible (at least that’s how my Ring ones work that I’d like to replace with some sort of open-source solution).
With this system we can log into Home Assistant and immediately make sure all of the lights in the home are turned off. I still have more bulbs to buy but we are starting with areas where me and my wife have to fuss with the lighting all the time. One example is our master bathroom which the lights are so bright in that we almost always only use the shower fan instead. With this system I can configure the lights to be at a comfortable level day or night.
Eventually I’ll continue to replace every bulb in the house with these lights so that in the end the entire house’s lighting will be able to be managed and controlled through the open source Home Assistant solution. Hopefully this guide helps some of you configure something similar or decide whether you would benefit from such a setup as well!


")
I absolutely love Kauf bulbs and also their smart plugs with power metering, they’re excellent! One thing I’ll never forget is, I had an issue early on with them and sent an email to the listed email on the website. I’ve been down this road with other products and fast or good and fast replies from “help support” is a bigger waste of time than search for Bigfoot so, I wasn’t holding my breath after sending my email….
It was maybe 2 hours later and Mr. Kaufman himself returned my email! He was very patient with me, he was very helpful, and he was very prompt in replying back to me.
Good product Help/Support is huge in my book! It doesn’t matter how cheap the alternative products are on Aliexpress if they fight you with doing a return and they’re help/support is absolutely useless if you can even get ahold of someone at all!
Him spending his time to answer my questions absolutely sold me on Kauf products and thats why I recommend them to other people.
I also learned that he’s just a guy who is a Homeassistant enthusiast just like us and he made specifically for use with Homeassistant/Esphome.
I think people like this, who make products he would want for his Homeassistant and other’s is someone we should all get behind and support. When we support a good product and person, it gives them the ability to create more products that we all might want or need especially, if there’s no other good alternatives out there.
These are excellent products and I 100% use them and ecommend them to other people.
Hey Justin,
That’s a great story, that’s really cool he contacted you directly! All of my bulbs are still going strong since I wrote this. They’re all still in place and working perfectly.
I still highly recommend them!
I just found out about Kauf today. Maybe I’ll give them a go. I’ll gladly pay a couple bucks extra to not have to fiddle with clouds and apps.
Hey Sir Flumperton of the Traveling Potato,
I’ve been using mine and they are going strong! I have them just about everywhere at this point. As long as you have a strong WiFi network I think you’ll enjoy them.
Take care!
Wow another super detailed review and its nice to see the project progress as you add newer gadgets… Keep up the fantastic work!
Hey Razor Burn,
Thanks so much! I got a bunch of these set up so far and my integrations are definitely coming together. I have tons of packages arriving Thursday and Friday as well for various projects so I’ll definitely keep them coming.
Take care!