
I’ve been running my Home Assistant instance on a very old Tinker Board S with a 16GB eMMC. This has been working fine for a month or two but I recently started getting notifications that my Home Assistant instance was out of drive space. Sure enough, even after removing all of my backups there is almost no space left.
I’ve already received reports from my readers about how much better of an experience Home Assistant is running on an Orange Pi 5. Not only is the CPU much more powerful than something like a Raspberry Pi 4 or Tinker Board S but it has a NVMe storage slot. These two things combined make it a great choice for running your Home Assistant instance.
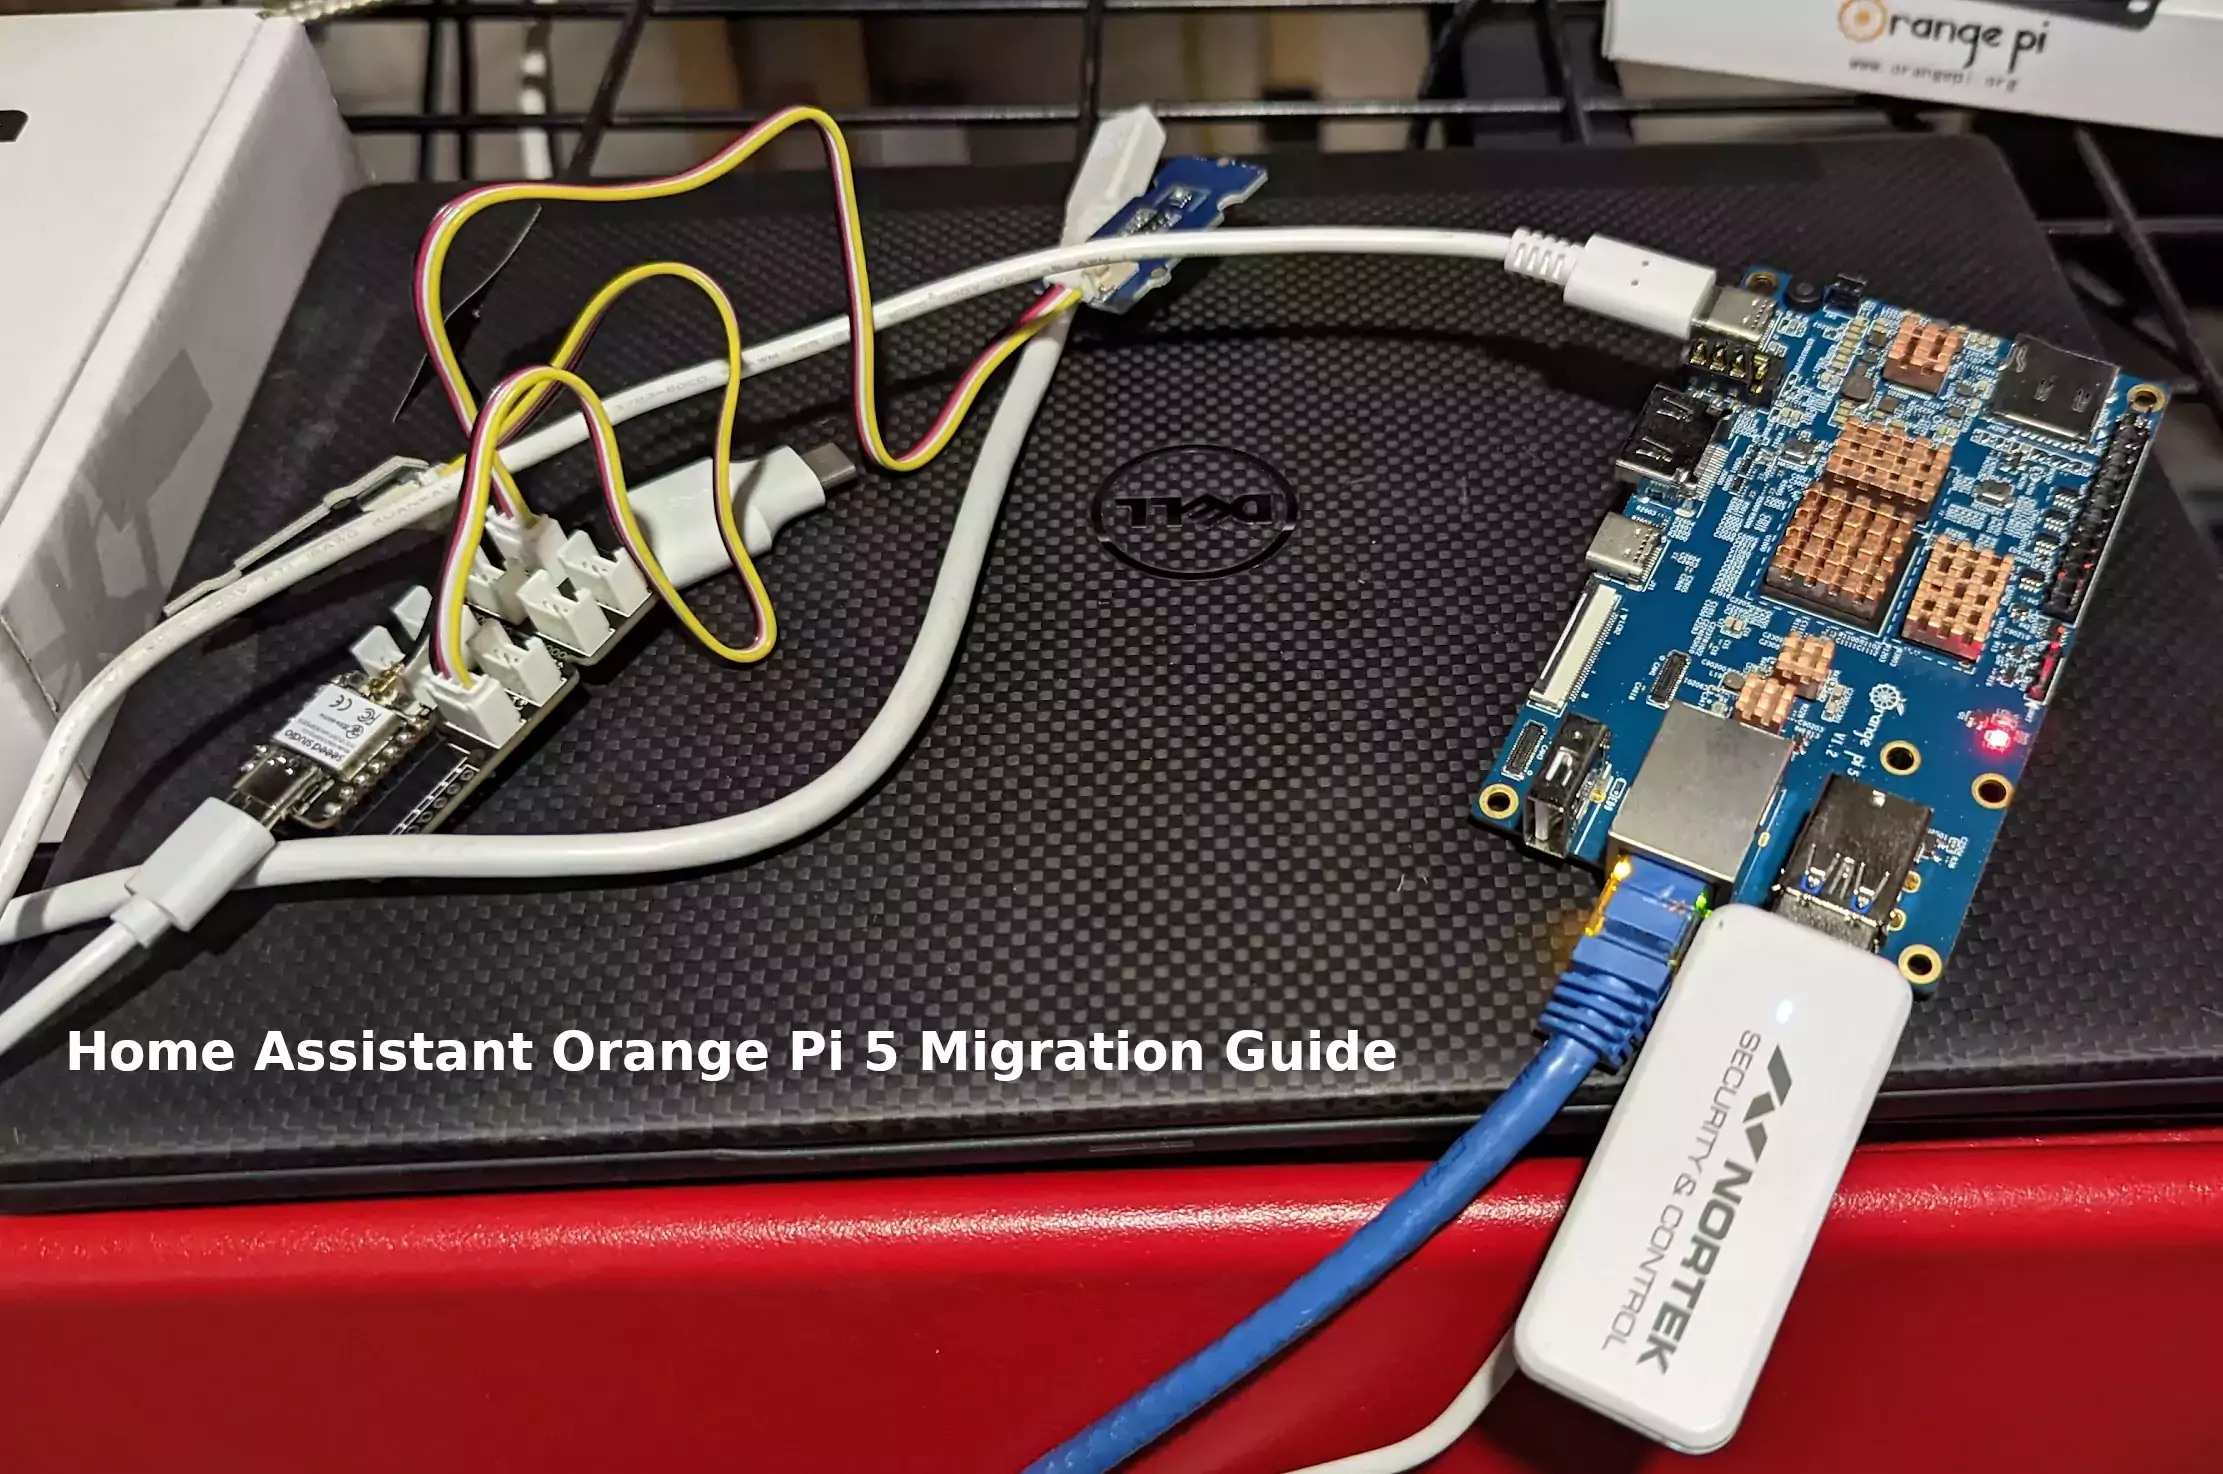
My previous install is a core installation but I’m going to use supervised on the Orange Pi 5. In this guide I’ll show you how I migrated my instance step by step and evaluate the performance improvement at the end. Let’s get started!
Hardware Used

The Orange Pi 5 the latest release from Orange Pi and is the most powerful model yet. It has a 6 core CPU and options from 4GB of RAM all the way up to 32GB of RAM!
Links: Amazon.com*, AliExpress*, Amazon.ca*, Amazon.co.uk*, Amazon.de*, Amazon.es*, Amazon.fr*, Amazon.it*, Amazon.nl*, Amazon.pl*

The Geekworm copper heatsink set is designed to fit many different single board computers. It uses thermal conductive adhesive which many “cheap” heatsink kits for SBCs don’t have. Eliminates hotspots and reduces throttling. Can be further enhanced by powered cooling over the heatsinks.
Links: Amazon.com*, Amazon.ca*, Amazon.co.jp*, Amazon.co.uk*, Amazon.de*, Amazon.es*, Amazon.fr*, Amazon.it*

The Kioxia (Toshiba) 128GB M.2 2230 PCIe NVMe drive is much shorter than most NVMe drives (full size is 2280). It fits great with single board computers / tablets / other smaller form factors.
Links: Amazon.com*, Amazon.ca*, Amazon.co.uk*, Amazon.co.jp*, Amazon.com.au*, Amazon.de*, Amazon.es*, Amazon.fr*, Amazon.it*, Amazon.nl*, Amazon.pl*, Amazon.se*, Amazon.sg*
Backup Instance
The first thing we need to do is back up your existing Home Assistant installation. To do this go to Settings->System->Backups.
I recommend creating a fresh one right at the time you do your migration. Click “+ Create backup” in the bottom right of the screen. Choose to do a full backup.
Once it’s done click on the backup and you should see this screen:
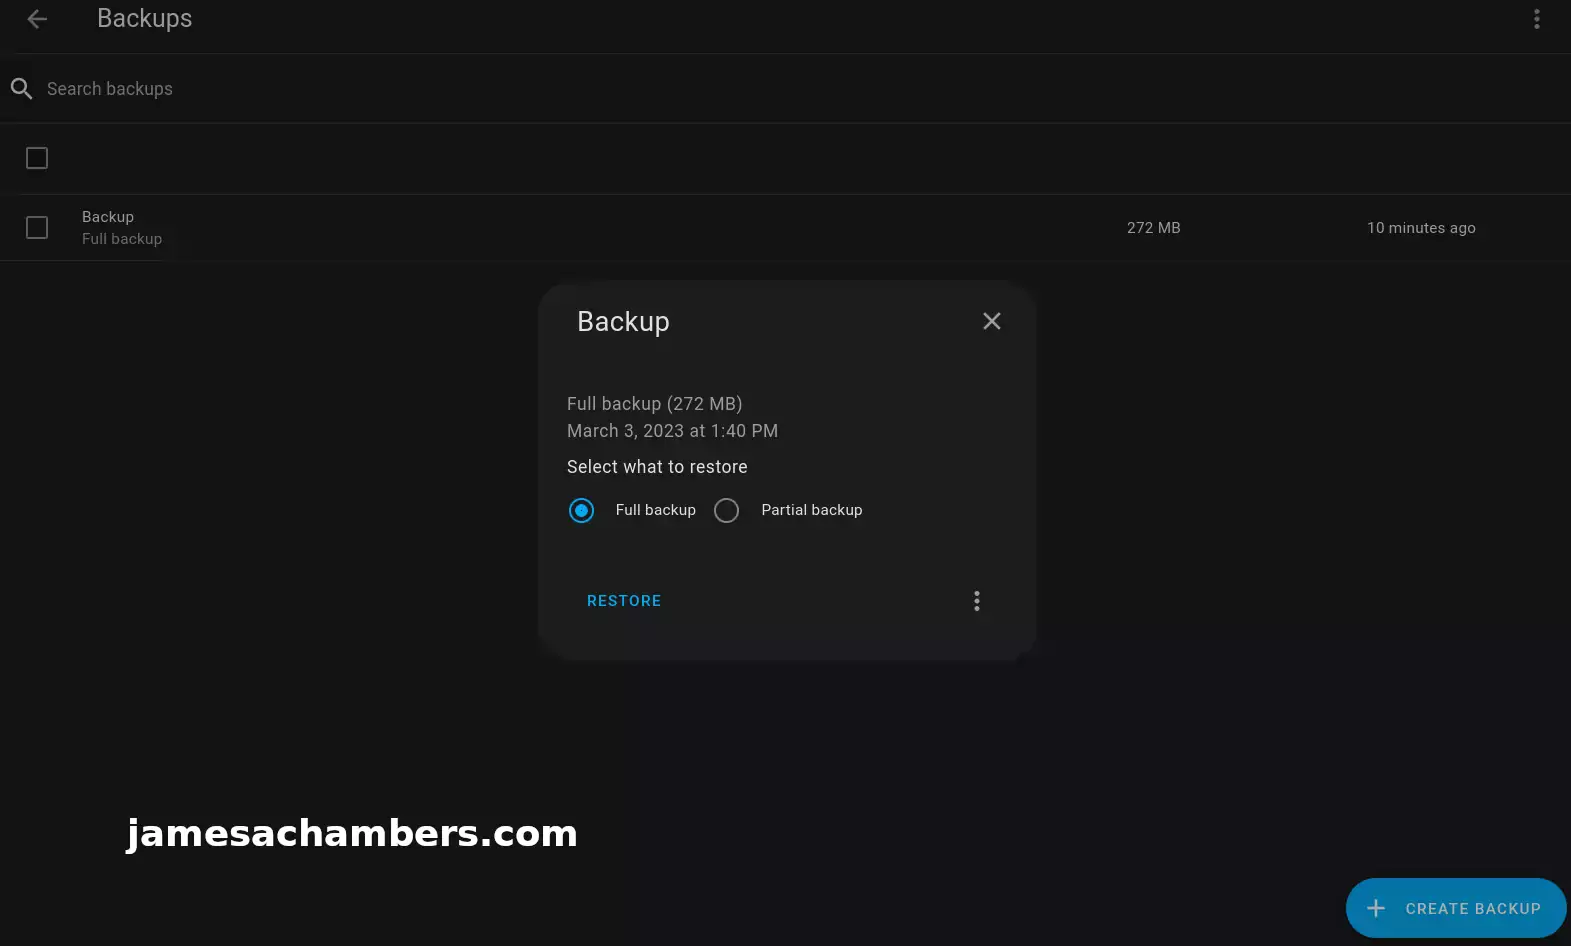
Click the 3 dots in the bottom right of the popup to get an option to download the full backup. Go ahead and download a copy now for us to restore later.
Orange Pi 5 Configuration
Installing Dependencies
I first recommend becoming root with:
sudo su
Now install the dependencies with:
apt-get install jq wget curl udisks2 libglib2.0-bin network-manager dbus apparmor-utils systemd-journal-remote lsb-release -y
Install OS Agent
Check what the latest version of the OS Agent is here at their GitHub page. At time of writing it was 1.5.1. You should update the commands below with the latest version from the GitHub page instead of 1.5.1. Download the aarch64.deb version.
We’re now going to install the Home Assistant OS Agent with:
wget https://github.com/home-assistant/os-agent/releases/download/1.5.1/os-agent_1.5.1_linux_aarch64.deb
dpkg -i os-agent_1.5.1_linux_aarch64.deb
Install Docker
Docker is required as well. To install it:
curl -fsSL https://get.docker.com -o get-docker.sh
sudo sh ./get-docker.sh
Install Supervisor
Next up is the Home Assistant supervisor. We can install the latest version with:
wget https://github.com/home-assistant/supervised-installer/releases/latest/download/homeassistant-supervised.deb
dpkg -i homeassistant-supervised.deb
Choose raspberrypi4-64 as the type in the menu that comes up.
Trick Supervisor to install on Armbian/Ubuntu (optional)
Recently I moved my installation to Armbian using Ubuntu. I did this by editing /etc/os-release:
PRETTY_NAME="Debian GNU/Linux 11 (bullseye)"
NAME="Ubuntu"
VERSION_ID="22.04"
VERSION="22.04.2 LTS (Jammy Jellyfish)"
VERSION_CODENAME=jammy
ID=ubuntu
ID_LIKE=debian
HOME_URL="https://www.ubuntu.com/"
SUPPORT_URL="https://help.ubuntu.com/"
BUG_REPORT_URL="https://bugs.launchpad.net/ubuntu/"
PRIVACY_POLICY_URL="https://www.ubuntu.com/legal/terms-and-policies/privacy-policy"
UBUNTU_CODENAME=jammy
If you are having trouble installing the homeassistant-supervised.deb package try changing the PRETTY_NAME in your /etc/os-release file like I am showing above. This tricks the supervisor into thinking you are running the correct operating system. I have not experienced any problems doing this with Armbian.
If you are using Armbian then when you reach the “Configure orangepienv.txt” section below your file will actually be armbianEnv.txt. You should put the extraargs in that step in /boot/armbianEnv.txt instead of /boot/orangepienv.txt.
Change Hostname (optional)
I wanted to give my Orange Pi 5’s installation the exact same host name as my core Home Assistant installation. To do this you can use this command:
sudo hostnamectl set-hostname homeassistant
I also changed the static lease in my router to point to the Orange Pi with the old IP address instead of the Tinker Board S.
Configure orangepienv.txt
We need to make some changes to the kernel boot parameters so that you don’t receive warnings related to AppArmor. Add the following line to the bottom of /boot/orangepiEnv.txt:
extraargs=apparmor=1 security=apparmor systemd.unified_cgroup_hierarchy=false systemd.legacy_systemd_cgroup_controller=false
Now reboot the Orange Pi with:
sudo reboot
Restore Backup
Now you should be able to navigate in your browser to your Home Assistant IP address on port 8123 with:
http://192.168.X.X:8123
You should see this screen:
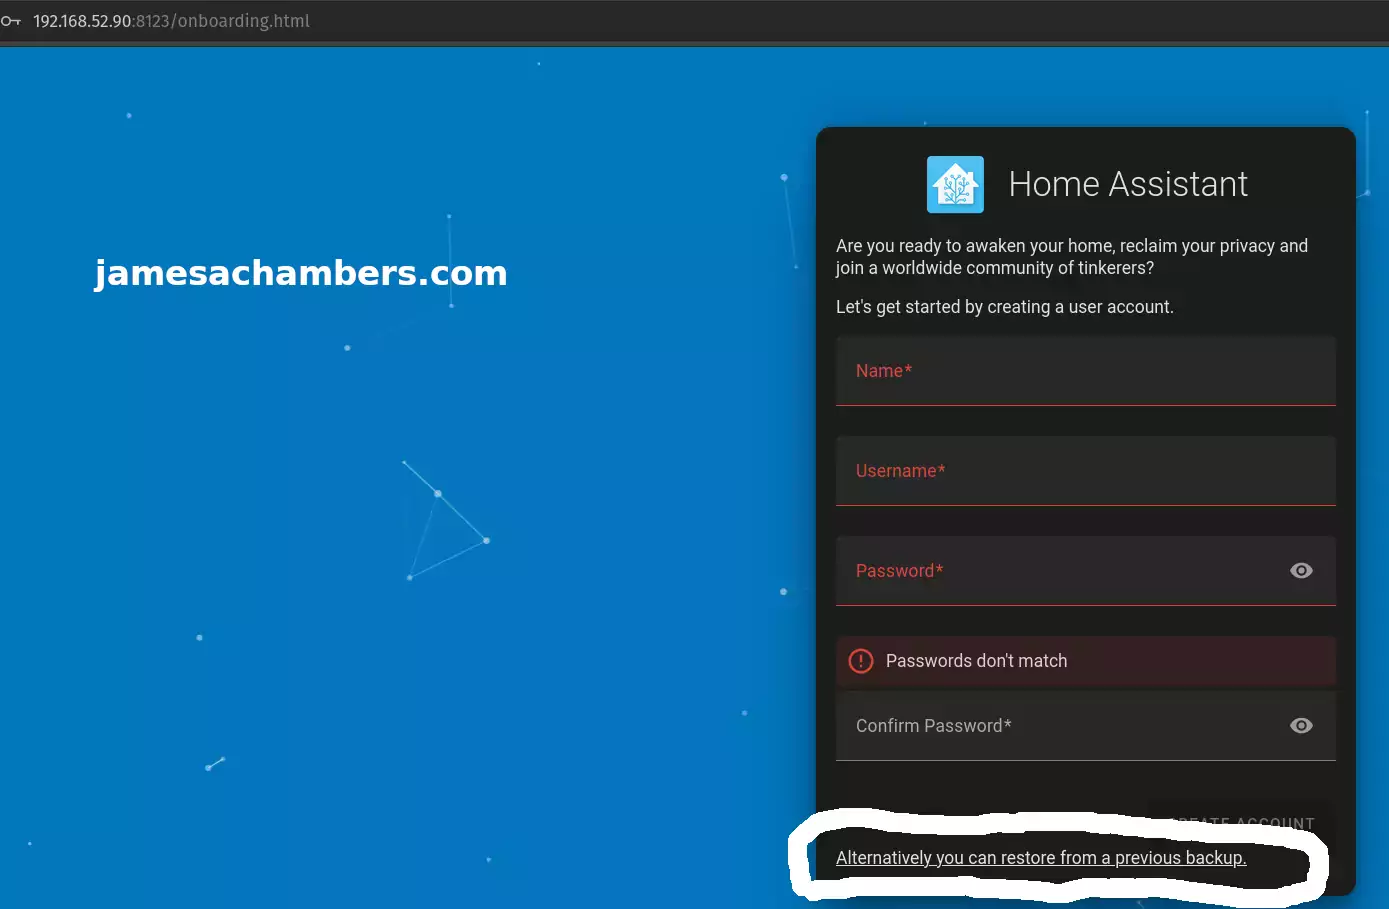
Click to restore from a backup as I’ve circled in the screenshot above. Choose your backup you downloaded earlier.
You’ll get a confirmation on whether you’d like to wipe the device and restore the backup. Confirm your choice and it will begin restoring the backup.
Final Result
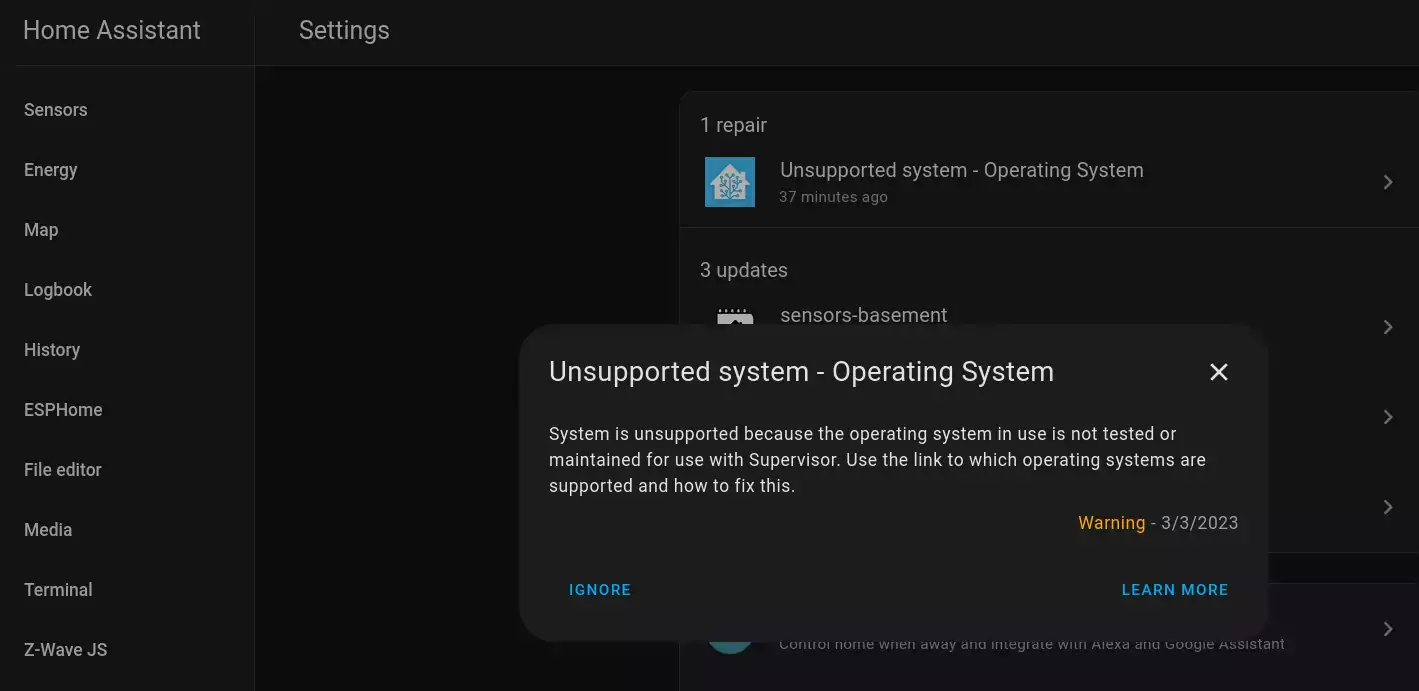
Since I used Armbian I get a “Unsupported system – Operating System” warning. You can safely ignore this warning honestly. They even give you an “Ignore” option.
The Armbian distribution is based on Debian Bullseye so I am not expecting any problems from this.
Everything is back to how it was:
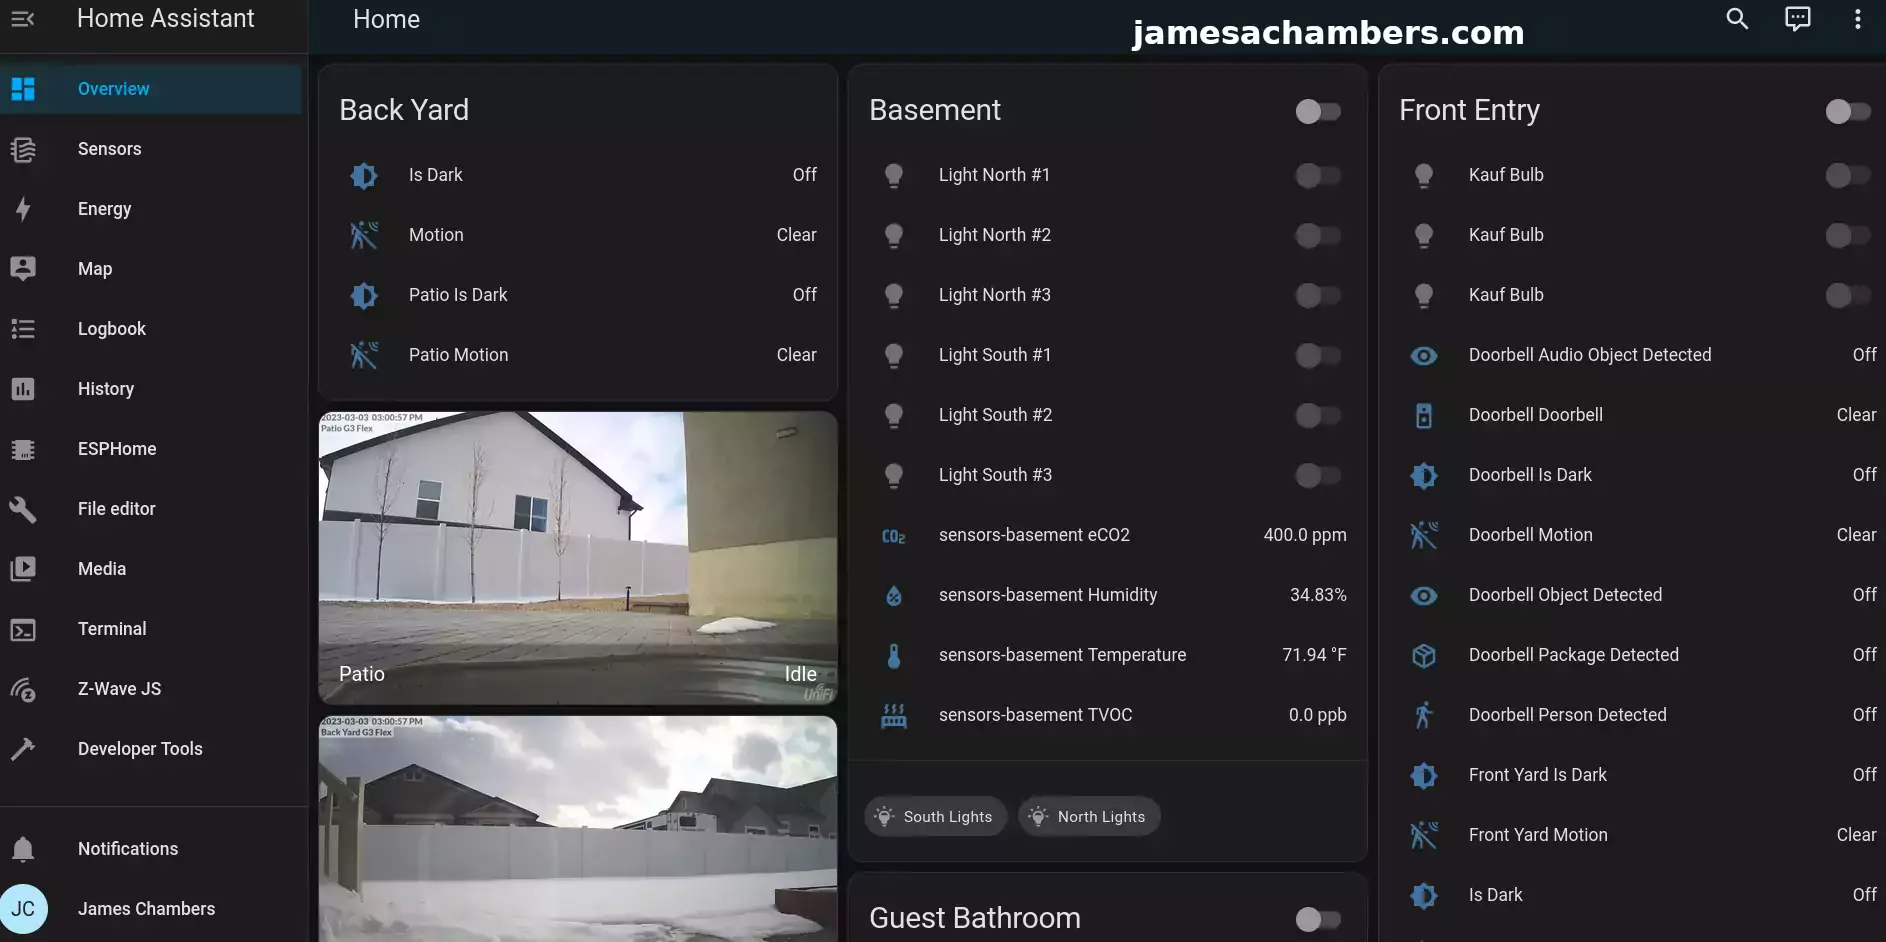
Recompiling my devices in things like ESPHome is *much* faster now. I never doubted it because the tips my readers give me are usually outstanding.
I also now have access to NVMe storage which is not only much faster but much larger than my Tinker Board’s built in eMMC. I don’t expect my Orange Pi 5’s 128GB drive to get filled up very quickly but if it does I’ll put one of my 512GB or 1TB modules in there. This process was easy enough that swapping out the drive wouldn’t be too big of a deal (even reinstalling the OS).
I highly recommend the Orange Pi 5 as a Home Assistant host and will be keeping mine on there!
Other Resources
I’ve also covered how to install Steam on the Orange Pi 5 here
Make sure to check out my Orange Pi 5 review here
I’ve also made a smart button and a smart one-key action key for Home Assistant


Hey! I just followed your instructions, and everything is going smoothly so far! I was wondering if you’ve tried any of the Zigbee USB sticks, and if so, how well do they work? Wondering if I should go with Zigbee or just WiFi smart systems. Thanks!
How much is the power consumption ?
Hey sylvain,
Very low. The last time we measured it the power usage was around 2.5W running Home Assistant normally.
Hopefully that helps!
Configure orangepienv.txt
We need to make some changes to the kernel boot parameters so that you don’t receive warnings related to AppArmor. Add the following line to the bottom of /boot/orangepiEnv.txt:
hello i try to make same migration to OPI 5 PLUS.
Ican find the file to modify.any idea
Hey Daniel,
Hmm, that’s a great question, I don’t have the OPI 5 Plus yet but my guess is it must have a SPI flash or NAND chip that is storing the files. Is there anything in the /boot folder at all?
Hello i am on UBUNTU 22.4.2 LTS installed on 256GB EMMC.
I have folder BOOT ,but no file text OrangepiEnv.txt . In folder boot Is an other folder named FIRMWARE .inside of FIRMWARE FOLDER i find ubuntuEnv.txt. i added there ,but error armor Is still there on home assistant
Hey Daniel,
That’s because it boots completely differently. I don’t have one so I haven’t looked at the structure. I doubt this guide will work for the OPI 5 Plus as that is not the board it was written for!
okk.thankyou
Hello une GitHub user gime me this
sudo BYPASS_OS_CHECK=true dpkg -i homeassistant-supervised.debwhat do you THINK ?
Hey Daniel,
Beautiful! It’s much more elegant than editing the /etc/os-release file like I did. That’s great that it has that switch in it.
Thanks for sharing!
Release hacks did not work for me, but this works(found on reddit): BYPASS_OS_CHECK=true apt install ./homeassistant-supervised.deb
Hey choovick,
Very nice! That’s a handy switch. Thanks for sharing it. I’m glad you were able to get it going!