
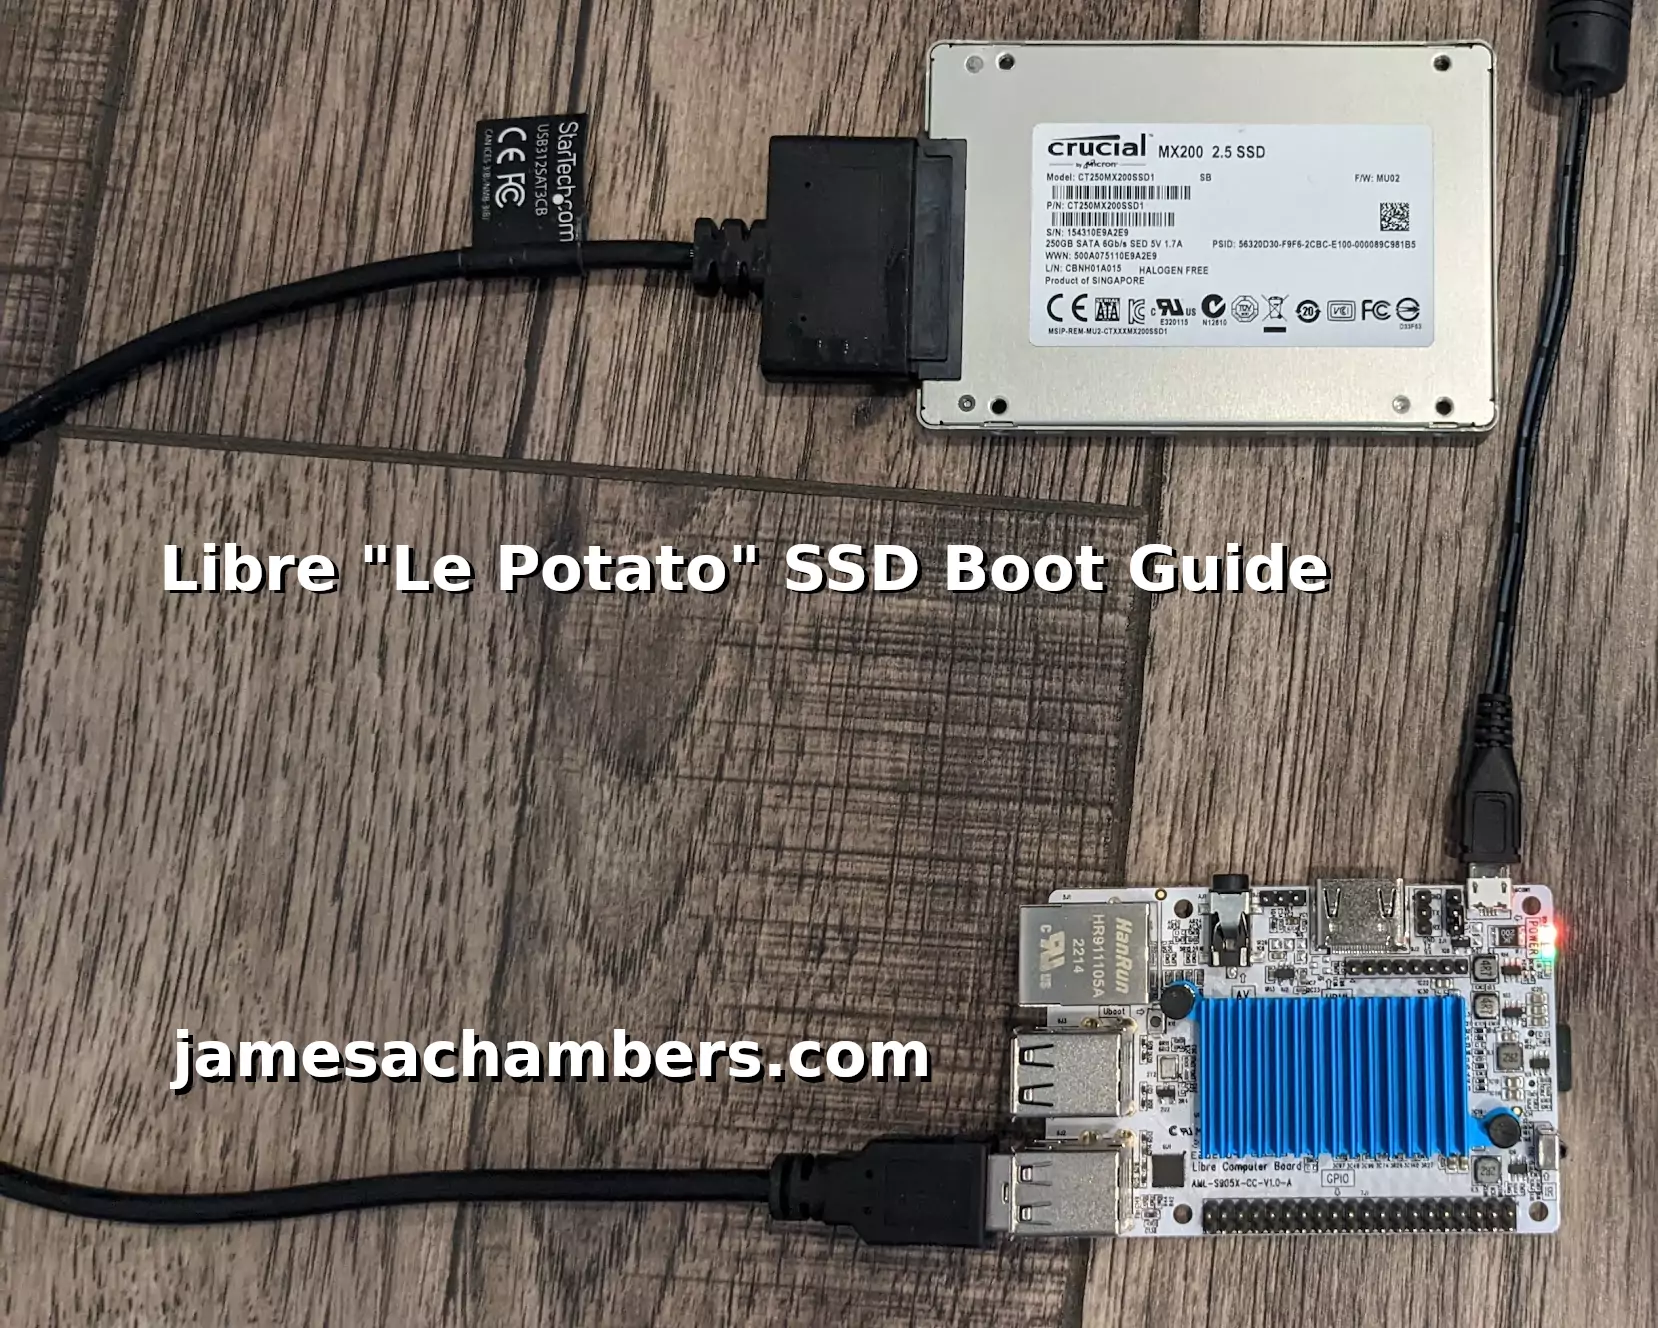
The “Le Potato” by Libre Computers is a $40 single board computer. That is incredibly cheap in 2022 as anyone who has tried to buy a Raspberry Pi recently can tell you. There aren’t a lot of guides out there for how to best utilize it though so today I’d like to publish a guide for it for one of the best upgrades you can do with any SBC: upgrade to SSD storage!
This method requires a sacrificial SD card to serve as the bootloader. After booting though it will use your SSD for the system’s root filesystem. We will then benchmark it to measure the improvement/gains.
Let’s begin!
Hardware Used
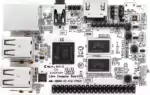
The “Le Potato” from Libre Computers is meant to be a fully open sourced alternative to the Raspberry Pi. It can run a huge number of flavors and has up to date images available for them. Contains a Quad-Core ARM Cortex A53 CPU as well as a Mali-450 GPU as well as 2GB of RAM. Make sure you click the $5 off coupon from Amazon!
Links: Amazon.com*, Amazon.ca*, Amazon.com.au*, Amazon.co.jp*, Amazon.co.uk*, Amazon.de*, Amazon.es*, Amazon.fr*, Amazon.it*, Amazon.sg*
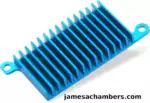
This is a heatsink for the Le Potato that will cover both the CPU and the RAM chips. Looks very nice as well!
Links: Amazon.com*, Amazon.ca*, Amazon.com.au*, Amazon.co.jp*, Amazon.co.uk*, Amazon.de*, Amazon.es*, Amazon.fr*, Amazon.it*, Amazon.sg*
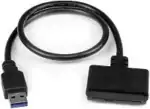
The StarTech USB 3.1 to 2.5″ SATA adapter is one I have recommended for many years for use with all kinds of devices including the Raspberry Pi, Orange Pi, ODROID, Libre “Renegade” and Tinker Board. It’s widely compatible and works with gaming consoles as well.
Links: Amazon.com*, Amazon.ca*, Amazon.com.au*, Amazon.co.jp*, Amazon.co.uk*, Amazon.de*, Amazon.es*, Amazon.fr*, Amazon.it*, Amazon.nl*, Amazon.pl*, Amazon.se*, Amazon.sg*
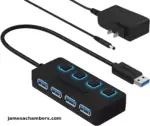
The Sabrent powered USB hub delivers a whopping 2.5A of dedicated power for your USB attached devices. It will easily power the most thirsty of setups such as NVMe enclosures.
Links: Amazon.com*, Amazon.ca*, Amazon.com.au*, Amazon.co.uk*, Amazon.es*, Amazon.it*, Amazon.nl*, Amazon.pl*, Amazon.se*
Note: Make sure Amazon doesn’t try to take you to the non-powered version and that it’s the one with the AC adapter that plugs in to provide extra power
Preparing SD Card
First you should have a completely working installation on a SD card of the OS that you would like to use. I used Armbian for this guide (recommended) so if your partitions are different it may be your flavor of Linux and need slightly altered instructions.
If you have an already working installation you want to move to your SSD you can use this as well most likely.
You should completely update first with:
sudo apt update && sudo apt full-upgrade
If you are using a different package manager then update the image however you need to for your distribution.
Preparing SSD
Now we are going to connect your SSD to the “Le Potato”. First we are going to completely remove all partitions from the drive so it’s completely blank. If you only have one drive plugged into the “Le Potato” (and nothing else) this should be /dev/sda.
sudo fdisk /dev/sda
Now remove all partitions from the device. If you press “p” it will print out the partitions. Here’s an example on mine:
james@lepotato:~ $ sudo fdisk /dev/sda

Welcome to fdisk (util-linux 2.36.1).
Changes will remain in memory only, until you decide to write them.
Be careful before using the write command.


Command (m for help): p
Disk /dev/sda: 232.89 GiB, 250059350016 bytes, 488397168 sectors
Disk model: CT250MX200SSD1
Units: sectors of 1 * 512 = 512 bytes
Sector size (logical/physical): 512 bytes / 4096 bytes
I/O size (minimum/optimal): 4096 bytes / 4096 bytes
Disklabel type: dos
Disk identifier: 0x3cedfd53

Device     Boot  Start      End  Sectors  Size Id Type
/dev/sda1         2048   264191   262144  128M  c W95 FAT32 (LBA)
/dev/sda2       264192 62550016 62285825 29.7G 83 Linux

Command (m for help): d
Partition number (1,2, default 2): 1

Partition 1 has been deleted.

Command (m for help): d
Selected partition 2
Partition 2 has been deleted.

Command (m for help): w
The partition table has been altered.
Failed to remove partition 1 from system: Device or resource busy
Failed to remove partition 2 from system: Device or resource busy

The kernel still uses the old partitions. The new table will be used at the next reboot.
Syncing disks.
Even though I got the device was busy error after unplugging and replugging the SSD the partition table was clear.
Once the drive is all cleared off you’re ready for the next step.
Cloning Installation to SSD
We’re now ready to clone your installation to the SSD. If you don’t have the eMMC attached your current root filesystem should be /dev/mmcblk0p1 (or /dev/mmcblk1p1 on some operating systems, check ls /dev or blkid).
We can now copy your drive to the SSD with the following command:
cat /dev/mmcblk0 > /dev/sda
Wait for the operation to complete (there won’t be any output but you will have a cursor again and be able to type new commands). It may take several minutes or longer. You are copying an entire drive from one to another basically with that one command.
Mine took almost 40 minutes (although I was using a 64GB SD card and the larger SD card you use the longer it will take to copy the whole drive).
If you are having any trouble with permissions try becoming “root” first with:
sudo su
Now try running the command again and as the superuser you should not encounter any permission errors.
Change SD card’s UUID
Now unplug the SSD and plug it back in. We need to change our SD card’s UUID so that it doesn’t try to boot from that partition. We can set it to a random one with the following command:
sudo tune2fs -U random /dev/mmcblk0p1
We can verify that it has changed with blkid like this:
james@lepotato:~$ sudo blkid
/dev/mmcblk0p1: LABEL="armbian_root" UUID="8bd51dc9-54c1-4f39-a149-459c638c9521" BLOCK_SIZE="4096" TYPE="ext4" PARTUUID="39524a4b-01"
/dev/sda1: LABEL="armbian_root" UUID="8ed60109-91ba-4708-b67f-1ae2da76894c" BLOCK_SIZE="4096" TYPE="ext4" PARTUUID="39524a4b-01"
/dev/zram0: UUID="40c660fe-280b-47d4-8d05-927fc39358b8" TYPE="swap"
/dev/zram1: LABEL="log2ram" UUID="25cbe7ff-d7da-4151-8344-f2167bbd4f8c" BLOCK_SIZE="4096" TYPE="ext4"
Notice that /dev/sda1 and /dev/mmcblk0p1 no longer have matching UUIDs. This is exactly what we want.
Run fsck
Before we reboot run e2fsck on the drive like this:
sudo e2fsck -yf /dev/sda1
This will prevent you from having to run fsck on the CLI the first time you try to boot.
Reboot and Verify
Now reboot the “Le Potato” with:
sudo rebootWith any luck you should be booted using your SSD! We can verify this with the mount command like this:
james@lepotato:~$ mount
/dev/sda1 on / type ext4 (rw,noatime,errors=remount-ro,commit=600)
/dev/sda1 on /var/log.hdd type ext4 (rw,noatime,errors=remount-ro,commit=600)
/dev/zram1 on /var/log type ext4 (rw,relatime,discard)
Here we can see that our root partition (/) is indeed on /dev/sda1 and not /dev/mmcblk0p1. Success!
Testing Performance
You can verify the performance of your SSD on Pi Benchmarks using the following command:
sudo curl https://raw.githubusercontent.com/TheRemote/PiBenchmarks/master/Storage.sh | sudo bash
SD Card Test
To show the improvement between having a SD card rootfs and having a SSD rootfs I did a before test here with the SD card:
     Category                  Test                      Result
HDParm                    Disk Read                 21.54 MB/s
HDParm                    Cached Disk Read          21.83 MB/s
DD                        Disk Write                16.3 MB/s
FIO                       4k random read            1804 IOPS (7219 KB/s)
FIO                       4k random write           925 IOPS (3700 KB/s)
IOZone                    4k read                   6720 KB/s
IOZone                    4k write                  2031 KB/s
IOZone                    4k random read            5617 KB/s
IOZone                    4k random write           2956 KB/s

                          Score: 939
SSD Test
     Category                  Test                      Result
HDParm                    Disk Read                 33.95 MB/s
HDParm                    Cached Disk Read          33.44 MB/s
DD                        Disk Write                33.6 MB/s
FIO                       4k random read            6462 IOPS (25850 KB/s)
FIO                       4k random write           6148 IOPS (24593 KB/s)
IOZone                    4k read                   12903 KB/s
IOZone                    4k write                  13287 KB/s
IOZone                    4k random read            11344 KB/s
IOZone                    4k random write           15181 KB/s

                          Score: 3,451
You may view the full benchmark on Pi Benchmarks for this guide here.
Wow, that’s quite a dramatic improvement. We went from 939 to 3,451. That’s about a 3.5x performance increase! You can also look at the raw IOPS and MB/s numbers on HDParm and the various test categories if you are more familiar with those to see the improvement.
Conclusion
Even though we are limited to USB 2.0 bus speeds we can still achieve about 3.5x the performance of the SD card using a SSD with a USB to 2.5″ SATA adapter. This is definitely worthwhile as it was on boards like the Raspberry Pi 3 that had USB 2.0 as well.
I haven’t tested the eMMC modules for the “Le Potato” yet because they are currently out of stock on Amazon. Because of the USB 2.0 bus there’s a chance that eMMC modules might perform faster than an SSD.
The SSD performance is substantially higher than SD cards though for sure as we’ve determined through our benchmarking!
Other Resources
If you are moving from a Raspberry Pi to a “Le Potato” see my Raspbian Portability Tool for Libre Boards Guide
Don’t miss my review of the Libre Computers “Renegade” board which is $10 more than the “Le Potato” and gives you a USB 3.0 port
You may be interested to see my Libre Computers “Le Potato” Review
Make sure to check out my ODROID XU4Q review which includes eMMC tests and benchmarking
For an awesome retro gaming handheld console check out the ODROID Go Super


Thanks for creating this guide! I had to modify the procedure a bit in order to get my LePotato to boot from a USB flash drive.
First of all, using ‘cat’ (or ‘dd’, which is my preference) to copy a mounted filesystem will result in some corrupted files on the destination media, so I shut down the LePotato and inserted the microSD card and USB flash drive in another Linux system so that the clone was made with no updates being made to the source media. Running ‘fsck’ on both media should come up clean this way.
Secondly, I was unable to change the UUID on /dev/mmcblk0p1 while the partition was mounted, so moving the media to another system took care of that issue.
I noted that my microSD card did not have the boot partition flag set, so the USB drive did not, as well. I set it on the USB drive partition and it booted first time, no issues.
Also, the SD test should be done before the media is copied, so I recommend that you add that step ahead of cloning, so that a true comparision can be made. Of course, reading through the entire procedure first always helps…
Finally, although it worked, the perf test results were a mixed bag, with the HDParm Disk Read and Cached Disk Read showing improvement, but the random R/W was not significantly/slower. But, now that I know that this works, I will look at using a true SSD.
Hey C.L. Harting,
Those are great results, I look forward to seeing how it works with a true SSD! That’s some bad luck that you got corruption when cloning. That can definitely happen especially if anything like a database is running on the device. I typically will write these guides with a completely fresh installation and nothing else running (i.e. a “clean” install).
In other words doing the clone “offline” by doing it on another Linux machine is definitely a good idea for systems that are already configured or are running anything.
As far as testing before that’s not a bad idea at all. I definitely would recommend that for anyone focusing on the storage performance aspect to grab a before and after. Take care!