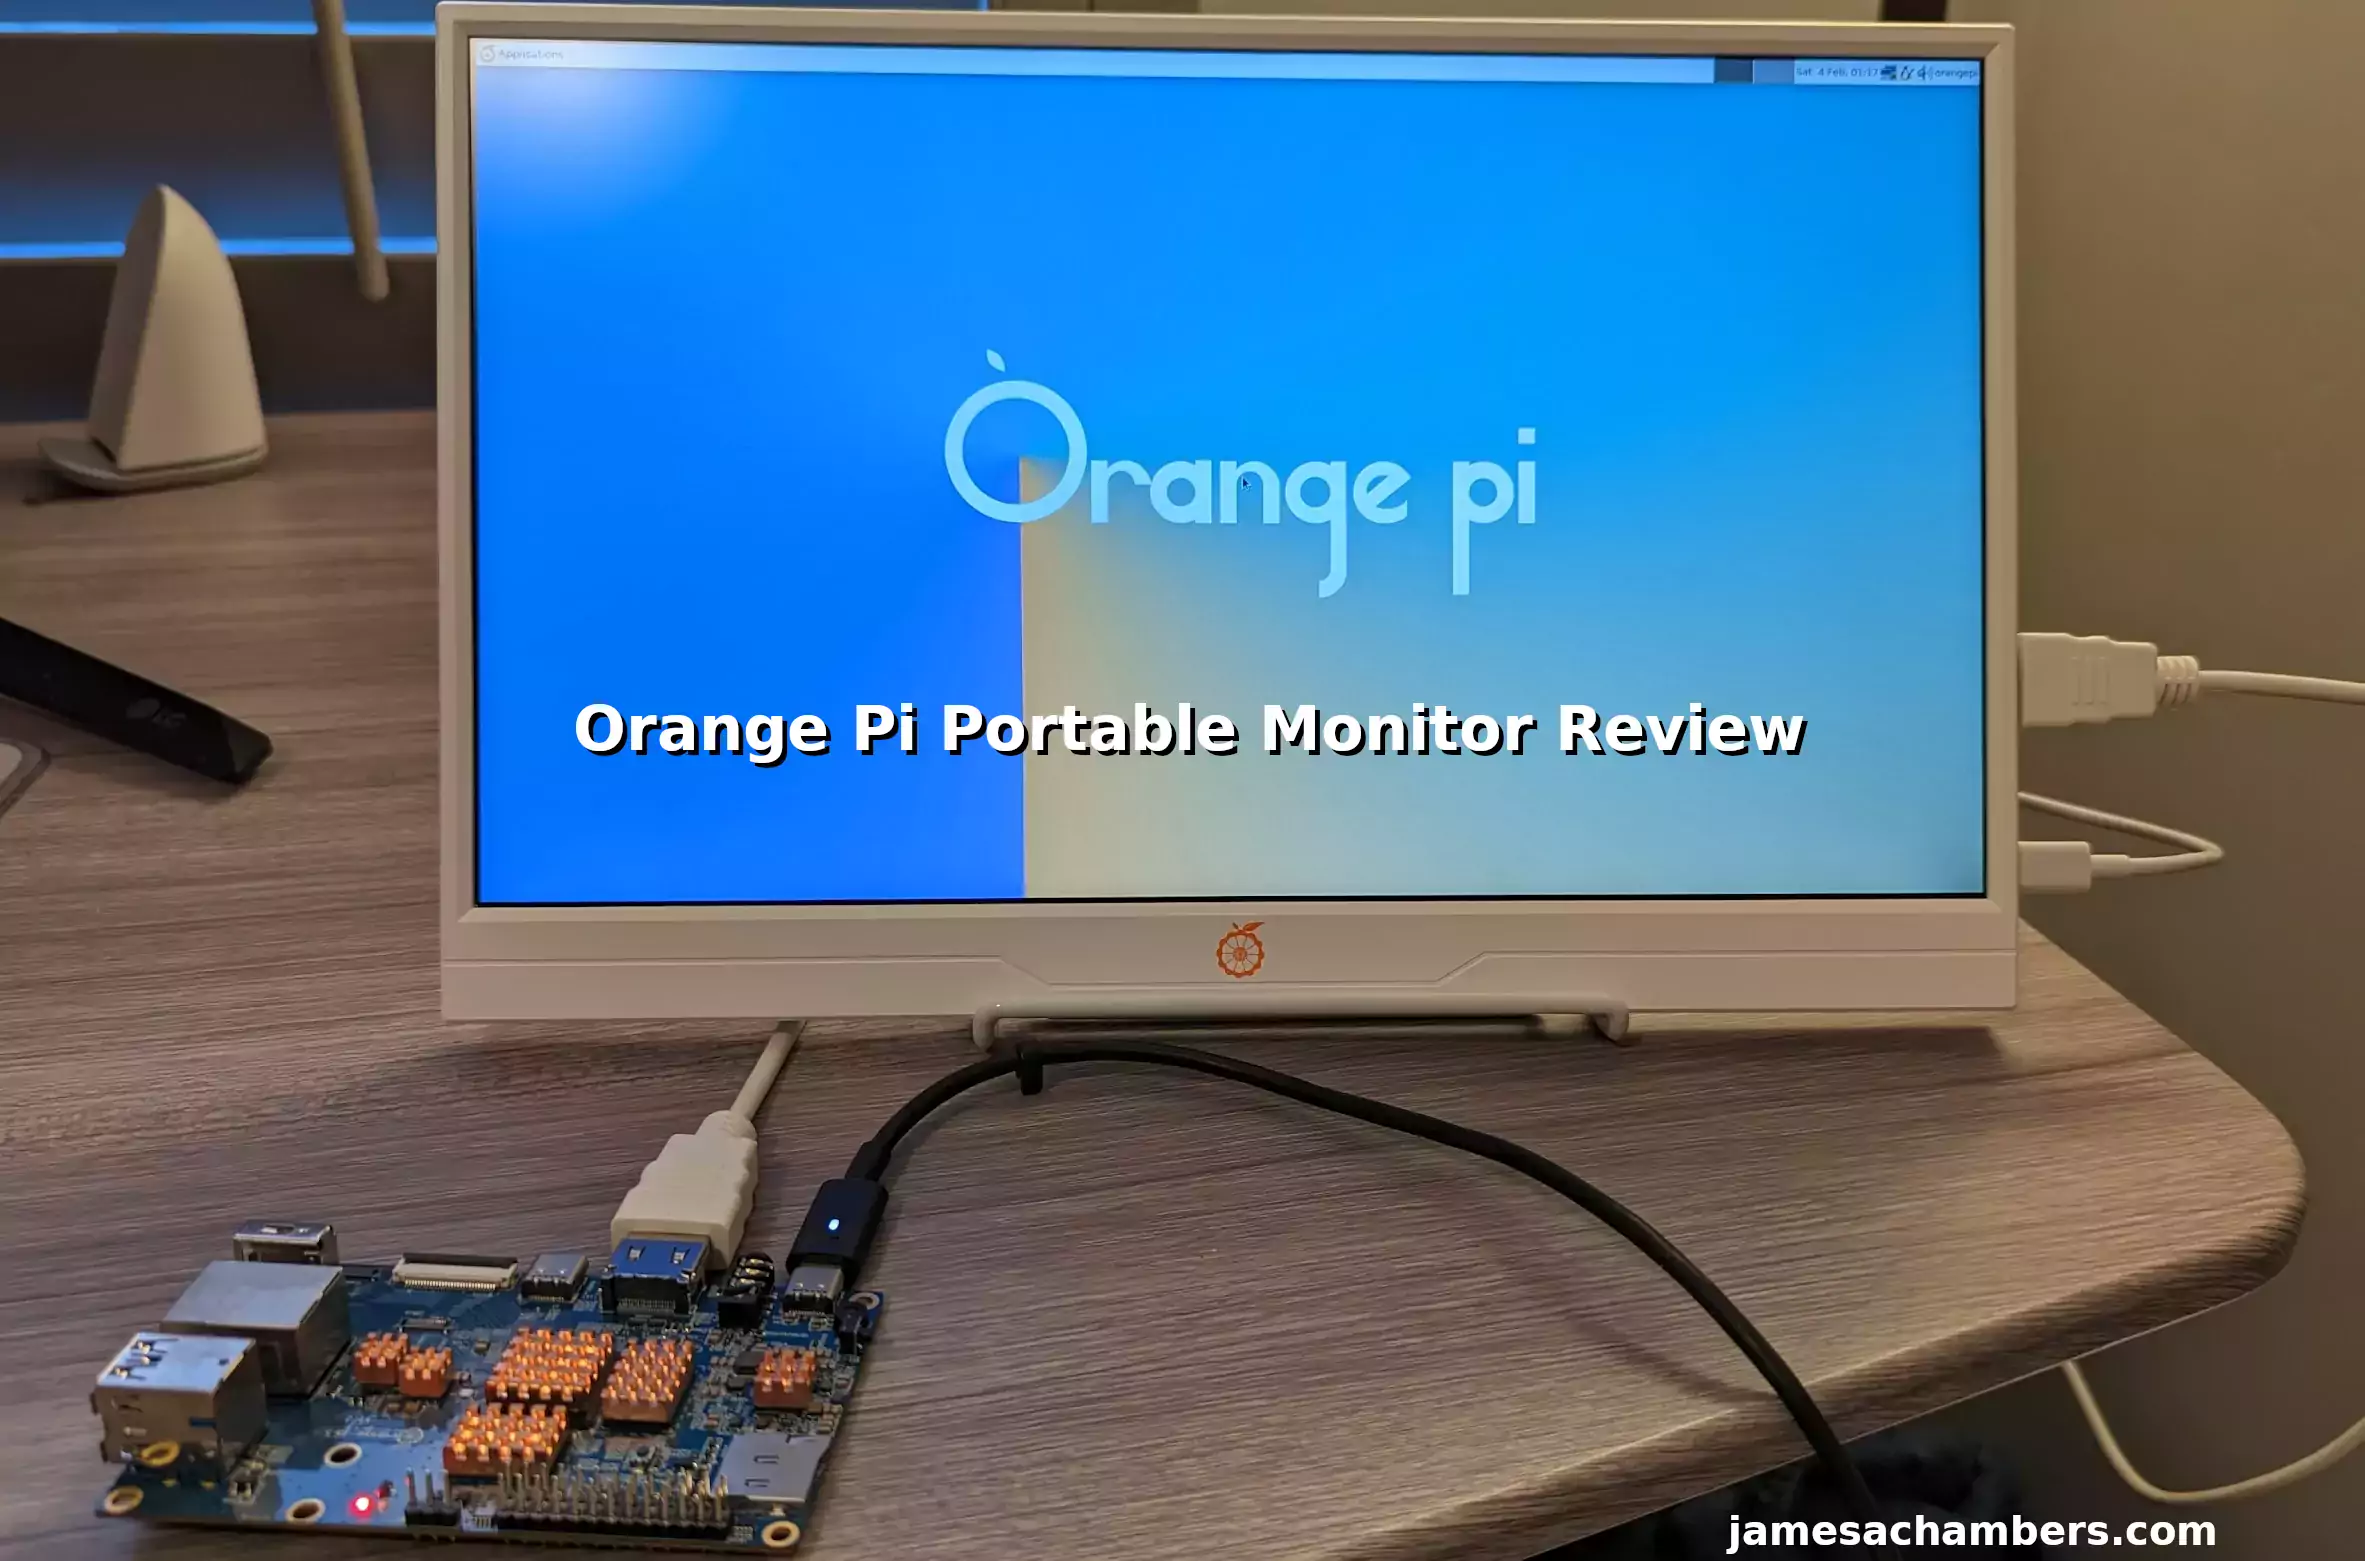
I recently ordered many of the official Orange Pi accessories for review with my Orange Pi 800 order (also coming up for review). The first of these accessories to come was the Orange Pi 14″ 1080P portable monitor. This monitor is meant to be extremely portable and have a low footprint.
Today in this review we’ll take a close look at Orange Pi’s monitor offering and test it with several devices. We’ll examine the build quality, functionality and try to determine whether picking one of these up might be worth it for you and what situations they would be most appropriate for.
Let’s get started!
Hardware Used

The Orange Pi monitor is meant to be a portable monitor you can take anywhere. It has a resolution of 1080P and features a hinge in the back that folds out to support the monitor.
Links: Amazon.com*, AliExpress*
Specifications
- Display Size: 14 Inch
- Resolution: 1920×1080
- Contrast: 700:1
- Brightness: 220cd/m2
- Panel Type: a-Si TFT-LCD
- Viewing Angle: 85/85/85/85 (Typ.)(CR≥10)
- Frequency: 60HZ
- Colour System: 262K , 45% NTSC
- Operating Temp: 0-40℃
- Operating RH: 20-80%
- Input: 1 HDMI /2 USB Type-C
- Stand: Iron stand
- Audio: Speaker and 3.5mm earphone
- Material: Rugged Aluminum, Metal, Plastic available
- Dimension/DIM: 32520515(8.5)mm
- CTN: 3482547.6mm
- Net Weight/N.W: 550g
- Gross Weight/G.W: 1150g
Packaging
The monitor arrived as it’s own package like this:
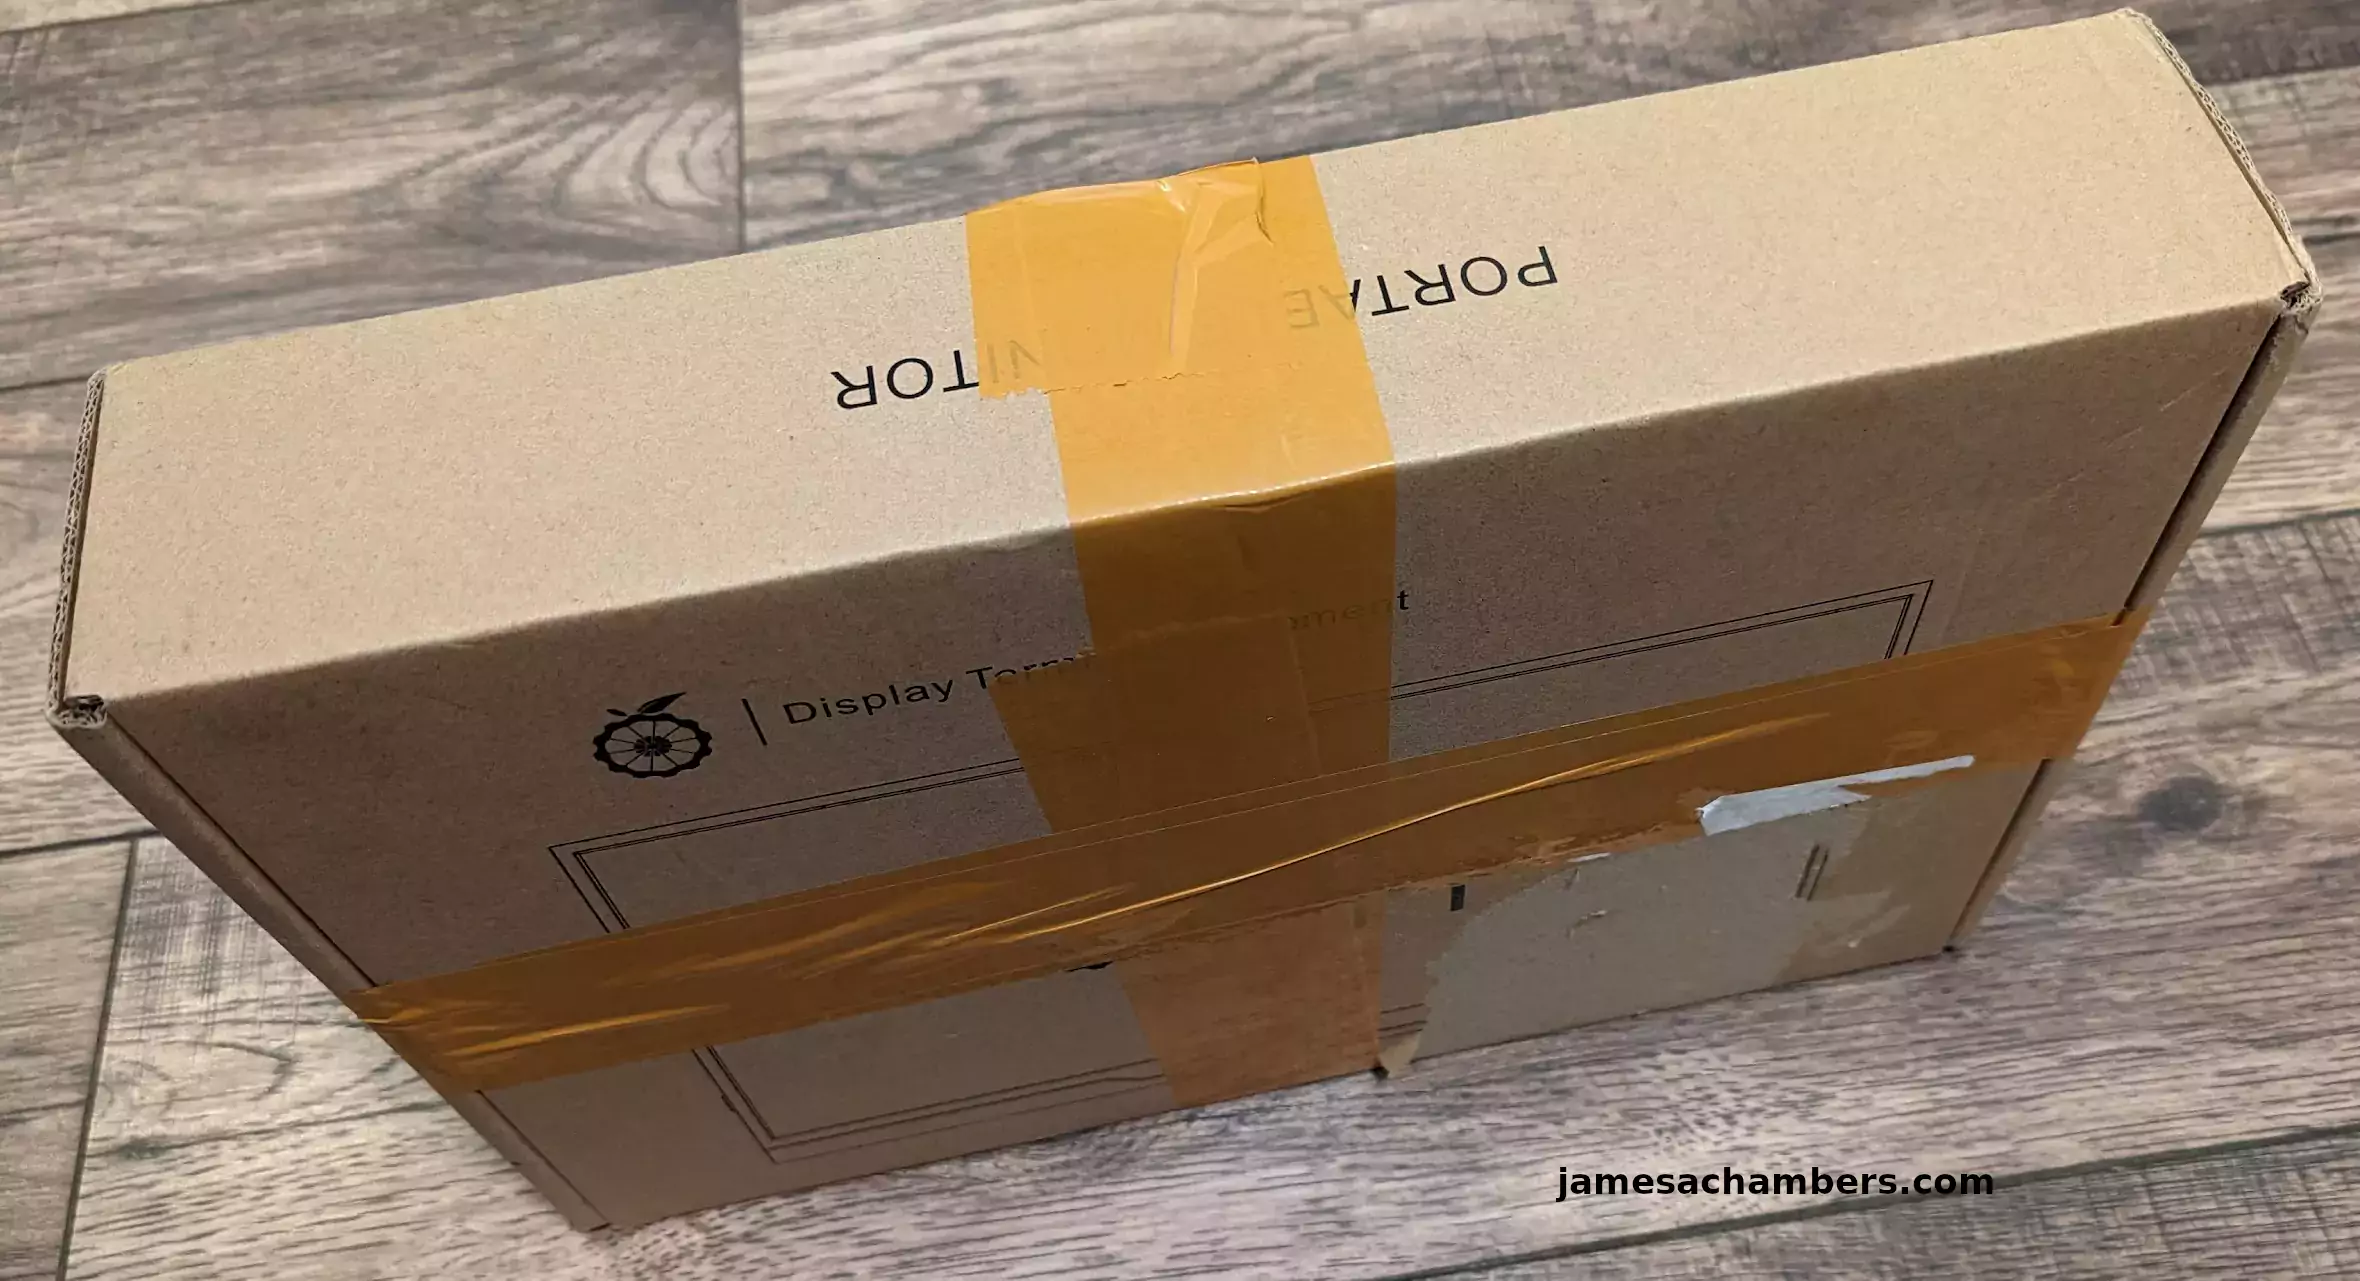
They used so much tape you can barely see what is on the box but there is some stuff you can still see. I’d rather them tape it this way and keep it secure during shipping.
Now let’s see how it’s packaged inside:
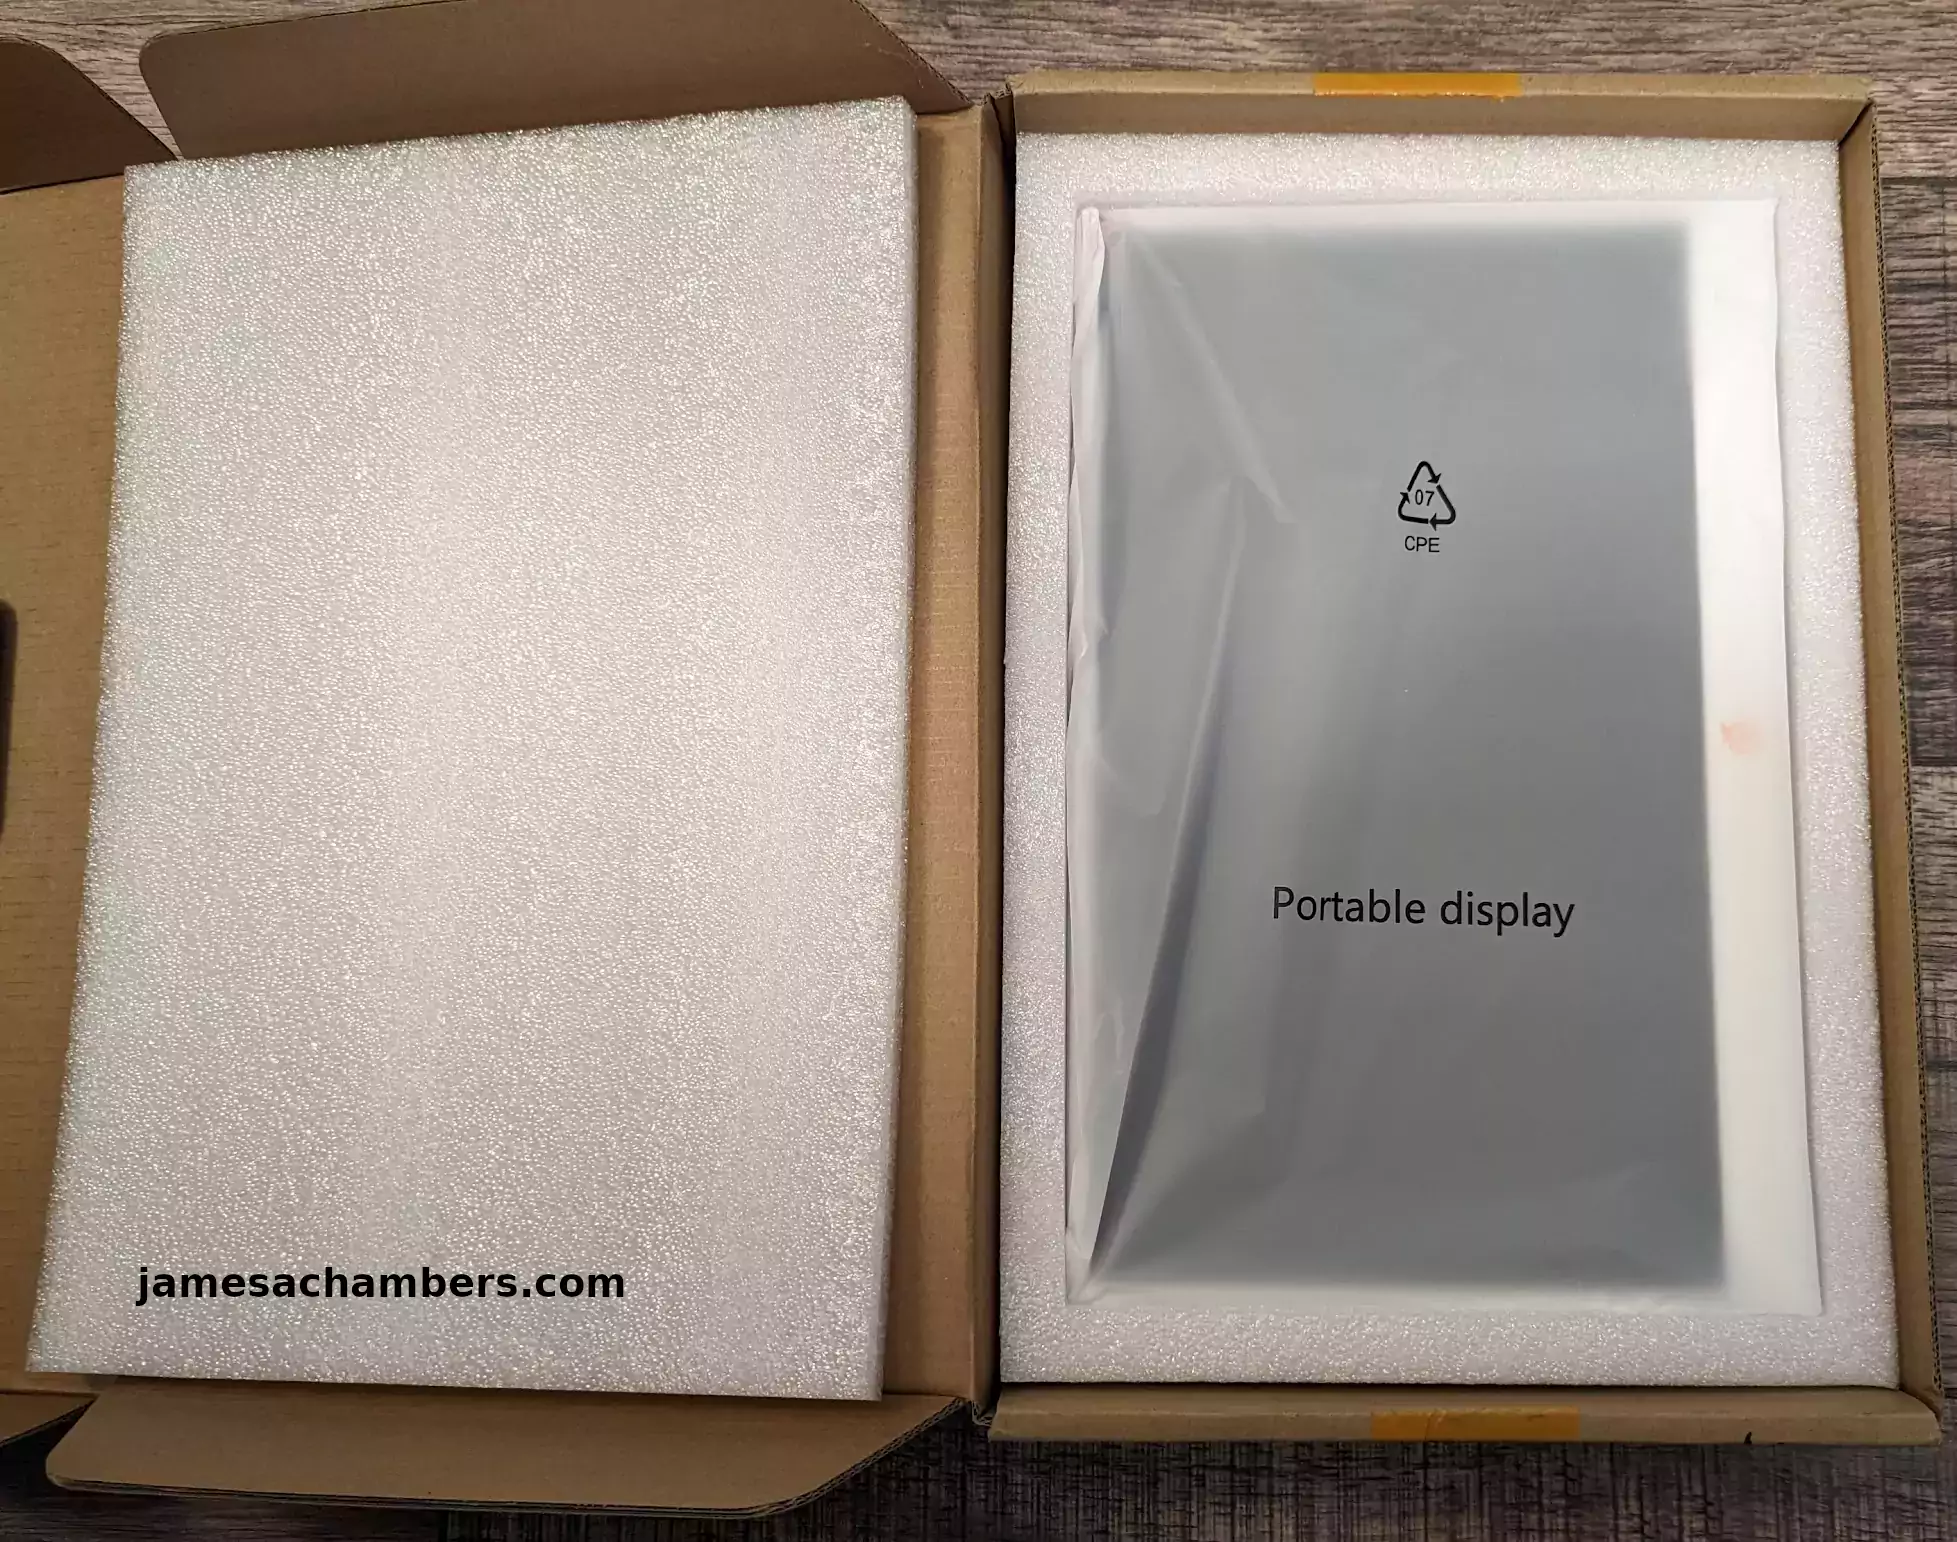
We can see here there’s substantial protection inside and that the monitor is inside a sleeve. That “Portable display” writing you see in the screen above is actually printed on the sleeve. It’s not text like I typed in like my jamesachambers.com on the left.
Included Accessories
If we lift the monitor out of the tray we can see all of the accessories:
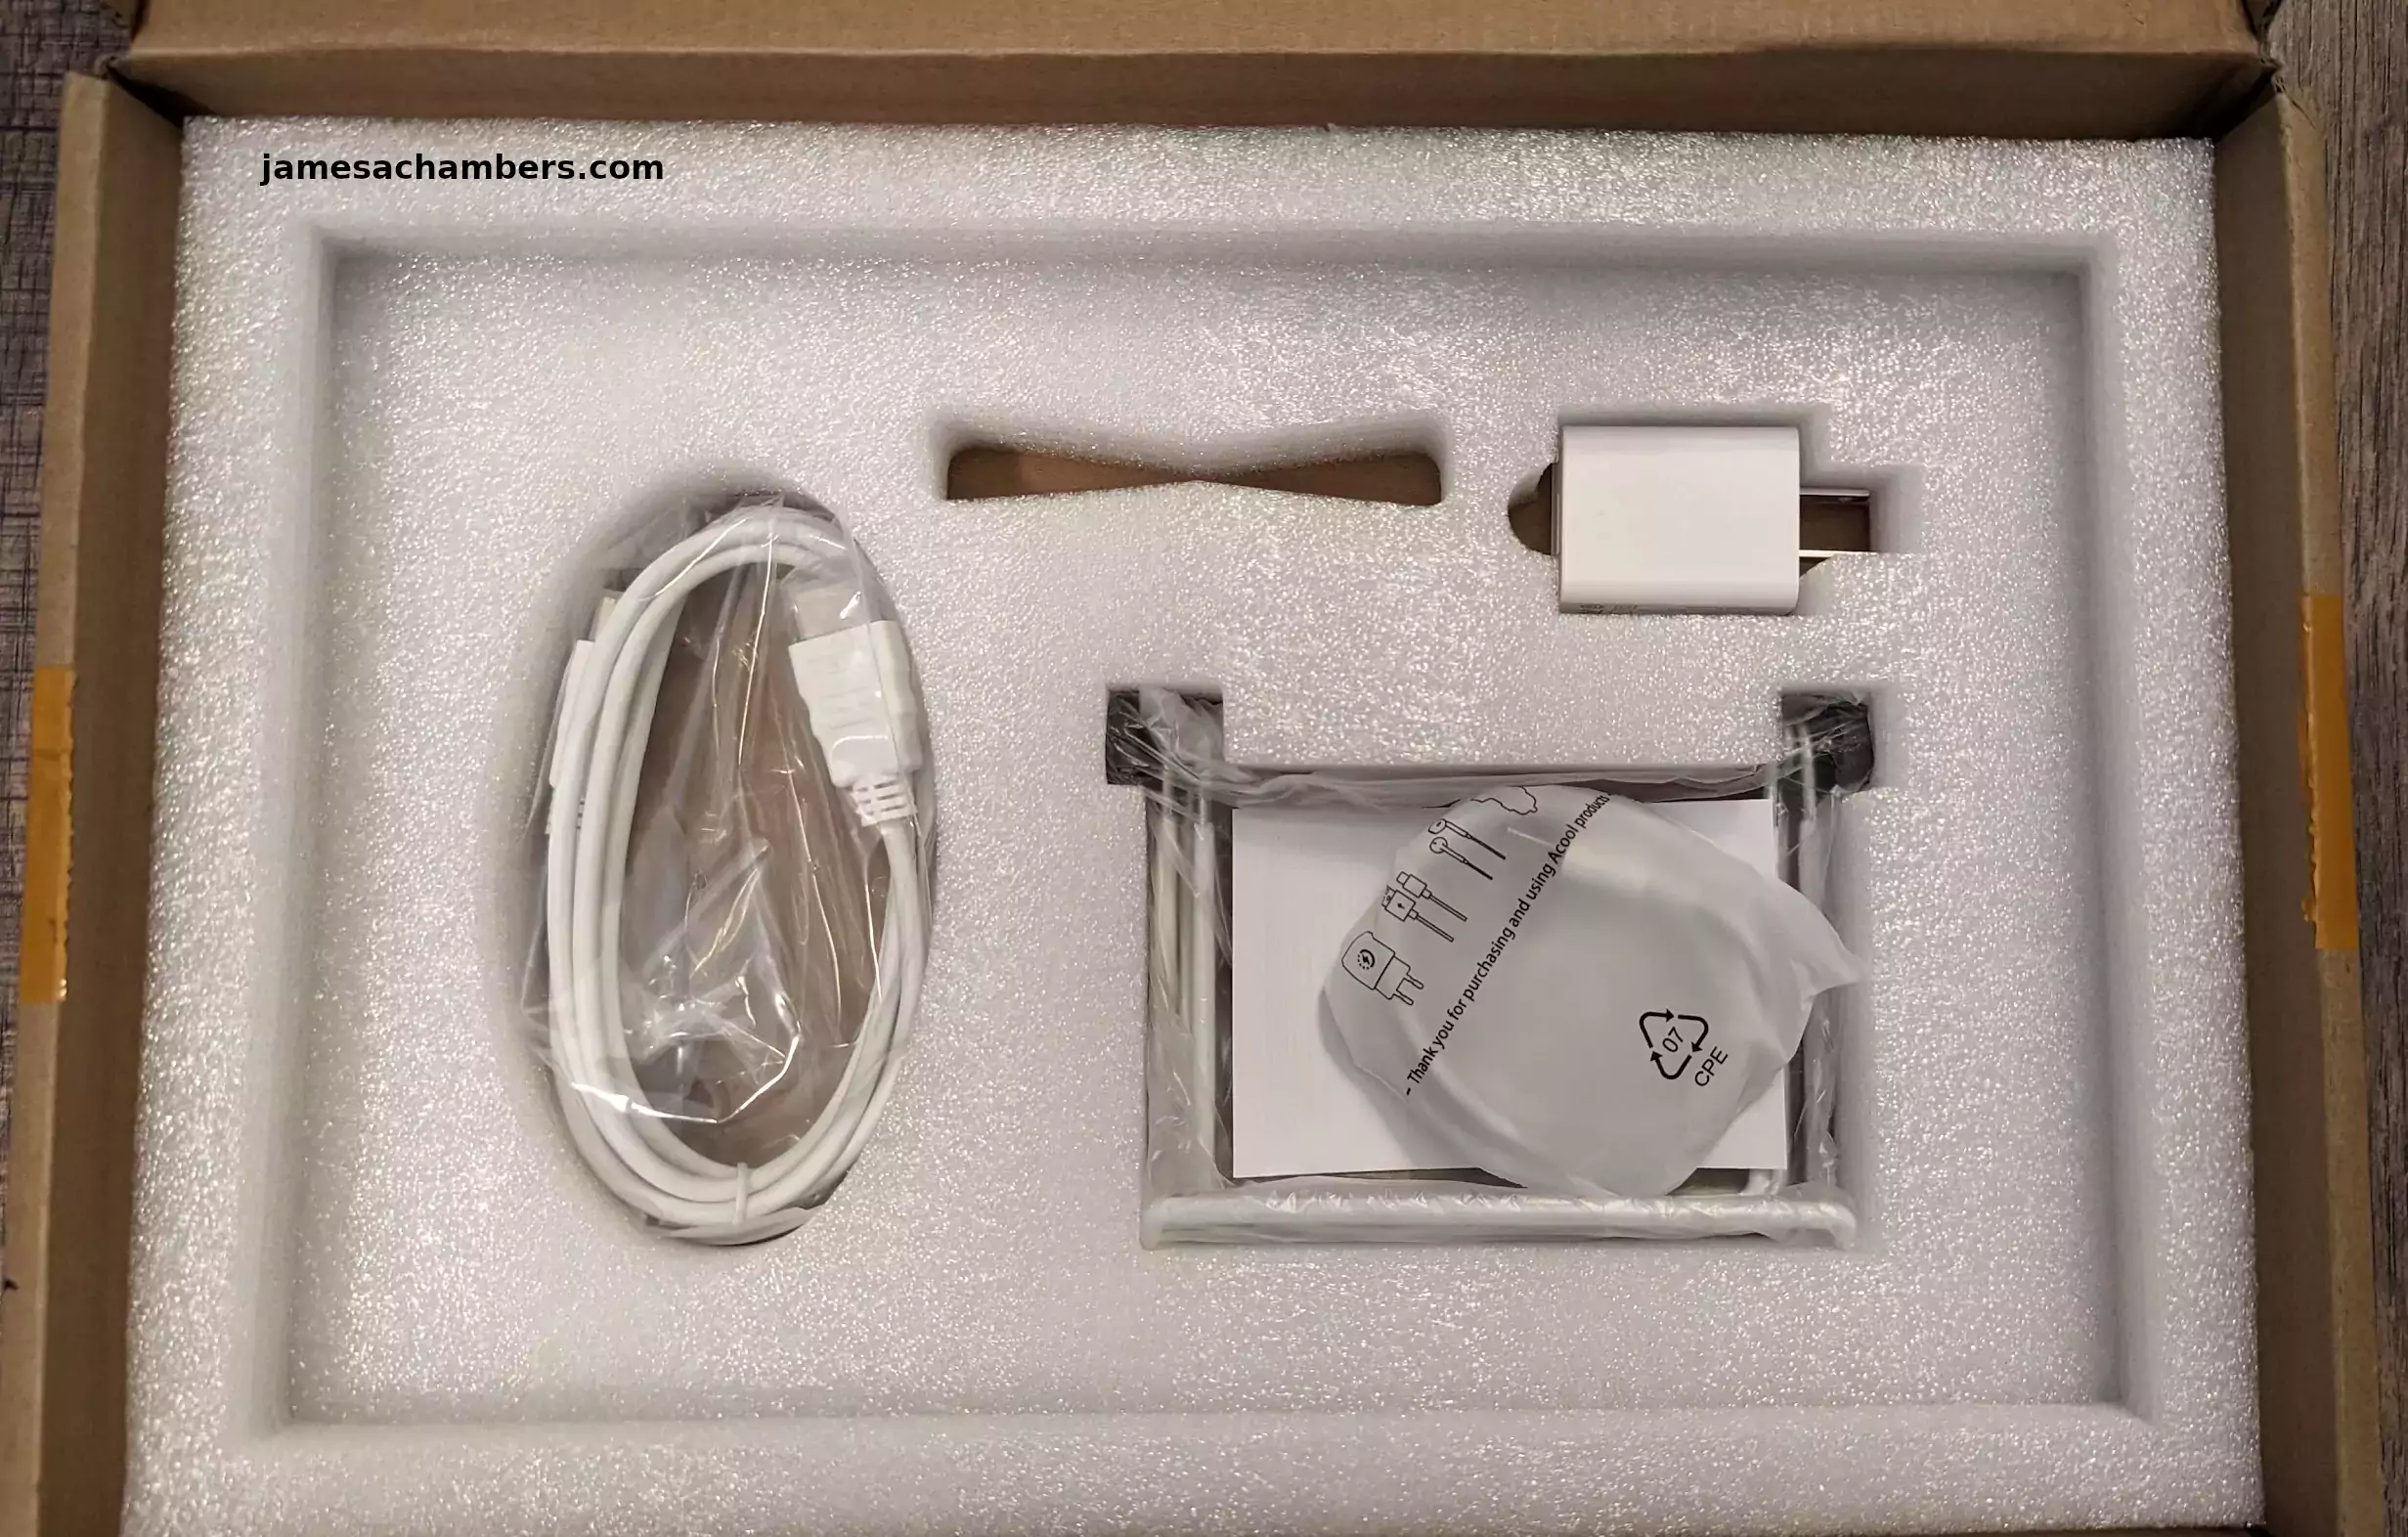
Specifically this includes:
- Power adapter
- HDMI cable
- USB-A to USB-C cable
- The stand for the back
- Instruction manual
Usage
So to my surprise the hinge doesn’t actually attach at all to the monitor. It’s a completely independent stand that you can tighten / loosen the hinges on once you get it into a position you want it to stay in. It looks like this:
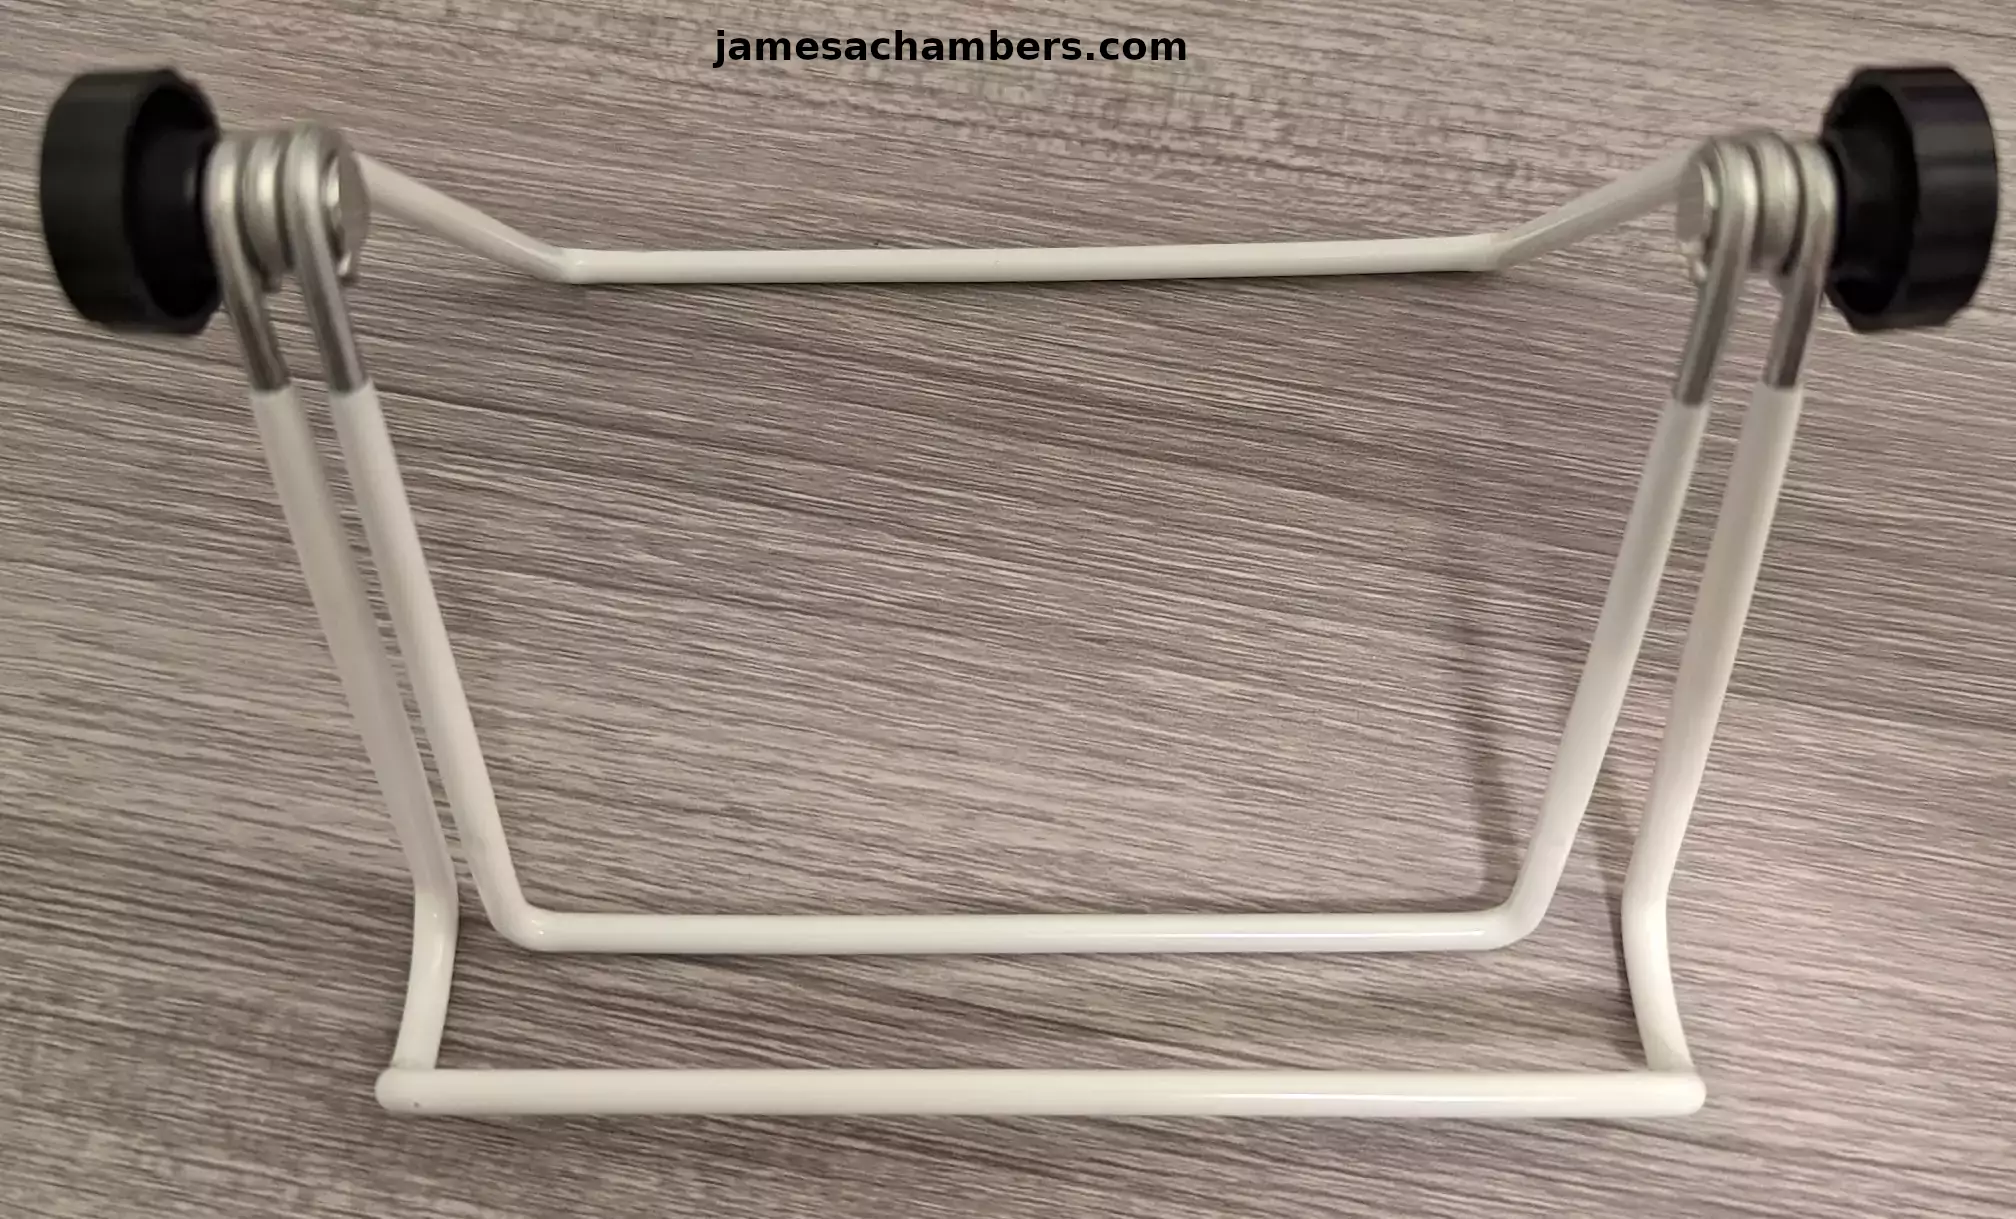
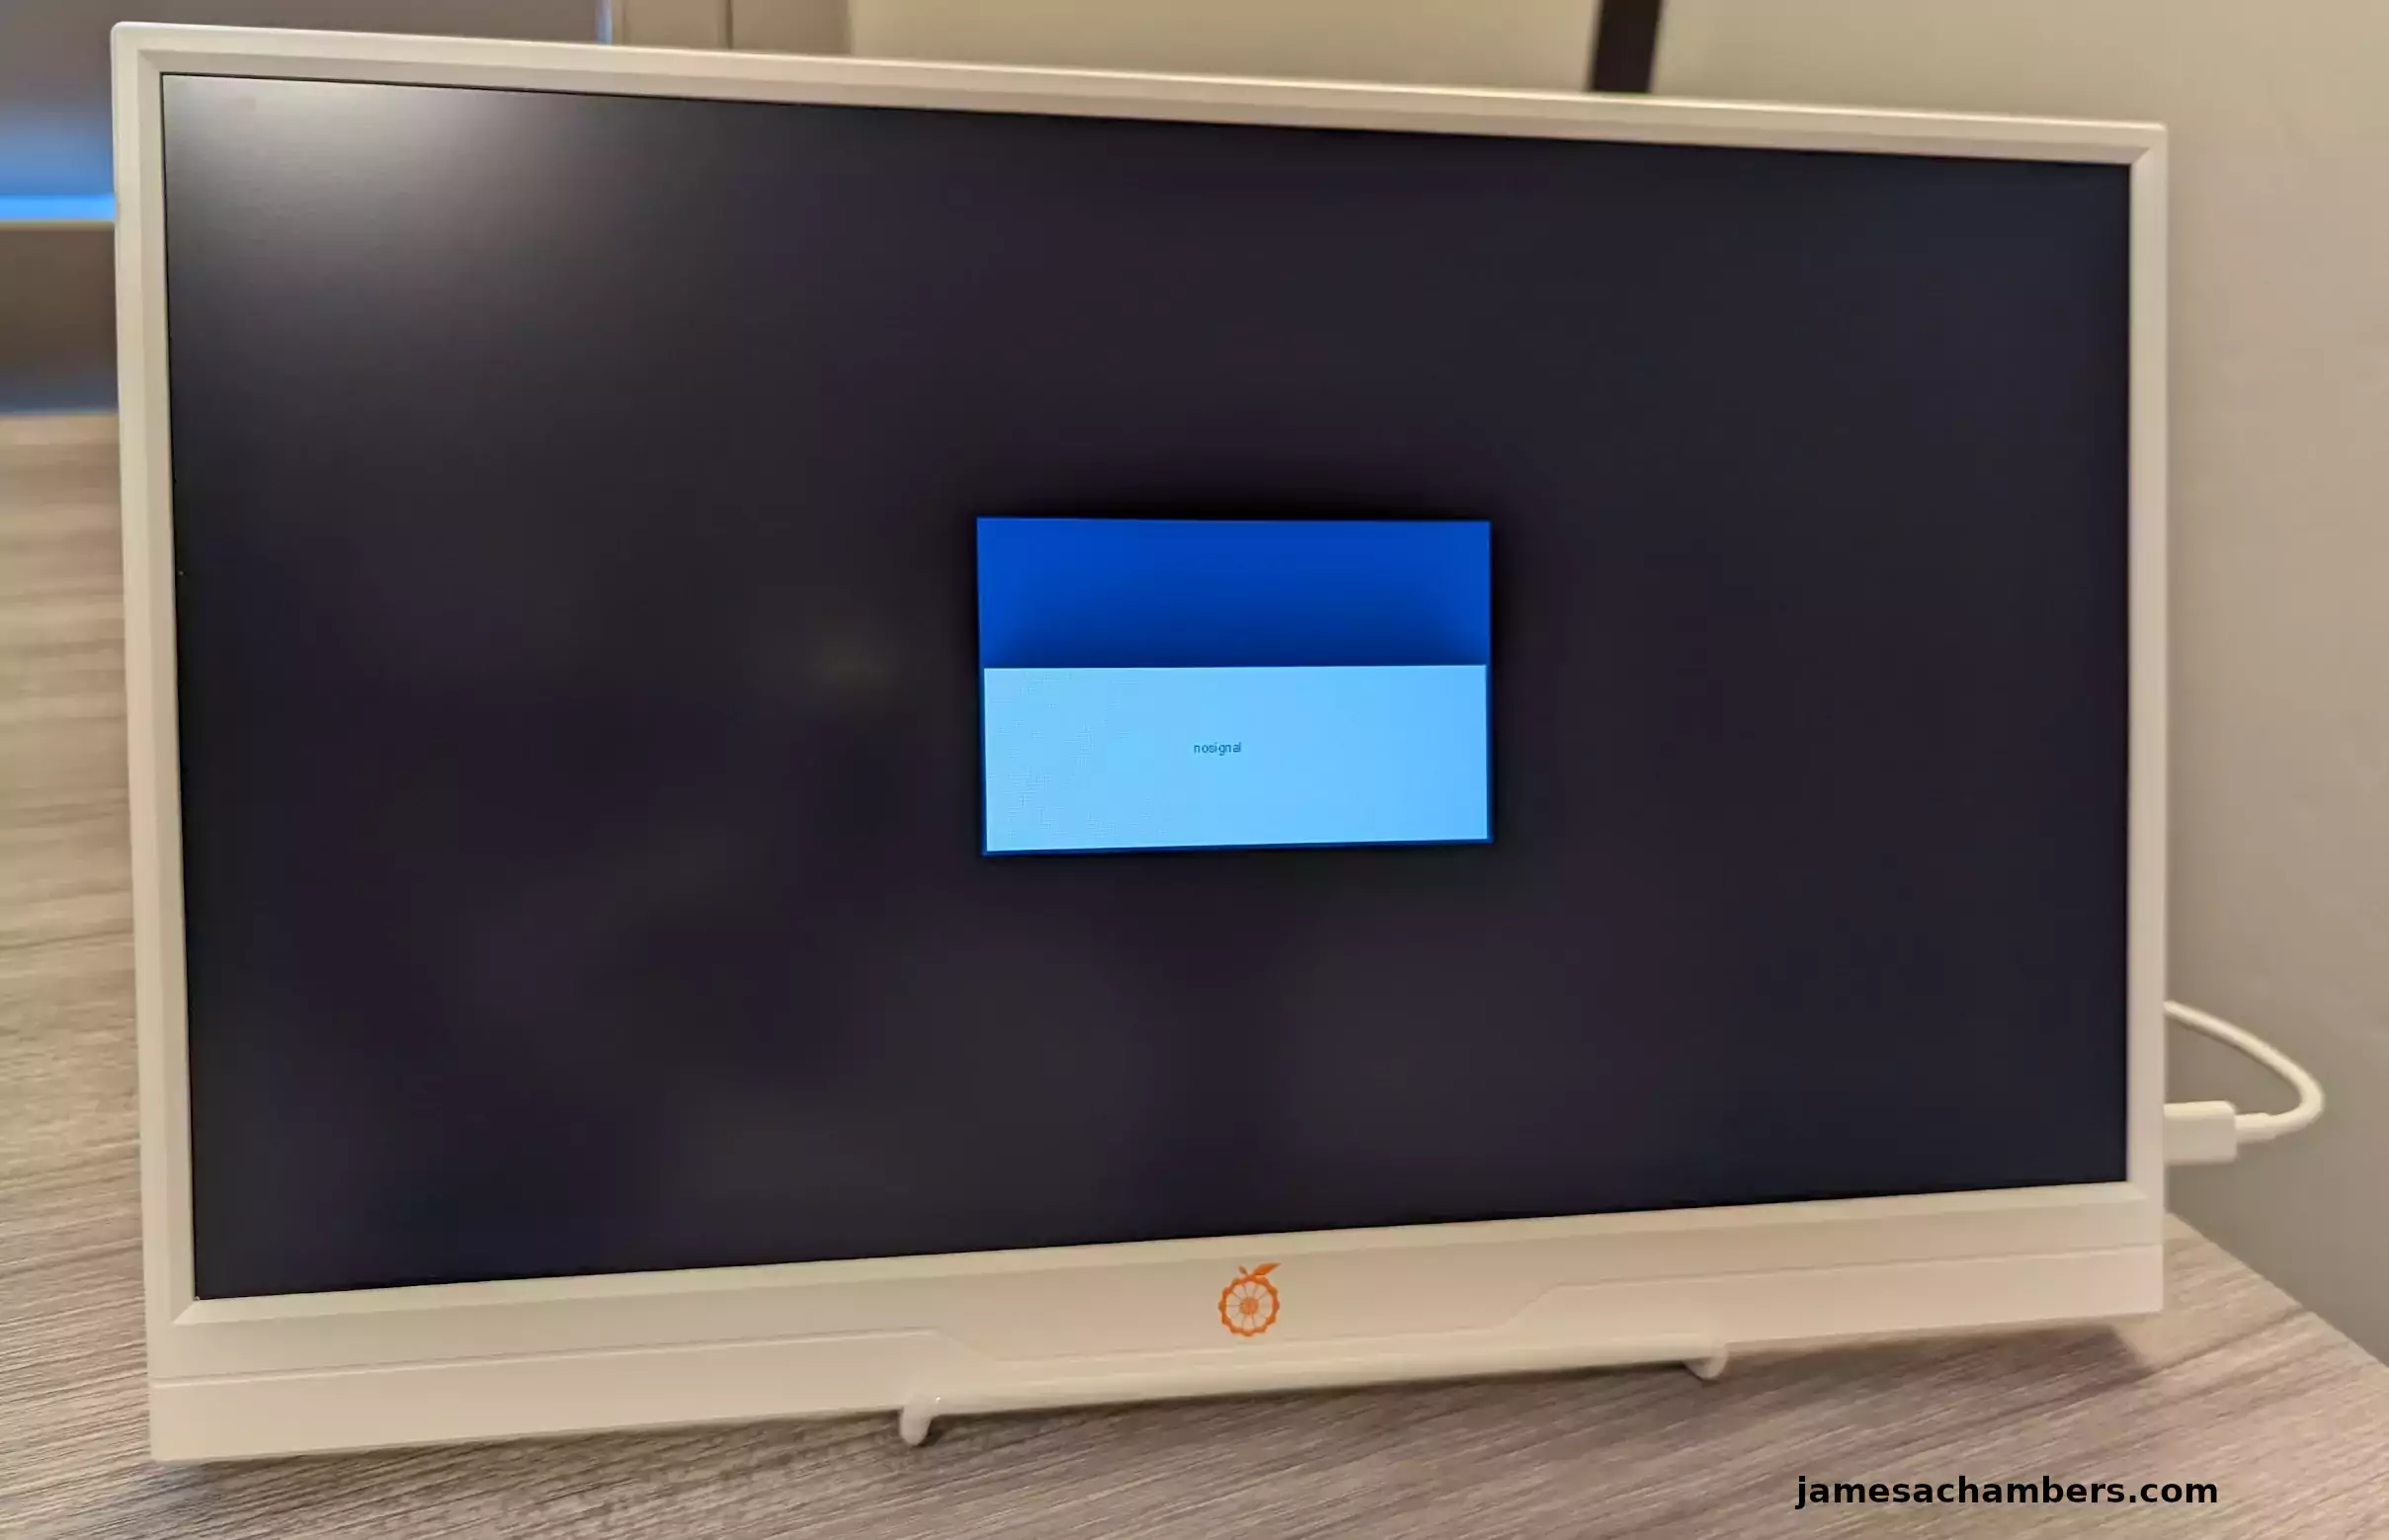
The black knobs on each side tighten the stand once it’s resting in a stable position. Once it’s all tightened up the monitor will rest on the stand like this:
Configuration
The first thing you’ll want to do when you set up the monitor is change the language. You do this by accessing the control panel:
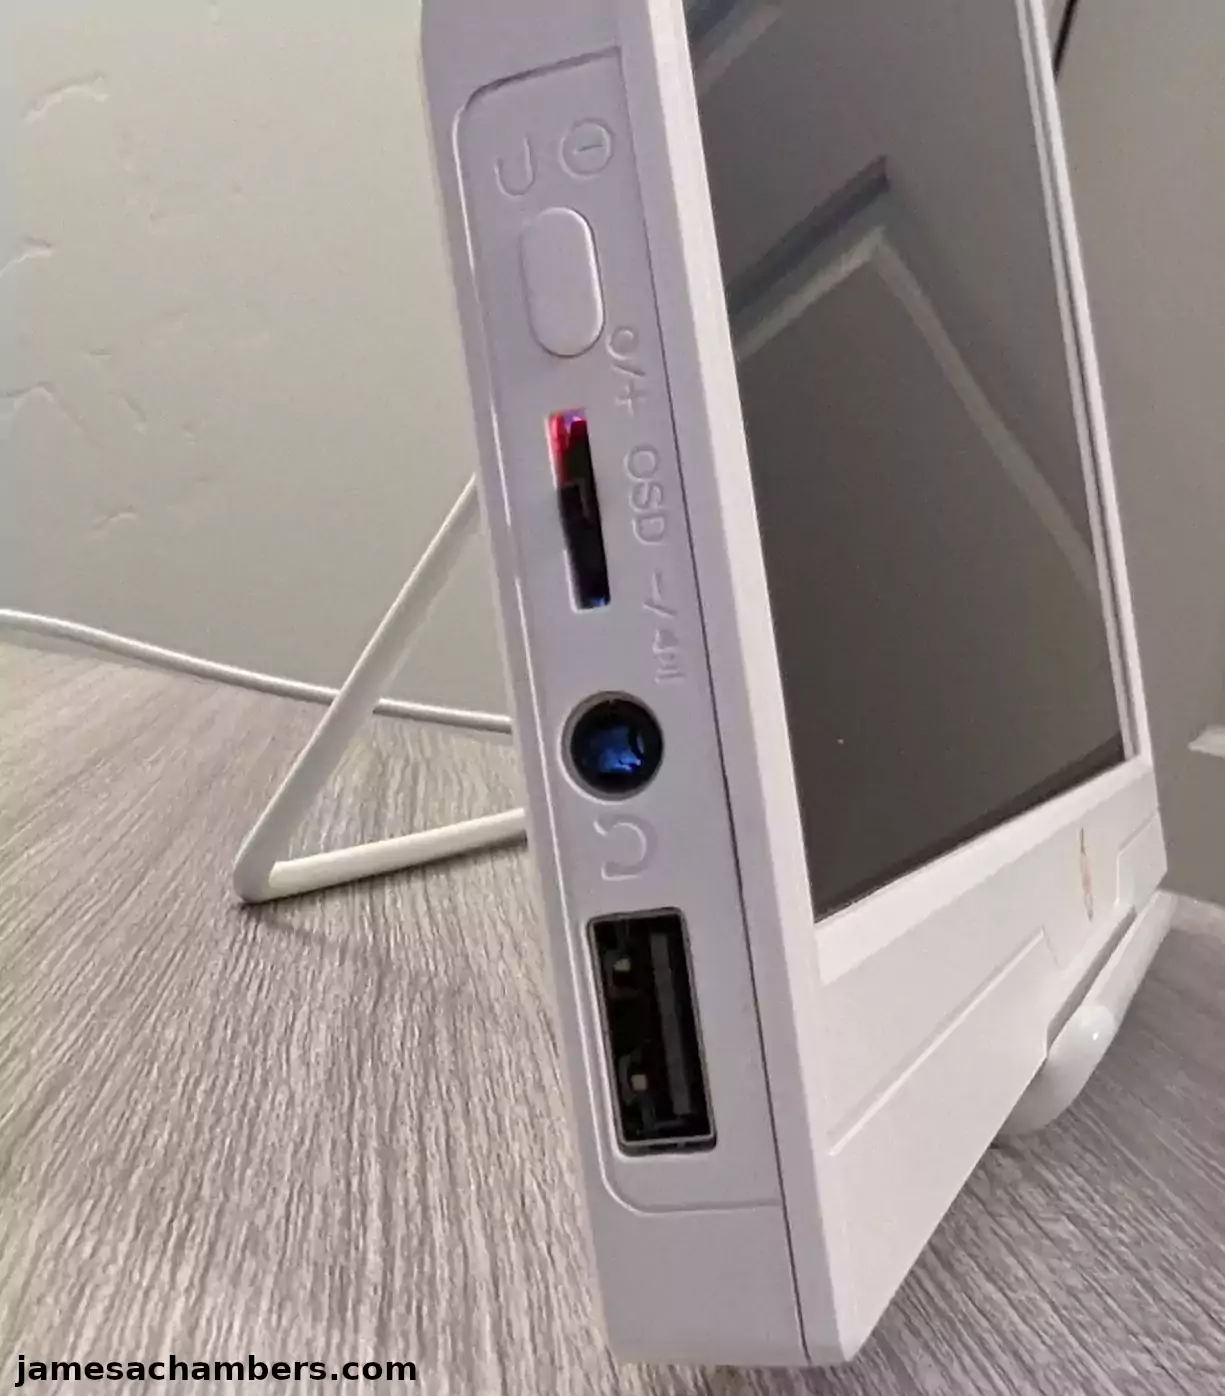
Note that one annoying thing about the monitor is you can’t configure it unless there’s a working display input connected. If you try to access the menu when it says “no signal” it doesn’t let you navigate the menu and will go to sleep in a few seconds.
Once you’ve plugged in a valid input it’s easy to set the language by using the OSD wheel. EDIT 2/13/2023: kprasadvnsi has shared in the comments that the monitor actually is functioning without a valid display connected. The backlight is just completely turned off. You can actually still see and use it if you hold a flashlight up to the display. Thank you kprasadvnsi!
The one review on Amazon says that the monitor will not remember your language. This is fortunately not true. I’ve tested unplugging the power for short and long periods of time and it does not forget my language setting. That person must have either got an earlier revision that has since been fixed or potentially they had a defective one. The setting has “stuck” throughout a couple of days of testing and I’ve never had to set it again.
There are a few other configuration options such as turning on HDR as well as AMD FreeSync. There’s also the typical brightness and other controls you’d expect on any monitor available.
Pros / Cons
Pros
- Incredibly light and portable
- Cables and power adapter are included
- Mount holes included on back of panel
Cons
- The backlight will turn off without a valid input connected requiring use of a flashlight to see the menu
Conclusion
The monitor is available for only $65.99 on Amazon. As far as pricing goes this is one of the cheapest options out there. Try searching Amazon for “portable 1080P monitor” and you’ll find that most options are well over $100. They’re incredibly light. They feel and handle similarly to a tablet. The sound quality from the speakers is fairly average which I would expect at this price point but they’re usable at least.
The monitor isn’t just useful for single board computers. It’s also great for gaming consoles. It also works plug-and-play to just plug into my PC to get additional screens that take up almost no space on my desk. I may use some of these for additional Home Assistant information displays / panels that I’ll be covering on the site here as I continue to build them.
I doubt this monitor will be leaving my desk and I may pick up additional ones because they’re so inexpensive (relatively speaking). They’d be great to mount as well as they already have the mount holes in the back of the device. I was very relieved to find out the monitor does indeed remember the language setting once you set it as well.
I got this monitor as a package with the Orange Pi 800 but it arrived several days earlier than the Orange Pi 800. Definitely watch for that upcoming review and I’ll definitely mention how it feels to use this monitor with the Orange Pi 800.
The monitor gets a recommend for me and it’s mostly on price and utility. If you need a really cheap and portable 1080P monitor this monitor makes a lot of sense to consider!
Other Resources
I’ve reviewed the Orange Pi 5 here which is what I have paired with it in the very first screenshot of the article



Maybe it’s important to precise this screen is displaying only 45% of the NTSC gamut and works only in 18bit or 262,000 colors. So it means it’s not ok for all use cases, for example displaying a movie or some photo editing job are not the main targets.
Hey renaud,
Yes, I’d say that’s absolutely true for sure. Even getting a 100% sRGB monitor will take you up to something like $130-140ish. Any type of color-sensitive work should take you out of the sub $100 category for sure and there are definitely options appropriate for that out there.
Take care!
The menu is actually accessible when there is no video signal. It just that the backlight is not turned ON. You can see the menu if use a flash light to illuminate the display.
I have cracked open my unit. Let me know if you want picture of internals.
Hey kprasadvnsi,
Brilliant! I’ve updated the article with your information. It makes sense because I did notice (and it’s in my control panel shot) that the red light under the OSD wheel is illuminated even when the backlight is turned off (and the display looks completely black without holding up some kind of alternative light source to it).
If I had held a flashlight up to it in that picture I took and pressed the OSD wheel I could have configured it with the backlight off using this trick in other words. It looks pretty convincingly off but it is functioning.
I bet this trick will help some others out. I was annoyed by this which is why I put it in the cons but honestly your trick definitely helps. It gives people more options for that initial configuration step. Thanks again for sharing this and take care!
Great review James!
Knowing that the stand/hinge is detachable is a big selling point for me as overall the size and functions are great yet the only thing stopping me from ordering earlier was the delivery price as Amazon seems to charge a lot to ship to Australia leaving me to go with Aliexpress which has a few listings so I’ll most likely stick to your link when placing an order.
I was looking at the Radxa 8″ monitor for similar price and it has touch screen yet the 1280×800 resolution is a let down so going with the OPi 14″ is really a no-brainer… Cheers!
Hey Razor Burn,
Yes, it’s honestly a pleasant surprise and after using it I can see why they designed it that way. It basically feels just like having a tablet/iPad (except you need something to plug into the screen to make it do anything). A lot of people don’t use it for the stand at all apparently.
It also has an incredibly thin bezel. That’s pretty important because a lot of cheap monitors have a *HUGE* bezel. If they didn’t make the lip at the bottom bigger it could easily be mistaken for a tablet.
I couldn’t believe this thing actually has a HDR mode. I’m sure it’s not color calibrated / accurate or anything like that but it actually does put out HDR colors. I wanted to take some photos of it but my camera actually picks up the HDR mode worse on camera even though it looks better in person. Cameras and screens get along very strangely sometimes.
My favorite use case for this so far though is this:
You can see here that the monitor is so small it actually fits underneath my 4K monitor while keeping the display completely visible. I could put like 4 of these under my 2 main 4K monitors I work on. I could have all kinds of things up on these like my Home Assistant security cameras feed and some of the other statuses on one or two screens would be nice. They’d also be nice for wall mounting though since they are relatively thin and have the mounting holes built right into the monitor. It was plug and play with my Linux system too (I did try it with my PC as well just to be sure even though it’s not on in this picture) and sure enough I got a third monitor basically instantly.
That’s a great catch that the Radxa one has a lower resolution than this display. I definitely would not want to give up the 1080P. That’s the resolution I’m pretty used to working with SBCs on anyway and it’s what my downstairs monitor that’s in a lot of my pictures uses as well.
To be fair to Radxa though they have a 8″ panel while this is a 14″ panel. Theirs is a lot smaller of a screen. The closest thing I know of that Orange Pi has is this 10″ touch screen that is meant for a wide range of models including the Orange Pi 5. Radxa still has them beat by a couple of inches even in that size though so they’re definitely seemingly more different than they seemed initially. Radxa actually doesn’t have any screens anywhere near this size that I know of yet. I wonder how small the 8″ version would seem on my desk underneath my monitors.
You might also notice I have a surprise visitor on the desk that I’m working with here that I’ve been trying to get my hands for a long time. I believe this one came from allnetchina if you remember all the way back when I said I was trying to place one from there for it. It arrived yesterday so that’s pretty exciting. It’s basically ready for me to prepare the SD card and I’m actually not working on this one on the dungeon thanks to this monitor. I’ll probably write my whole Radxa Zero review upstairs.
Thanks and take care!
Hahaha I almost thought that was a Pi Zero but happy to see that the Radxa finally arrived after the long delay and I’m keen to see your impressions and whether you notice any wifi issues as some users are reporting…?
I was on the fence but you’ve convinced me to give it a try and I’ll look to place an order next week as I need a second screen and this one appeals to me more than the touch screens due to the size and plug & play features. Cheers!
Hey Razor Burn,
That is excellent! I think you will like it. One thing I considered when writing this review is “is this something a million other people sell on Amazon for this cheap or cheaper”? But if you search Amazon for a portable 1080P monitor you will see that no. It’s not. They’re pretty much almost all $99+ and on average probably closer to $120 or so. It’s dramatically cheaper than the average (or most options in this case) which I guess is kind of Orange Pi’s thing. They manage to do it in almost every product category they compete in and they’re pretty good at doing it without making the resulting product terrible like many other budget attempts.
Undoubtedly a lot of those monitors probably have some more premium features than this monitor but that would make them almost twice as expensive if you got a $120 vs. this $65 one. It’s almost as cheap as we would get non-portable monitors for the state government when I used to work there. It was something like $55-$60 from Dell or HP at the time. This is an actually portable one for that price.
It’s pretty easy to recommend after I verified that the language can indeed be permanently changed. Like I was alluding to in the article and my earlier comments this is something affordable I can use for some other purposes that may not be related to SBCs really at all. It would just be related to having a monitor with such a small footprint that can display in 1080P resolution using relatively little power. It will be handy for anyone who needs a cheap and small/portable plug-and-play 1080P screen realistically.
I’m sure you will enjoy it!