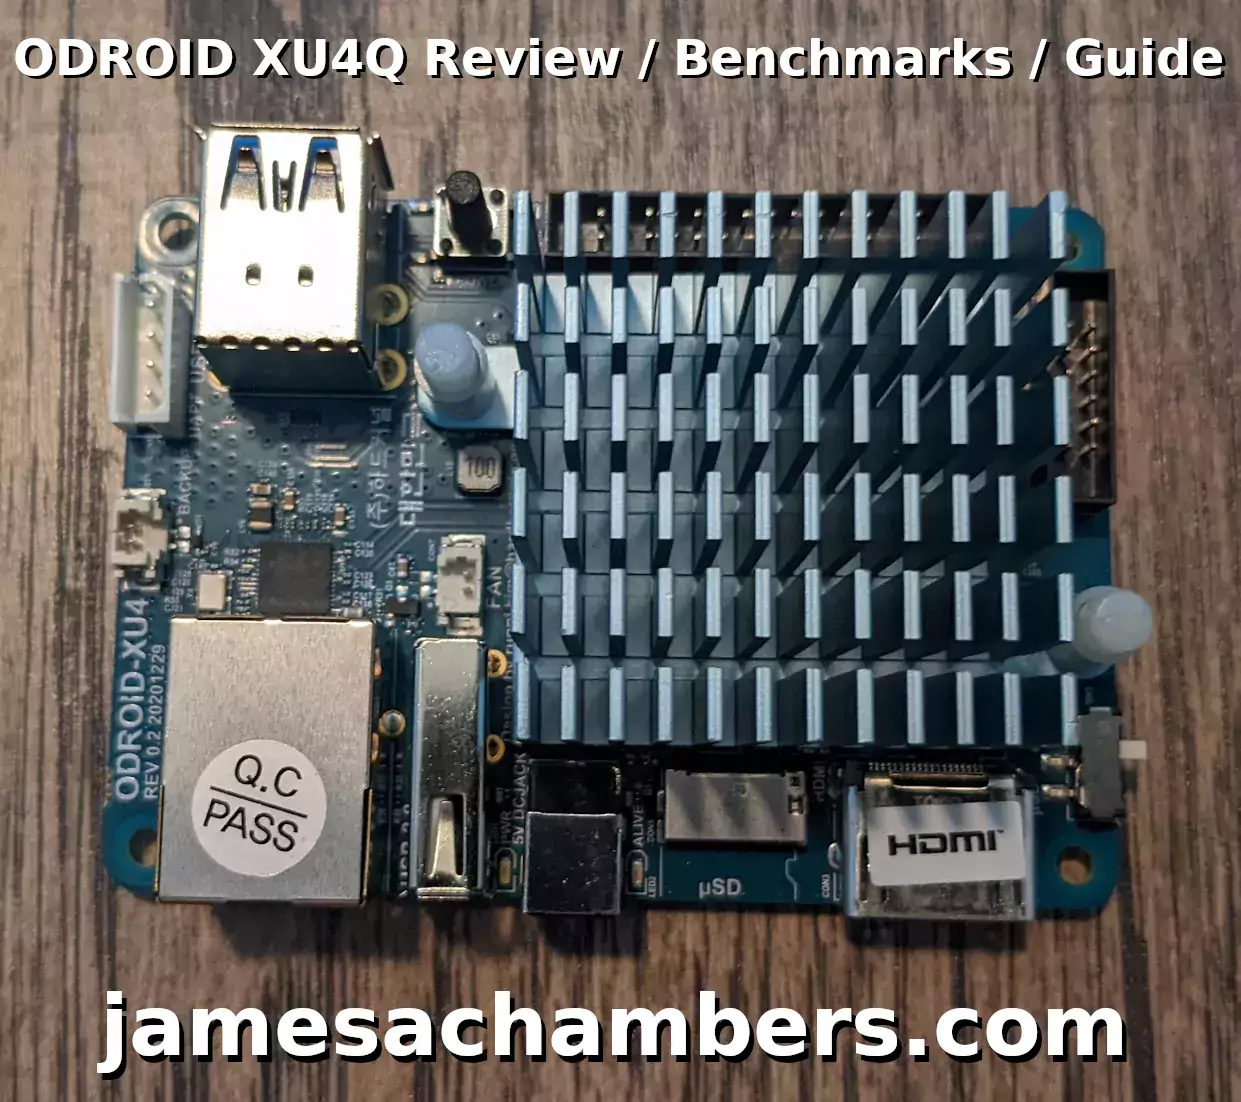
I recently received several ODROID products I wanted to review and benchmark in my quest to explore the rest of the SBC world outside of Raspberry Pi. Today we’re going to cover the ODROID XU4Q!
We’ll cover the pros and cons of the board and then benchmark the board with a official Hardkernel eMMC module. Let’s get started!
Hardware Used

The ODROID XU4Q is a passively cooled version of the popular XU4 model. It has an octocore (8 core) processor.
Links: Amazon.com*, AliExpress.com*, Amazon.ca*, Amazon.com.au*, Amazon.co.jp*, Amazon.co.uk*, Amazon.de*, Amazon.es*, Amazon.fr*, Amazon.it*, Amazon.nl*, Amazon.pl*, Amazon.se*, Amazon.sg*

The XU4Q needs a pretty hefty power supply and tends to not boot if it’s not just right. This is a link to the official ODROID power supply.
Links: Amazon.com*, Amazon.ca*, Amazon.com.au*, Amazon.co.jp*, Amazon.co.uk*, Amazon.de,* Amazon.es*, Amazon.fr*, Amazon.it*, Amazon.nl*, Amazon.pl*, Amazon.se*

The Hardkernel eMMC modules are the officially recommended eMMC option for ODROID boards. They are available in a wide variety of sizes from 8 GB to 128 GB. Comes preinstalled with either Linux or Android but can be reimaged.
Links: Amazon.com*, Amazon.ca*, Amazon.com.au*, Amazon.co.jp*, Amazon.co.uk*, Amazon.de*, Amazon.es*, Amazon.fr*, Amazon.it*, Anazon.nl*, Amazon.sg*
Differences from XU4
The biggest difference between the XU4 and the XU4Q is that the XU4Q is passively cooled with a large, pretty blue heatsink. The XU4 has active fan cooling.
This does have some implications. If you know you are going to be running heavy loads 24/7 you are going to want an active cooling model. If the ambient temperature is lower you will have less to worry about.
The CPU does have thermal clocking meaning that when it starts getting too hot it will reduce it’s speed slightly to prevent from overheating. This means you don’t have to worry about melting it as much as you will start to lose some performance when the device gets too hot.
Official Images
As always we will be examining the quality and age of the available images for the device. It’s a huge issue in the SBC world that many boards require you to use ancient kernels and distros as there are often not newer ones available. If it’s a board that Armbian doesn’t support this makes it even more complicated.
Fortunately the XU4Q’s Linux images at least are 100% up to date and get the Legendary Technology Blog stamp of approval. We’ve got Ubuntu 22.04 (this is the one I will be using for the review). There’s also Android 7.1 which is definitely not quite as new.
The official ODROID images for the XU4 / XU4Q are available here.
This is also an Armbian officially supported board with the image available here.
Using eMMC
For the eMMC benchmarking section I used an official Hardkernel module that I reimaged with the XU4 software. These do actually come with the right image for your device if you order it for that device. You can just reimage them though as long as it’s using a compatible eMMC module which I’ve covered extensively here.
If you don’t you have to do some preparation. Here is a YouTube video that is under 3 minutes long that shows you how to do this using a SD card and the bootloader image for the XU4.
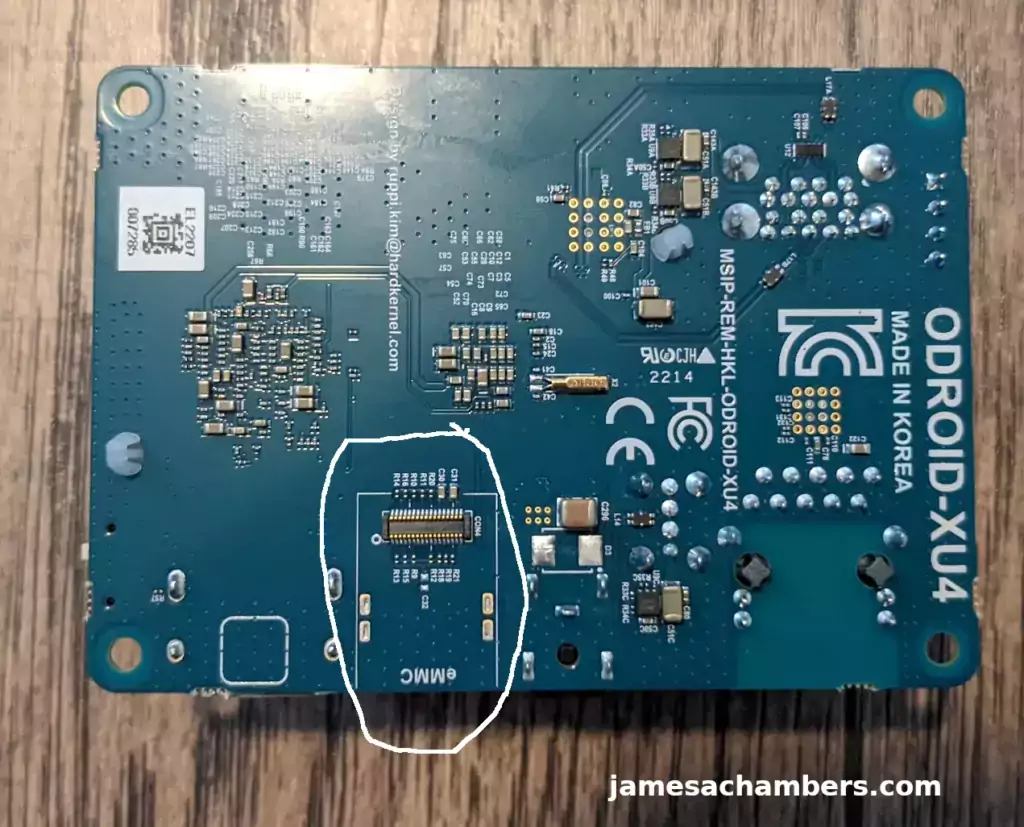
The eMMC slot is actually on the bottom of the board here:
Benchmarking eMMC
For testing as always I will be using Pi Benchmarks so we can make meaningful comparisons between different SBCs. This is much more comparable than the tests the manufacturers run themselves which all use different numbers / metrics. With Pi Benchmarks we get a flat score.
I inserted the eMMC module and booted the board and then ran the benchmark like this:
sudo curl https://raw.githubusercontent.com/TheRemote/PiBenchmarks/master/Storage.sh | sudo bashThe results:
     Category                  Test                      Result
HDParm                    Disk Read                 150.73 MB/s
HDParm                    Cached Disk Read          133.59 MB/s
DD                        Disk Write                53.4 MB/s
FIO                       4k random read            7710 IOPS (30843 KB/s)
FIO                       4k random write           7861 IOPS (31447 KB/s)
IOZone                    4k read                   19010 KB/s
IOZone                    4k write                  22603 KB/s
IOZone                    4k random read            19073 KB/s
IOZone                    4k random write           23477 KB/s

                          Score: 5,168
The score of 5,168 is actually higher than I expected from the Hardkernel eMMC modules based on my benchmarking in my recent article. That was done with the ODROID M1 and it had a score of 4,127. For whatever reason I’m getting roughly 20% higher performance on the XU4Q than the M1!
The eMMC modules are definitely worth their while on this board. That is almost as high as the Raspberry Pi Compute Module 4’s built in eMMC which is somewhere around ~5,500 points on average. The CM4 has the eMMC soldered directly to the board though so it has an advantage there as an internal eMMC.
Pros / Cons
Pros
- It’s dead silent
- Outstanding performance
- Widely available
Cons
- CPU clocks are slightly reduced from XU4
- Will downclock CPU if it gets too hot without active cooling
Conclusion
The XU4Q is a very well supported board on a very well supported platform. The XU4 models are all software compatible with the XU3 and some previous models as well. The images are up to date and clean. The board ran and tested very well. I’m completely happy with it.
I didn’t try overclocking the board yet but this board is overclockable (unlike the M1). I’d like to investigate this more in the future. This model is tough to use a SSD with vs. some of their other models that have a bootloader (this one does not). I didn’t encounter much thermal throttling during my testing but the heatsink could get quite warm during back to back benchmarks.
It’s not just overclocking that you may be interested in. Since it is passively cooled you can absolutely underclock the board which gives you a lot of options for controlling performance vs. thermals that aren’t available in some other board models with fixed clock speeds.
Definitely make sure you have the right type of power supply as these units are one of the more sensitive boards I’ve tested to power. It was pretty picky and wanted extremely close to the manufacturer’s specifications or it would just boot loop.
The eMMC modules are really nice with this board. You will achieve maximum performance that way with minimum effort and expense (with the prices being comparable or even slightly cheaper than premium SD cards). It’s a lot easier than doing a SSD setup and the performance is several times that of even the best SD cards. I definitely do recommend eMMC over SD card usage.
You can get this board for about half the price of a Raspberry Pi at the time of writing (unless you can get your Pi from an official reseller which is very hard right now). I would choose this over the Pi for the price at the moment for sure! I also found it to be a much easier board to use for beginners than the M1 (which still has some issues with their images being worked out). Buying this board in place of a Pi would be a lot less painful than the M1 for beginners.
Other Resources
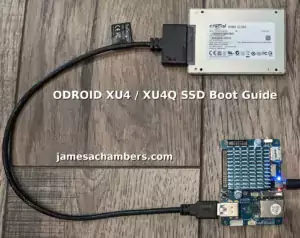
To get more out of your XU4 check out my XU4 / XU4Q SSD Booting Guide to access high performance SSD storage
The ODROID M1 is a very good choice especially if you want to use a M.2 NVMe drive without having to use an adapter/enclosure
eMMC modules have very high performance – I have covered these specifically for ODROID here.
I highly recommend my Ubuntu 22.04.1 Legendary ODROID M1 image if you already have the ODROID M1!



Hi,
I got one of these XU4Q laying around and wonder if I could realize a Minecraft server with it. Are there any instructions available and would it work with your docker installation?
Hey Eckhard,
Great question! So it will absolutely work with it. It’s pretty easy but I do plan on publishing some guides specific to other boards for sure. Here’s the super quick and easy version:
sudo apt install docker.iodocker run -it -v minecraft:/minecraft -p 25565:25565 -p 19132:19132/udp -p 19132:19132 --restart unless-stopped 05jchambers/legendary-minecraft-purpur-geyser:latest
Believe it or not you should be up and running and ready to go with just those commands! Everything else in the article is basically related to how to access the files and configure the server.
I’d honestly just recommend trying with the above 2 lines and getting it up and running. Once that is done it’s a lot easier to read the article because then you will just be looking for specific information to change something you want. Hopefully that helps!