
People have been asking me for years how they can convert a Minecraft Bedrock world to Java edition (or vice versa) on projects such as my Docker container supporting both Java and Bedrock on the same server via Geyser. The answer in the past was that you needed to use one of the tools that could read both formats and convert between them such as Amulet. It wasn’t a very fun process though and not many had succeeded over the years.
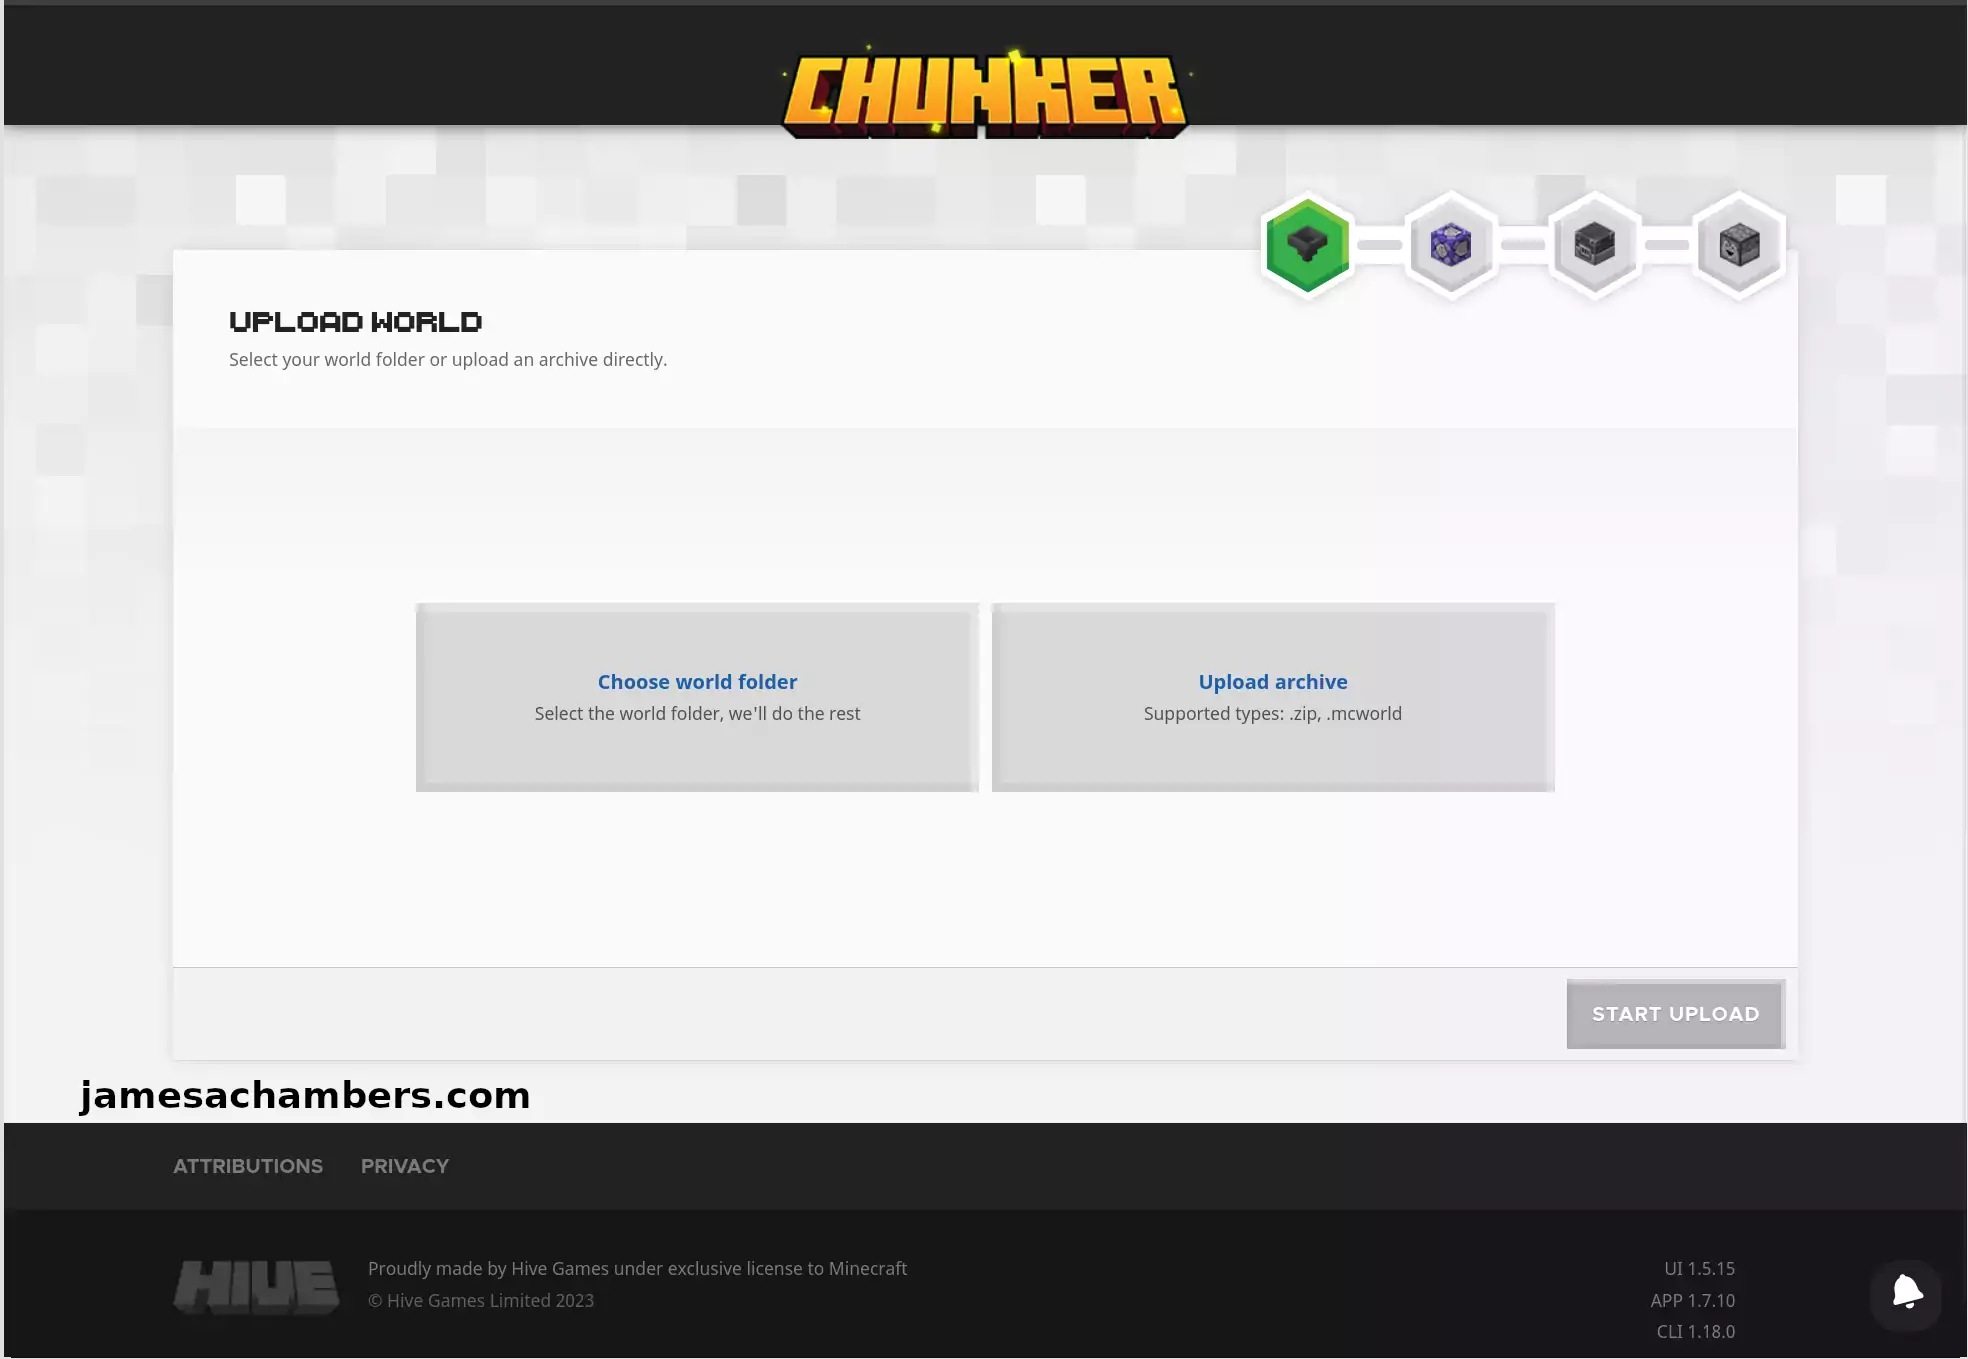
Recently I was asked this question again though and when I went to look up what the current map editors supporting both formats were I found a surprise: Chunker! If you look at the text in the bottom of the screenshot above you’ll see “Proudly made by Hive Games under exclusive license to Minecraft”. This is actually an officially sanctioned tool with official Microsoft documentation.
In this guide I’ll show you the current capabilities of Chunker and how to use it to convert a Minecraft world between editions. Let’s get started!
Chunker Capabilities
Chunker is able to convert most things between Bedrock and Java but there are some exceptions. The full list of capabilities can be seen here on this Microsoft Learn article:
Chunker can currently convert:
- Level settings
- World data (blocks, biomes, and tile entities)
- Multiple dimensions
- Container & items
- In-game maps
Chunker cannot currently convert
- Entities
- Player inventories
Working Around Inventory Transfers
As you can see in the above list of capabilities Chunker cannot transfer player inventories at this time. There’s a super easy trick to get around this that we’ve seen success with here on the site.
Basically you have all of your players throw all of their inventory contents in chests. Chests/containers and the items inside them can be transferred.
This gets around this current limitation in Chunker and will work for most situations. As long as you have everyone who plays your server put their inventory contents they want to save in a chest they will be able to log back in and open the chest and have their character just as it was.
Entities
The other limitation of Chunker currently is that it cannot transfer entities. Entities are basically animals/pets/monsters/etc.
This will typically include anything that you’ve named with a name tag. If you have any barns that are full of animals you will need to gather those animals again.
This shouldn’t be a huge deal to most servers but some servers it may be a very big deal to if there’s a lot of monster grinders set up or huge barns / entity collections. These will not transfer at this time so be aware of that.
Usage
The official site for Chunker is here.
Usage is easy. Chunker basically wants you to upload your world’s entire folder (zipped or raw) with your Minecraft server files in it. This is the first step that is shown in the screenshot at the top of the article.
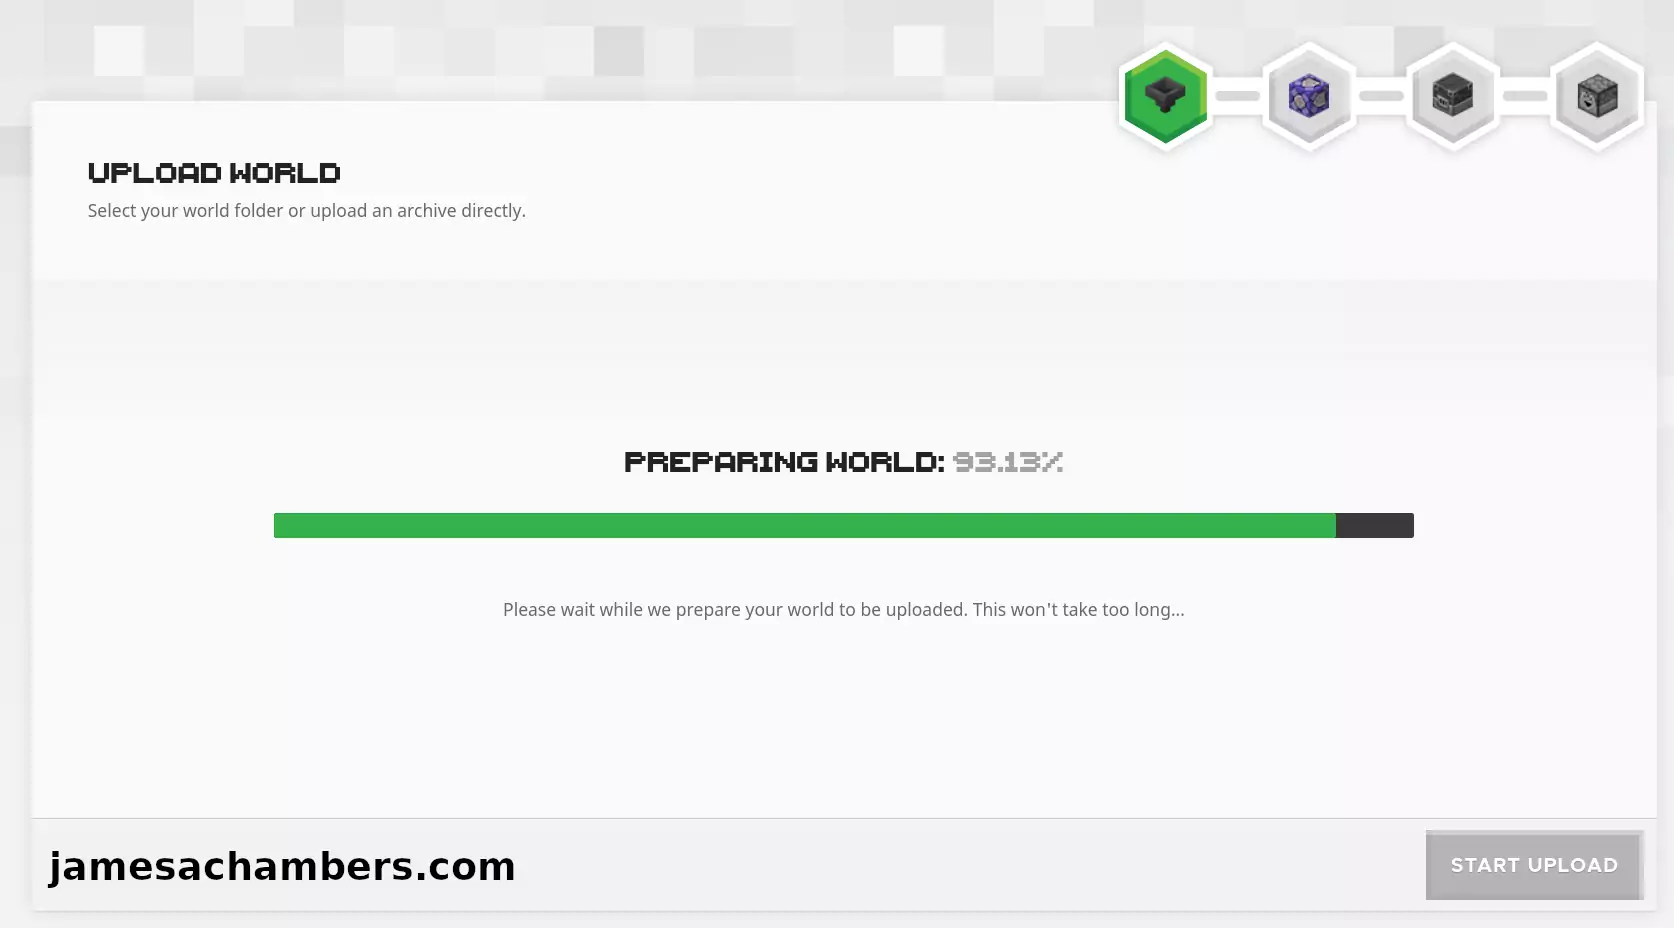
Once you’ve selected this and uploaded you’ll see this screen until it’s ready:
Tip: There is a size limit on the upload. For people using my Docker containers or standalone scripts make sure you remove the “backups” folder before uploading. It will make it too large. For everyone else make sure there aren’t any unnecessary large backup files or anything like that in the folders.
If everything looks okay it will let you start the upload.
Step 2 – Export As
The tool will take you to the next step show you a whole range of options you can export for like this:
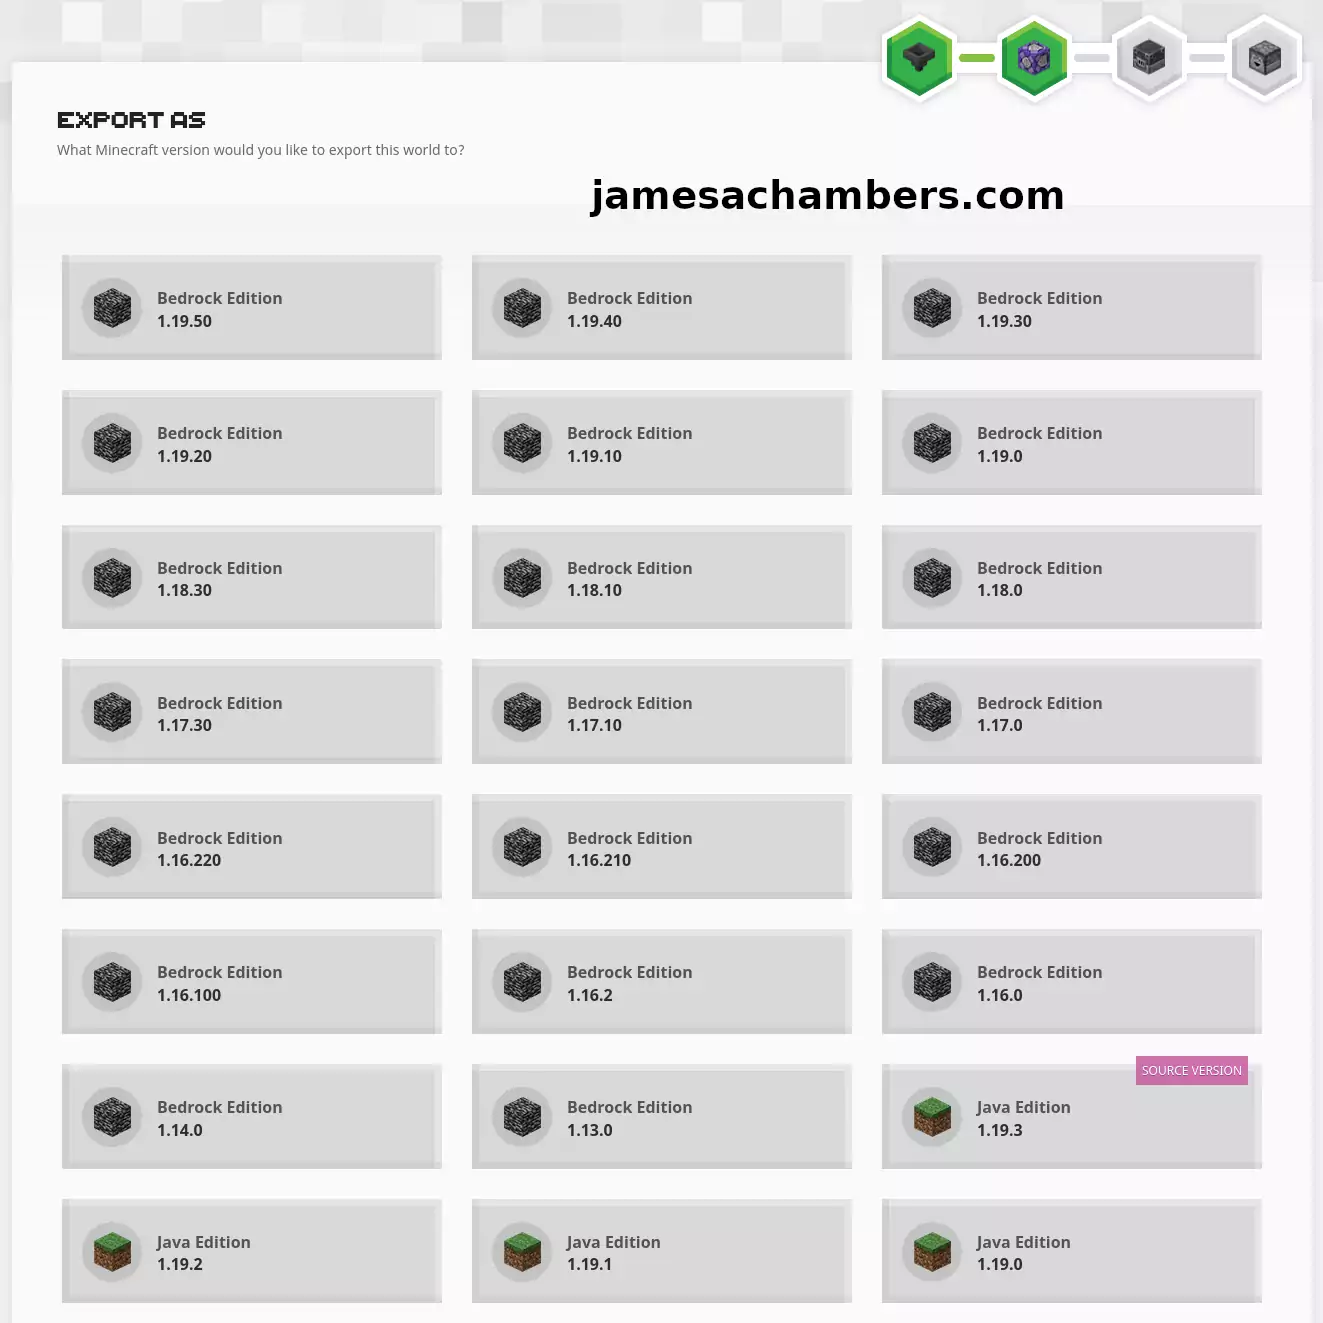
Okay, now this is neat and worth discussing. You can also use Chunker to convert between different versions of the same edition. This is great if you want to take a newer world and run it on an older edition (something that was also very difficult before Chunker existed — the conventional wisdom was you had to restore from a backup for the most part).
Notice that I also have a pink “Source Version” banner over Java Edition 1.19.3. That is because the world I uploaded was a Java 1.19.3 world meaning my “source” world I provided is Java 1.19.3. This is a handy indicator to let you know which type of world and version you uploaded to Chunker was.
Once you’ve selected the type you want scroll to the bottom and tell it to start the conversion.
Step 3 – Conversion
Step 3 is the step where it actually converts your world. When I attempted this it said there is actually a Chunker queue that you need to wait in before your world is converted.
I was the first person in the queue so my conversion finished in 5 seconds. I doubt this will be true 6 months from now and is probably just because nobody knows about it yet relatively speaking. As the tool gains popularity there will likely be a more and more substantial queue over time.
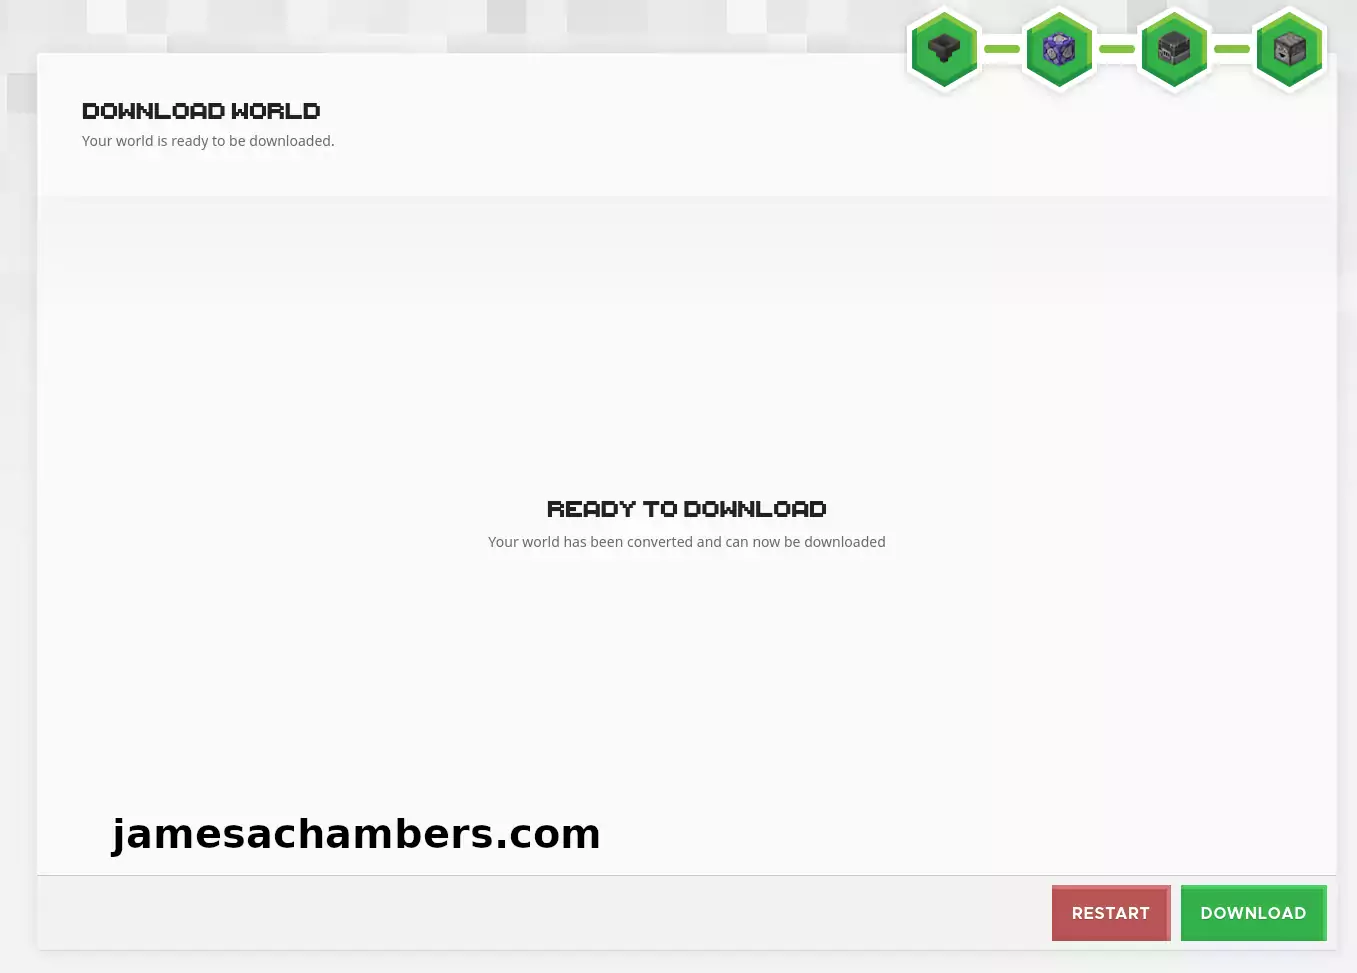
Step 4 – Download
Advanced Mode
There is also an “Advanced” button at the very bottom of the page. This will take you into “Advanced Mode”. That looks like this:
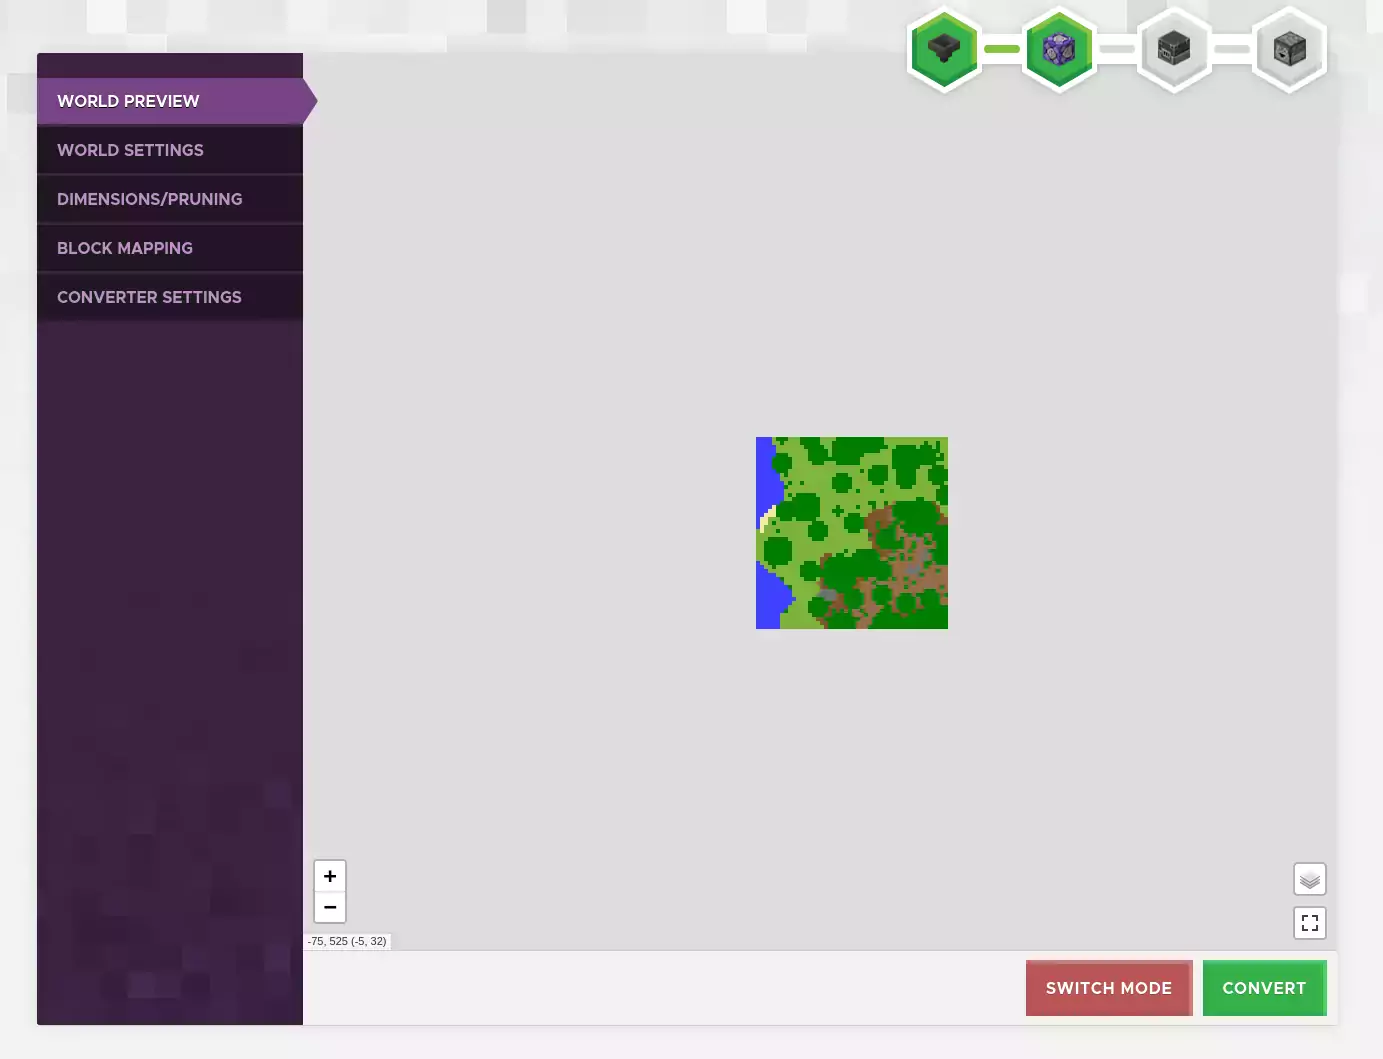
For advanced mode usage you should see the Microsoft documentation here.
It covers all of the aspects of advanced mode. I just wanted to let you guys know it existed and point you to the documentation because the Microsoft documentation is pretty awesome.
Conclusion
It’s an incredible tool. If any of you have ever had a need to convert a world between Minecraft Java and Bedrock or even if you need to convert it to a different version of the same edition then Chunker is the tool for you.
Definitely don’t forget to check out the Microsoft documentation on the tool as well. It’s really good and gives you an idea of the more advanced capabilities the tool has to offer for experts.


Thank you
You’re welcome, thanks Vince!