
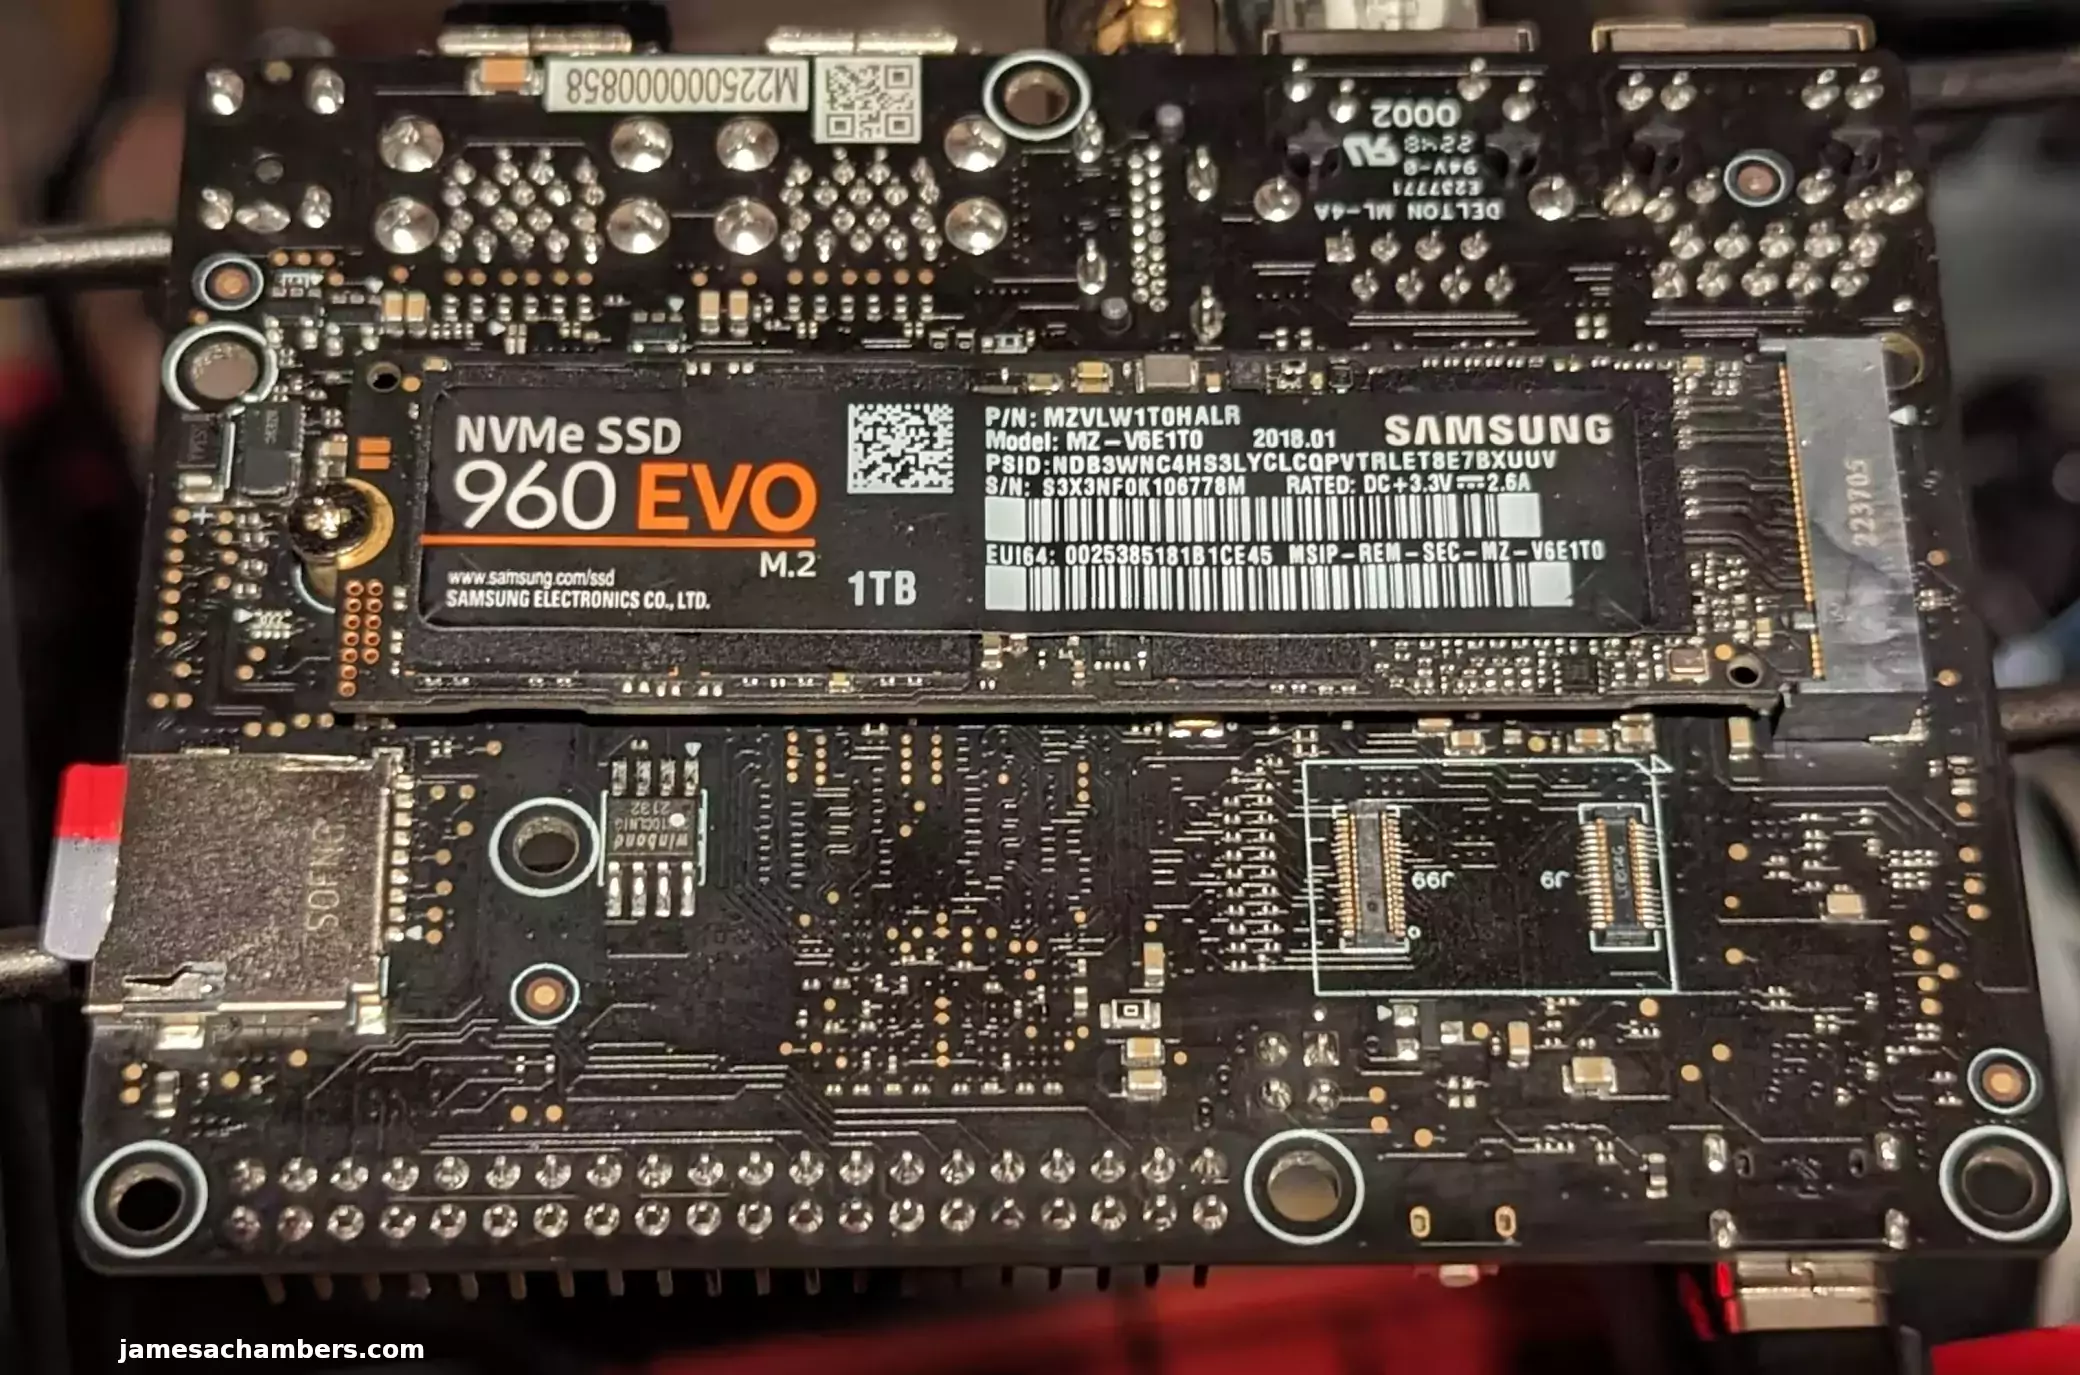
The StarFive VisionFive 2 comes with a M.2 M-key PCIe 2.0 slot that we can use with a 2280 NVMe drive. Unfortunately at release it’s not possible to boot from the NVMe drive but this is expected to be added to the device through some combination of SPI+NVMe booting.
In the meantime we are going to bootstrap the boot process using a SD card and then clone that SD card to our SSD to be used as the root partition. This essentially will let us have our system’s root partition on the SSD (much faster).
Let’s get started!
Hardware Used
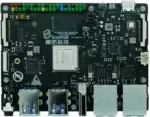
The StarFive VisionFive 2 is a quad-core high performance single board computer that runs the RISC-V open-hardware architecture. It also has a dedicated GPU making it suitable for desktop use!
Links: Amazon.com*, AliExpress*

The Geekworm copper heat sink set is designed to fit many different single board computers. It uses thermal conductive adhesive which many “cheap” heat sink kits for SBCs don’t have. Eliminates hot spots and reduces throttling. Can be further enhanced by powered cooling over the heat sinks.
Links: Amazon.com*, Amazon.ca*, Amazon.co.jp*, Amazon.co.uk*, Amazon.de*, Amazon.es*, Amazon.fr*, Amazon.it*
Preparing SSD
First we are going to completely remove all partitions from the drive so it’s completely blank. Your drive should typically be /dev/nvme0n1:
sudo gdisk /dev/nvme0n1
Now remove all partitions from the device. If you press “p” it will print out the partitions. You can then use “d” to delete them.
Here’s an example on mine:
root@starfive:/# sudo gdisk /dev/nvme0n1
sudo: unable to resolve host starfive: Temporary failure in name resolution
GPT fdisk (gdisk) version 1.0.9

Partition table scan:
  MBR: MBR only
  BSD: not present
  APM: not present
  GPT: not present


***************************************************************
Found invalid GPT and valid MBR; converting MBR to GPT format
in memory. THIS OPERATION IS POTENTIALLY DESTRUCTIVE! Exit by
typing 'q' if you don't want to convert your MBR partitions
to GPT format!
***************************************************************


Command (? for help): p
Disk /dev/nvme0n1: 1953525168 sectors, 931.5 GiB
Model: Samsung SSD 960 EVO 1TB
Sector size (logical/physical): 512/512 bytes
Disk identifier (GUID): 8ACF6B0D-D7EC-48A0-955B-93AD7C6B53FE
Partition table holds up to 128 entries
Main partition table begins at sector 2 and ends at sector 33
First usable sector is 34, last usable sector is 1953525134
Partitions will be aligned on 2048-sector boundaries
Total free space is 1922993516 sectors (917.0 GiB)

Number  Start (sector)    End (sector)  Size       Code  Name
   1            2048          264191   128.0 MiB   0700  Microsoft basic data
   2          264192        30533632   14.4 GiB    8300  Linux filesystem

Command (? for help): d
Partition number (1-2): 1

Command (? for help): d
Using 2

Command (? for help): w

Final checks complete. About to write GPT data. THIS WILL OVERWRITE EXISTING
PARTITIONS!!

Do you want to proceed? (Y/N): y
OK; writing new GUID partition table (GPT) to /dev/nvme0n1.
The operation has completed successfully.
Keep pressing d until all the partitions are deleted. Once they are gone use the ‘w’ command to write your changes.
Cloning Installation to SSD
We’re now ready to clone your installation to the SSD. We can now copy your drive to the SSD with the following command:
cat /dev/mmcblk1 > /dev/nvme0n1
Wait for the operation to complete (there won’t be any output but you will have a cursor again and be able to type new commands). Remember that you are copying an entire drive from one to another basically with that one command.
Mine took about 30-45 minutes (although I was using a 64GB SD card and the larger SD card you use the longer it will take to copy the whole drive).
If you are having any trouble with permissions try becoming “root” first with:
su
Now try running the command again and as the superuser you should not encounter any permission errors.
Change SD card’s rootfs UUID
We need to change our SD card’s UUID so that it doesn’t try to boot from that partition. We can set it to a random one with the following command:
sudo tune2fs -U random /dev/mmcblk1p3
If you get an error with the previous command regarding csums try the following command instead:
sudo tune2fs -O metadata_csum_seed -U random /dev/mmcblk1p3
We can verify that it has changed with blkid like this:
root@starfive:/boot# sudo blkid
sudo: unable to resolve host starfive: Temporary failure in name resolution
/dev/nvme0n1p3: LABEL="root" UUID="8260c14e-8ec8-406a-ae74-4ae0465376cf" BLOCK_SIZE="4096" TYPE="ext4" PARTUUID="3d4c02eb-9c28-46a1-a86b-71666ef51cdb"
/dev/nvme0n1p2: SEC_TYPE="msdos" UUID="49C6-F38E" BLOCK_SIZE="512" TYPE="vfat" PARTUUID="bdc51e7d-66f3-4ba4-ac93-adf2e8850928"
/dev/mmcblk1p3: LABEL="root" UUID="2e441104-607f-4f13-ada2-09d2ef0e03fd" BLOCK_SIZE="4096" TYPE="ext4" PARTUUID="3d4c02eb-9c28-46a1-a86b-71666ef51cdb"
/dev/mmcblk1p2: SEC_TYPE="msdos" UUID="49C6-F38E" BLOCK_SIZE="512" TYPE="vfat" PARTUUID="bdc51e7d-66f3-4ba4-ac93-adf2e8850928"
/dev/nvme0n1p1: PARTUUID="5f7fd372-5546-44df-b018-a077758cee2f"
/dev/mmcblk1p1: PARTUUID="5f7fd372-5546-44df-b018-a077758cee2f"
Notice that /dev/nvme0n1p3 and /dev/mmcblk1p3 no longer have matching UUIDs. This is exactly what we want.
Fix extlinux.conf
Use this one-liner to update /boot/extlinux/extlinux.conf:
sudo sed -i 's/mmcblk1p3/nvme0n1p3/g' /boot/extlinux/extlinux.conf
EDIT 4/1/2023: Some builds use the path /boot/boot:
sudo sed -i 's/mmcblk1p3/nvme0n1p3/g' /boot/boot/extlinux/extlinux.conf
Run fsck
Before we reboot run fsck on the drive like this:
sudo fsck -yf /dev/nvme0n1p3
This will prevent you from having to run fsck on the CLI the first time you try to boot.
Reboot and Verify
Now reboot the VisionFive 2 with:
sudo reboot
With any luck you should be booted using your SSD! We can verify this with the mount command like this:
root@starfive:/home/user# sudo mount
/dev/nvme0n1p3 on / type ext4 (rw,relatime)
Here we can see that our root partition (/) is indeed on /dev/nvme0n1p3 and not /dev/mmcblk0p3. Success!
Benchmarking Performance
You can verify the performance of your drive on Pi Benchmarks using the following command:
sudo curl https://raw.githubusercontent.com/TheRemote/PiBenchmarks/master/Storage.sh | sudo bashHere are the results:
     Category                  Test                      Result
HDParm                    Disk Read                 181.92 MB/s
HDParm                    Cached Disk Read          181.63 MB/s
DD                        Disk Write                107 MB/s
FIO                       4k random read            44425 IOPS (177700 KB/s)
FIO                       4k random write           9006 IOPS (36024 KB/s)
IOZone                    4k read                   64462 KB/s
IOZone                    4k write                  43701 KB/s
IOZone                    4k random read            35419 KB/s
IOZone                    4k random write           75853 KB/s

                          Score: 13,856
The full StarFive VisionFive 2 benchmark can be viewed here on Pi Benchmarks.
This is actually a great performance score. It’s much higher than anything the Raspberry Pi 4 can do thanks to the PCIe interface (while the Raspberry Pi 4 has to use USB).
It’s also below competing ARM boards such as the Orange Pi 5, ODROID M1 and the Raspberry Pi CM4 that have PCIe 2.0 interfaces. The latest generation of alternative ARM boards are faster than this board but they also have a lot more CPU cores.
It’s pretty impressive performance considering this is RISC-V and not an ARM device. This is by far the highest score I’ve *ever* seen on any RISC-V device. It’s not even close. RISC-V is still a rapidly developing technology while ARM processors (while still having technological improvements) are unquestionably a much further developed technology. RISC-V is catching up very quickly though!
Other Resources
I’ve written a review for the StarFive VisionFive 2 available here
Don’t miss my guide on how to update the StarFive VisionFive 2’s firmware here


James,
Hello again, I just wanted to post and update to let you know I got this working, and HOW I got it working, so that other folks can see what worked for me. My method is not not truly booting from NVMe SSD per se, but from SDCard, which then passes the baton to the root on the NVMe SSD. For me running sudo sed -i ‘s/mmcblk1p3/nvme0n1p3/g’ /boot/extlinux/extlinux.conf like you instructed in the Fix extlinux.conf section did not work for me as I explained below, in a previous comment.
In my case, I did it by changing (hand editing) the /boot/boot/extlinux/extlinux.conf file, at the line starting with append root=/dev/mmcblk1p3 to either to something like append root=UUID=8260c14e-8ec8-406a-ae74-4ae0465376cf (whatever UUID is assigned to the NVMe SSD during the Change SD card’s rootfs UUID step), or append root=/dev/nvme01p3. Either of those boot options worked well for me. In the build I’m working with (image 69, with 2.8 flash), this was the /boot/boot/extlinux/extlinux.conf file (not totally sure why). I think it was due to changes to the image build, IMHO, as the /boot/extlinux/extlinux.conf file I had only contained some variables for U-Boot. Anyway, I hope that this is clear enough for future visitors here to understand, and work with.
Hey James,
Thanks for sharing about this, I’m so sorry that I had forgotten about our thread (being totally host). I woke up that next day with like 10 comments and a bunch of stuff going on.
Thanks for sharing the solution as well. I’ve updated the article with your new information regarding the new mountpoint being /boot/boot/extlinux/extlinux.conf. That’s very good information.
Take care!
James, I had already tried pointing the SD card extlinux.conf file to the SSD and it still hangs on boot. I have some ideas about getting this working, do you use Matrix Synapse, or irc? I’d love to chat with you on this. I use https://matrix.to/#/#_oftc_#debian-riscv:matrix.org to communicate with community, maybe you might like to join in on the conversation? I certainly appreciate all the help you have given so far, kind sir! Have an Excellent day!
Hey James,
Where did you get your image from that you are using? Did you download it from Debian by chance? Or are you using the official one from StarFive? If this is anything but the official StarFive VisionFive 2 image then it’s probably just not set up to do this at all. Specifically I’m talking about the images from debian.starfivetech.com.
I tried joining that Matrix chat with Thunderbird and it gave me a malformed URL error (which it said was one of the options for a client). I guess I’m not really sure how to use that.
I mean there’s some kind of conflict going on here for sure. Your boot partitions aren’t being mounted in the same way as mine were. I did not have to do anything special I didn’t include in the guide for the official StarFive VisionFive 2 images. Can you confirm that is what you are using?
The instructions should not changed based on who is following them here. Something is different between your setup and mine and we need to figure out what that is most likely and figure out why the partitions aren’t being mounted in the same way as my image. Why are these different?
Some of the more unlikely explanations would be some kind of compatibility issue with the NVMe drive you are using. Which drive are you using with it? The size of your power adapter may be the reason as well. Do you have an adapter rated for the full amount the VisionFive 2 requires (5V 3A minimum)?
I could imagine using something like using a Raspberry Pi power adapter rated for 2.5A causing this issue. That won’t leave enough power for NVMe so your boot would freeze/fail. Definitely check this and if you have any beefier power adapters I would try that before anything else. It would probably function perfectly fine on SD card as long as you don’t plug in too many USB accessories with a 2.5A adapter though. I’ve seen people do this on other boards such as Radxa and Orange Pi as well and those will always function below the minimum rating as well up to a point but it won’t take plugging in much to start seeing problems when it’s below the minimum rating. The fix for those is to upgrade to a power adapter with a higher output.
If your drive is 1TB+ it raises the likelihood that power is the issue even more especially if you aren’t using at least a 5V 3A. The higher capacity drives almost always draw more power (and perform slightly higher) than models that are 250-512GB. Samsung is an example where this has a major impact on and they even print different performance numbers on the box due to the differences in power usage/performance.
If you let me know exactly which image you are using I can download it and try it out for sure. I’m sure we can figure it out and get it going!
Thunderbird will not (to my knowledge) handle that URL, use element, look all the way at the bottom of the page on the right in the “Get Started” section, you can download it (it’s multi-platform, and Open Source), or open in web browser. Set up a Matrix.org account, and join the #debian-riscv room. Look for me, my handle is mtinman. My SSD is a Crucial P3 500GB PCIe 3.0 NVMe M.2 SSD, I bought on Amazon, see here
Also, I’m using the -69 image provided by startech, the Google hosted variant. I performed the SPI flash as per your directions, and it worked well, so I have V. 2.8 of that software installed. I hope all of this helps, and I look forward to chatting with you! 🙂
Hey James,
Beautiful, thanks for the additional information! I should be able to check it out tomorrow and get my VisionFive 2 ready. The drive looks good for sure. I’ll get element figured out and check it out!
One other thing, I noticed you mentioned the power supply on your last reply, I picked up a 100W GaN PS form Amazon as well here. The Crucial SSD has a 2.85A draw, so yeah, even a “beefier” 3A PS won’t be enough at full load.
Hey James,
Yes I definitely think that is wise. That may solve this honestly. The requirements for it on Ameridroid say:
• Power 5V DC with PD, up to 30WThat would actually be 5V 6A. This checks out and it’s how much you would actually need realistically assuming the VisionFive 2 itself is pulling around the same as the drive figures you gave (roughly and depending what else is plugged into USB, current system load and all of those types of caveats). I think I was testing mine with a Dell USB-C power supply for a laptop that was at least that much (it may even be 45-60W).
I do have a brand new power tester I just bought that may help me with this during testing tomorrow as well. I will literally measure my power draw tomorrow using this device and this may give us some ideas (or confirmations for some of our existing theories).
I’m guessing 30W is the hard limit but at 5V that would put us up to 6A which is likely to be bigger than what most people have laying around (at least from other single board computers or smaller electronic devices). Their best bet would be a laptop/tablet charger as well as far as something they’d already have like this laying around I’d guess.
I think we’re on the right track for sure. I’ll definitely stop in and check tomorrow though as I’d like to see everything you’ve found.
Talk to you then!
As far as I can see from the schematics the board has an inbuilt dc converter for the 5V rail and a PD capable charger chip onboard to negotiate 9V/12V if your PD supply can do that.
looking at the schematics (v1.2a) on page 22 you have the USB-C wiring with /two/ USB-C PD charging chips, neither of which are actually connected to any charging circuit. Their sole purpose is to negotiate the USB supply voltage (which is labelled as a 12V line!)
There are two chips; U29 (NC/CH224D) and U27 (IP2315) so that they can choose whichever is cheapest and available at any time, and leave the other socket empty. This allows them to work around current supply-chain issues for these components, you will have either U27 or U29 fitted, but not both.
Hey owen,
Great catch! This probably explains why my Dell USB-C laptop charger works so well with it. You definitely want a good power supply to use with this board that is USB-C PD capable and has plenty of power. It won’t hurt to have too much power. USB-C will take care of that and negotiate it fortunately.
Hmm. Still not booting to SSD, All of your directions went smoothly, save for the one thing I had to “customize” in the previous post. I can still boot to SDCard, and the extlinux.conf is correct on both drives, the SSD one points to /dev/nvme0n1p3, and the one on SDCard has /dev/mmcblk1p3, so that’s not the problem.
Hey James,
It sounds like that actually is the problem most likely. To explain the board will always boot from the SD card. That means it’s actually the SD card one that needs to point to /dev/nvme0n1p3.
In other words it will always “boot” from the SD card but then it switches over to NVMe after that. Yours is just booting to normal SD card since that’s what the file on the SD card says to do if that makes sense. If it didn’t work this way we wouldn’t need the SD card at all if that makes sense. It would just boot directly from NVMe and we would have no SD card involved. It always uses the SD card’s “boot” files.
I’d try changing them both to /dev/nvme0n1p3. You *never* want /dev/mmcblk0p3 mounted. That’s the root partition of the SD card basically. We don’t want to use that. We always want to use /dev/nvme0n1p3. Hopefully that helps!
I figured it out – After the step of Change SD card’s rootfs UUID, I had to mount the boot partition of the SSD to /ssd, then cd into /ssd/boot. At that point, I ran the sed -i ‘s/mmcblk1p3/nvme0n1p3/g’ /boot/extlinux/extlinux.conf command, and it worked fine. Thanks again James, I appreciate your taking the time, and sharing of this info.
Hey James,
Excellent, thanks for following up with the solution, take care!
Ahh, I found the problem, for some reason, my boot directory ended up being 2X deep, when I ran sudo sed -i ‘s/mmcblk1p3/nvme0n1p3/g’ /boot/boot/extlinux/extlinux.conf, it worked, WEIRD. I’ll have to figure out how to correct this, Again, Thank You for this EXCELLENT write up!
Hey James,
Excellent, I’m glad that things were relatively what we were expecting still! Thanks for posting what it was as well. Let me know if I can help further!
James, Hello again, just having trouble with sudo sed -i ‘s/mmcblk1p3/nvme0n1p3/g’ /boot/extlinux/extlinux.conf, it returns this: sed: can’t read /boot/extlinux/extlinux.conf: No such file or directory. Not sure what I’m doing wrong, all other commands above worked flawlessly. I’m grateful for any suggestions.
Hey James,
Welcome back! Is it running Debian? The Debian one should definitely have that file but other operating systems may be different for sure. Can you post your:
lsblkand
ls /bootcommands? That should help us figure out what is going on for sure!
Thanks for the info, it worked.
Hey Kukacster,
Fantastic, thanks so much for letting me know that worked for you! The end result is pretty impressive. I saw some people also submitted some additional benchmarks for the board on Pi Benchmarks so at least a few others out there have made it through as well.
Thank you for sharing and letting me know you were able to be successful using this method!