I confess I have never been a big fan of emulation. It never felt like playing the real thing to me. However this setup really looks, feels and plays like the genuine article. We will use a nice case, premium controllers and a Raspberry Pi board with RetroPie to create a truly authentic retro gaming experience. If you haven’t heard about RetroPie yet it is a Raspberry Pi distribution that supports emulation of dozens of systems such as the NES, SNES, N64, Sega Genesis and a whole bunch of other awesome retro systems.
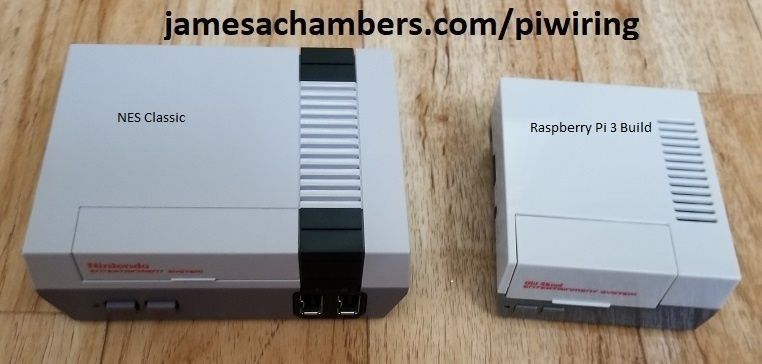
An entire system can be built for less than 100 dollars. If you missed out on the NES Classic release before it was shortly discontinued (I did) then here is a really cool build that will let you build your own version that has many advantages such as being able to play NES / SNES / GameBoy / Sega / N64 / many others. It’s also about half the size of the NES Classic. Here’s a comparison of a NES Classic (the new tiny one, not an original NES) vs our build:
Equipment

The Raspberry Pi 4 is available in different memory configurations all the way up to 8 GB. It’s about the size of a credit card and uses an extremely low amount of power making it ideal for all sorts of projects and ideas!
Links: AliExpress*, Amazon.com*, Amazon.ca*, Amazon.com.au*, Amazon*.co.jp*, Amazon.co.uk*, Amazon.de*, Amazon.es*, Amazon.fr*, Amazon.it*, Amazon.nl*, Amazon.pl*, Amazon.se*, Amazon.sg*

The CanaKit 3.5A adapter has an extra half an amp (500 mA) of capacity to give some breathing room to your accessories. This is bigger than the official Pi power supply which provides 3.0A.
Links: Amazon.com*, Amazon.ca*, Amazon.com.au*, Amazon.sg*
The SanDisk Extreme A1-A2 SD card has the best scoring SD card on Pi Benchmarks for years and is second in popularity only to the SanDisk Ultra (often included in combo kits). The application class (A1) means random I/O speeds (very important when running an OS) have to meet a higher standard. There’s no benefit on the Pi for A2 right now so get whichever is cheaper/available.
Links: AliExpress*, Amazon.com*, Amazon.ca*, Amazon.com.au*, Amazon.co.jp*, Amazon.co.uk*, Amazon.de*, Amazon.es*, Amazon.fr*, Amazon.it*, Amazon.nl*, Amazon.pl*, Amazon.se*, Amazon.sg*
- HDMI Cable*
- NES Classic Pi 3 Case (real finish, not 3D printed)*
- NES30 Pro Bluetooth Controller* -OR- SN30 Bluetooth Controller* -OR- 2 Pack of SNES USB Controllers*
The Build
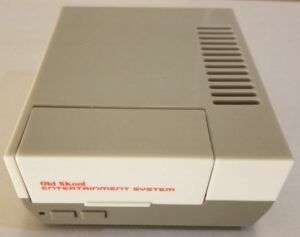
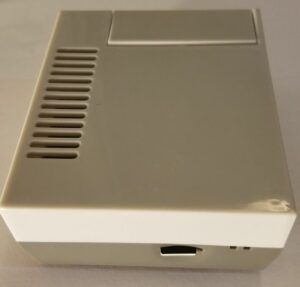
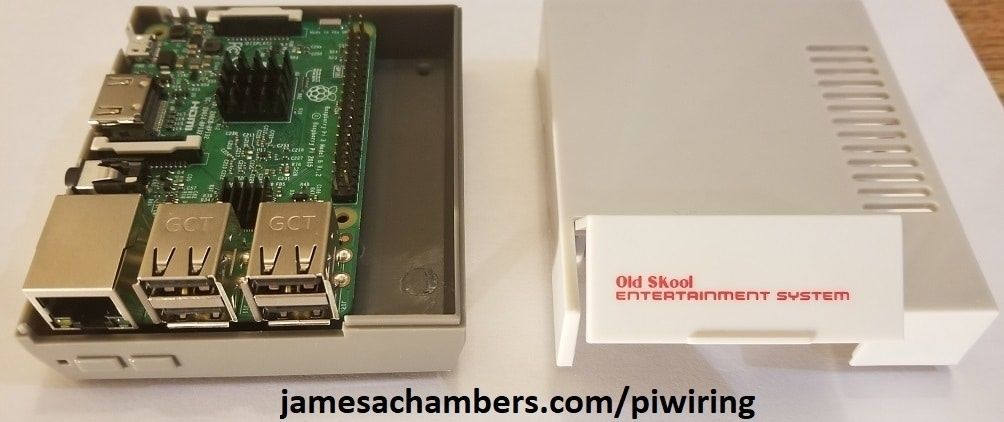
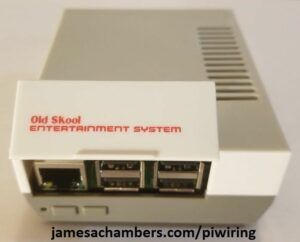
One of the biggest complaints people have had with the NES classic is that the lid doesn’t open. Well….
Controllers
There are many choices for controllers. The Raspberry Pi 3 has bluetooth built in so you can have a wireless controller. The bluetooth controllers are a little more difficult to initially configure since you need to pair them first but it is well worth it and covered extensively in the configuration guide I link to in the configuration section.
If you are on a tight budget grab the 2 pack of USB SNES controllers (they are fine for NES games too). These are the highest rated USB controllers on Amazon. Try to avoid ultra cheap controllers because many people have experienced problems with the D-Pad not performing like a genuine Nintendo controller. This can cause problems when you try to hold up and right at the same time to move diagonally as an example. The controllers I have linked all have hundreds of positive reviews and have good D-Pads that will function correctly and feel right.
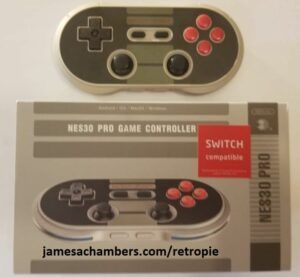
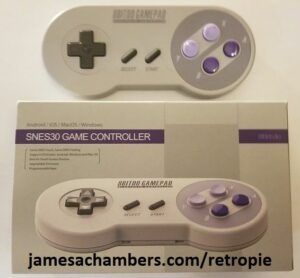
You may also use bluetooth compatible and USB controllers from other gaming systems. Check the RetroPie link in the configuration section to make sure yours is compatible if you want to go this route. Here are the two controllers I went with (links in the equipment section):
Software
- Win32DiskImager (if using Windows, if you aren’t using Windows I assume you know how to burn an image to your SD card)
- RetroPie image located at RetroPie – Download Page – Click the button on the right for Raspberry Pi 2 / Raspberry Pi 3
- ROMS for the system you want to play. You will need to google/torrent these as I cannot redistribute them legally but they are VERY easy to find.
Assembly
- Assembling the case is extremely easy. It’s 4 screws to hold the Pi in place and the case comes with 2 heatsinks you can put on the Pi 3. The heatsinks have adhesive on the bottom of them so you can stick them right on.
- Plug the HDMI cable from your Pi into your monitor/TV
- There is easy access to your SD slot in the back of the case. Once you follow the RetroPie installation instructions below you can eject the card from your computer and stick it right in there and plug in the power cable.
RetroPie Installation / Configuration
RetroPie has an amazing guide on how to download and install RetroPie on your SD card and configure the system for your controllers. It will also tell you how to transfer ROMs to your system using a USB stick, over the network, and a few other methods. Check out the guide here:
RetroPie – Official First Installation Guide
Benchmarking / Testing Storage
If you want to verify your drive’s performance you may want to run my storage benchmark with:
sudo curl https://raw.githubusercontent.com/TheRemote/PiBenchmarks/master/Storage.sh | sudo bash
If you search for the model of your drive on Pi Benchmarks you can compare your score with others and make sure the drive is performing correctly!
Conclusion
You will be blown away by the performance of this system. There is no lag. All sounds and music are 100% correct and authentic. It’s incredibly tiny and consumes very little power. Finally I find myself able to enjoy emulation without it feeling so fake.
If anybody else sees you playing this on your TV they will absolutely believe you are playing the original NES or the NES Classic if they notice the size of the console.
As long as you don’t cheap out on the controllers you will have a great experience and I highly recommend this build. This is one my favorite builds I have ever done with the Raspberry Pi and I highly recommend it!



So can you save the games you play or do you have to start over every time you turn it off
The games can all save just like traditional games. But it’s actually even a little bit better than that. You can take flash saves whenever you want (even if the game normally wouldn’t let you save somewhere). So if you’re about to fight a tough boss you can flash save and if you get destroyed you can quickly reload your flash save.